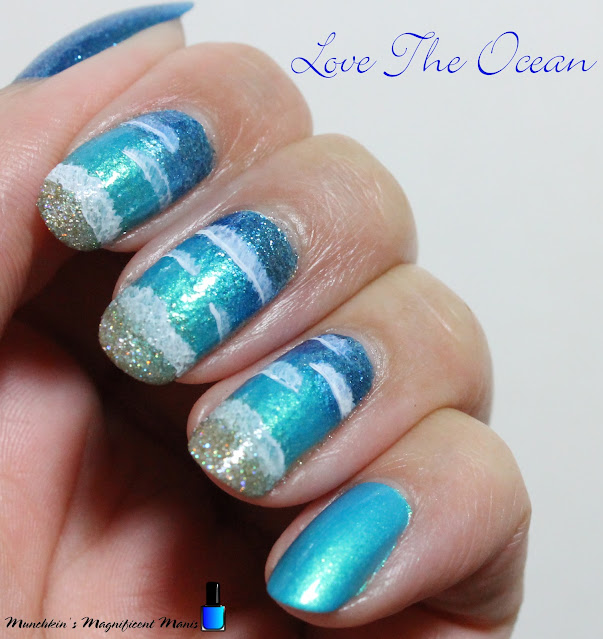
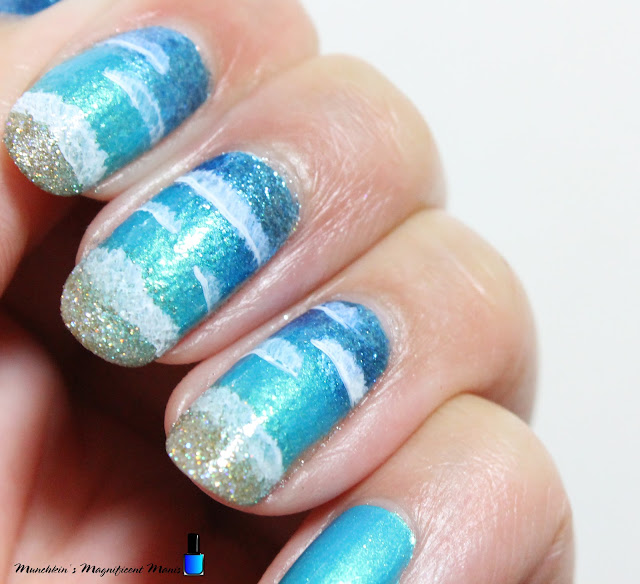
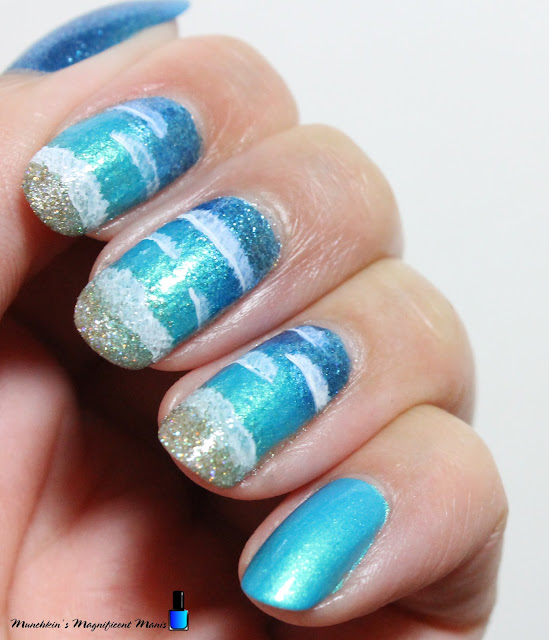
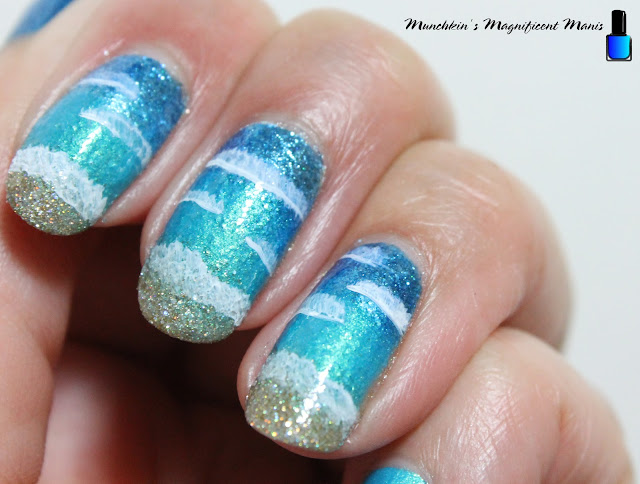
Hello everyone! Today on the blog we will be creating a very simple ocean themed nail design. I know that now that it is September many people are in the fall mood, if you are like me just because it is the first few days of September it don't mean that it is automatically fall. So if you are still in the mood for summer then this ocean nail design is just for you.
For this design I have created other ocean design with my tropical designs that I have done, for this design it will only be a simple ocean nail design, no palm trees or anything to hard.
Here are the polishes and nail art tools used to create this ocean nail design:
Base and top coat- CND Stickey Base Coat and CND Super Shiney Top Coat.
Nail Polishes- Zoya- Twinkling- Alessia, Orly- Kelli's Solstice- Kell's Galaxy Remix Trio, and Holo Taco- Beach Please- Vacation collection.
Acrylic paint- White.
Nail art brushes- thin stripper and flat brush.
Other- Makeup sponge, and water to clean off your nail art brushes.
Apply a base coat, let that dry.
Polish-
Thumb- A dark glitter blue polish (Zoya- Alessia)
Index, middle, and ring finger nails (This is your base color polish)- Glitter sand looking polish (Holo Taco- Beach Please)
Pinky- A shimmer light blue polish (Orly- Kelli's Solstice)
Let that dry.
For the ocean we will be creating a gradient staring with the dark blue polish, the light blue and the sand colored on the tips of the nails.
First take a makeup sponge staring with Holo Taco Beach Please (sand color), Orly- Kelli's Solstice (light blue), and Zoya Alessia (dark blue). Polish each color on to your sponge slightly overlapping each other.
Then on the ring finger nail first dab the sponge on to the nail. Repeat this step for each nail, then going back and repeat the last step with the polish and dabbing again, until opaque (it took three times)
Apply a top coat, to smooth the gradient together.
Let that dry.
For some small details, we will add small waves. First take a small flat brush, with a very small amount of white paint that is watered down and where the sand and water meet start to dab the flat brush along the nail.
For the smaller waves make a few lines with your stripper brush in the ocean and then with the same flat brush, staring on the lines pull up on the brush to make small waves.


No comments:
Post a Comment