Saturday, December 23, 2023

Santa's Cookie's- Christmas Nail Design

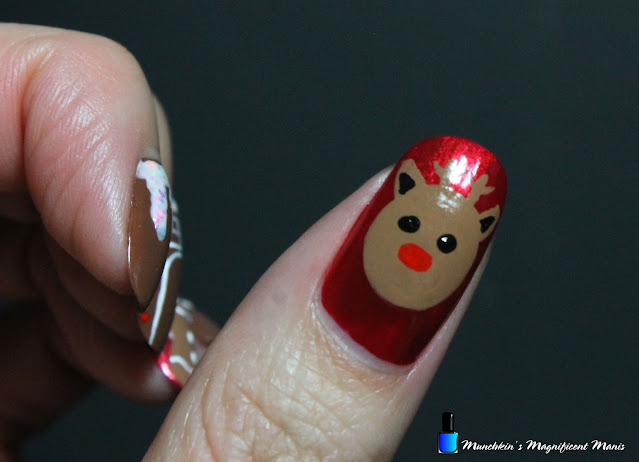
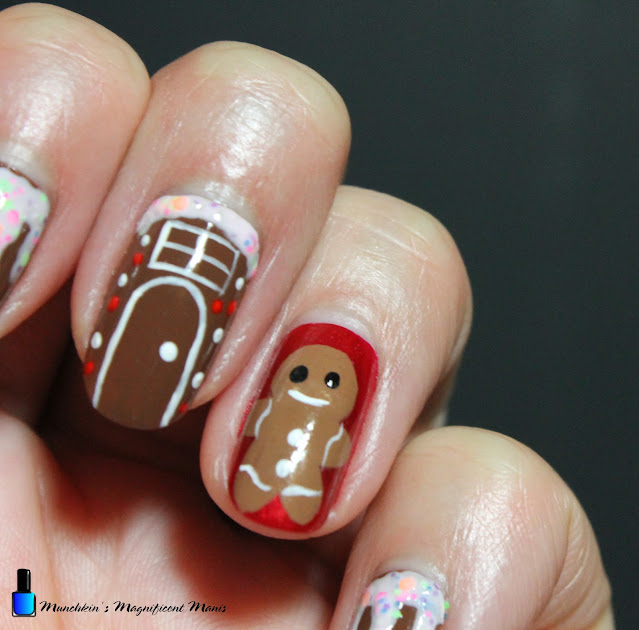
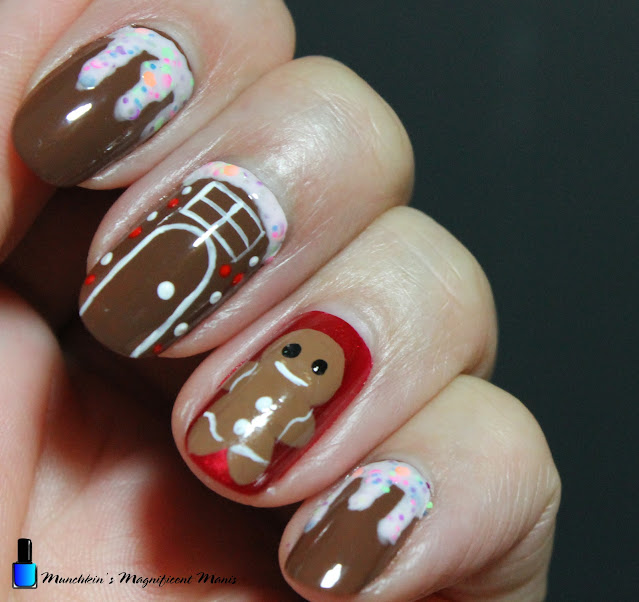
Hello everyone! Merry Christmas and Happy Holiday's! Today on the blog we will be creating a Christmas cookie nail design, specifically a gingerbread man and house, along with Rudolph on the thumb nail, just in time for Christmas.

Christmas Cookie Nail Design

Here are the nail polish and nail art tools used to create this Christmas cookie nail design:

Base and top coat- CND Stickey Base Coat and CND Super Shiney Top Coat.

Polishes- Finger paints- Cubism Crimson, Nicole by OPI- That's Just Plain Nuts! and China Glaze- Dippin Dots- Arctic Confetti. 

Acrylic paint- Black, red, white, and brown.

Nail art tools- Large dotting tool, thin detail and stripper brushes.

Other- Water to clean off your nail art brushes. 

Christmas Cookie Nail Design

Apply a base coat to clean dry nails.

Let that dry.

Polishes- 

Thumb and ring finger nails- red shimmer polish 

Index, middle and pinky finger nails- a cream brown polish. 

Let that dry.  

Christmas Nail Design

Rudolph the Red Nose Reindeer on the Thumb Nail: 

First we will start off with the thumb nail this time. Take a detail brush with brown paint on it and make a large circle in the middle of the nail, then fill in the circle. Also make two triangle shapes on the sides of the head for the ears, fill that in as well. Then make two small triangles in the ears with black paint. 

On top of the head make two lines and the two more coming out of the larger lines for antlers.

For the eyes take a large dotting tool with black paint on it and make two dots for his eyes.  

Lastly with your detail brush with red paint on it make a large red oval right under the eyes for his red nose.

Christmas Cookie Nail Design

Gingerbread Man on the Ring Finger Nail:

Second we will make the gingerbread man on the ring finger nail. Take your detail brush with brown paint on it make a small circle near the cuticle then on each side of the head make two round arms and then two round shape legs. Fill in your gingerbread man with brown.

Then take a large dotting tool with black paint on it, make two dots for his eyes. Wipe off your dotting tool and then with white paint, make two dots on his chest for buttons. 

Lastly take a thin stripper brush with white paint on it and make a cured line for his smile, then with that same brush and white paint make some squiggle lines on his arms and legs. 

Christmas Cookie Nail Design

Christmas Cookie Nail Design

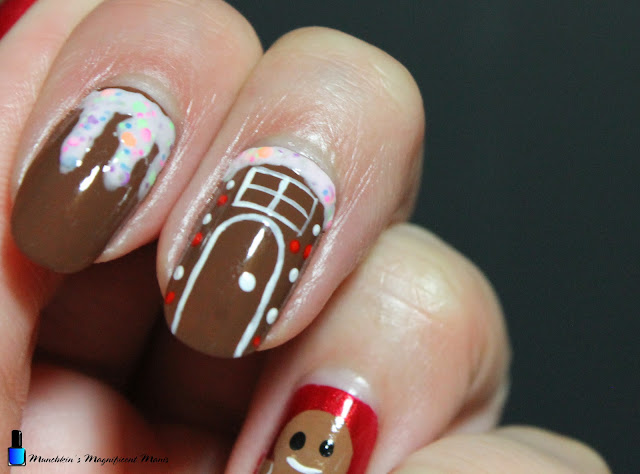
Gingerbread House on Middle Finger Nail:

Third we will be making a gingerbread house on the middle finger nail. Take a thin striper brush with white paint on it and make a long curved line for the door near the tip of the nail. 

With that same stripper brush with white paint on it, we will make a small window. Make a small rectangle above the door and then a cross in the middle to make smaller squares in the rectangle. 

For the final small details take a dotting tool with white paint first then red, and dot random dots all over your nail for small pieces of candy. Also make a dot on the door as well for your door handle.

Lastly for the dripping frosting, we will do that along with the other nails that only have the frosting on them.

Christmas Cookie Nail Design

Dripping Frosting on the Index and Pinky Finger Nails:

For our last two nails this will be very simple. Pour a small amount of your frosting looking polish on to a nail matte or a piece of foil (any surface that is easy to clean up), then take a large doting tool with that polish on it and dab it near the cuticle and then make three drips down that part that you just made. 

Also if you don't have a frosting looking polish you can just use a white polish for your frosting. 

Lastly on your gingerbread house repeat the same step, just make sure you don't cover up your window. 

Christmas Cookie Nail Design

Once your nails are ready for Santa, apply a top coat to help seal in your nails and to help it last through all of your Christmas celebrations. 

Hope all of you enjoyed this Christmas cookie nail design and have a Merry Christmas and Happy Holiday's! Also Happy New Year! 

See you in the New Year with more nail fun! 

Sunday, December 10, 2023

Holo Taco Mini Haul- Nail Polish Haul

Hello everyone! Today on the blog we have a small haul of Holo Taco polishes that I purchased during their Black Friday sale that I wanted to share with all of you. I purchased two toppers and a holographic glitter polish. 

Holo Taco Mini Haul

First we take a look at Disco Dust Taco.

Holo Taco- disco dust taco

Holo Taco- disco dust taco

Holo Taco- disco dust taco

Holo Taco- disco dust taco

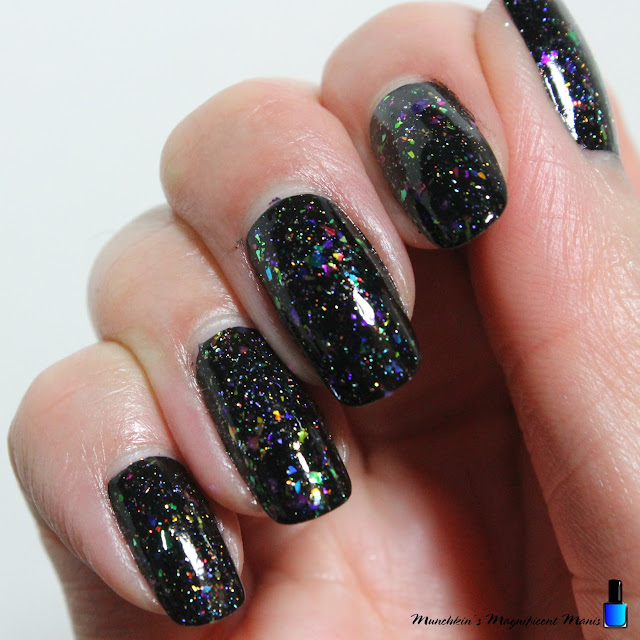
Disco Dust Taco is a multicolor, reflective topper that is in a clear base, that I applied over a black cream polish.

First I applied one coat of Disco Dust and that didn't seem like enough, so I went back in with a second coat which seem to be ok.  

As for this topper on the Holo Taco website it is described as a multicolor topper, when I look at this polish I can really only see pink and blue glitter, and then some silver reflective glitters. 🧐 

Holo Taco- disco dust taco

Holo Taco- disco dust taco

Holo Taco- disco dust taco


The three photos below are taken with the photo light and phone flash light on.

Holo Taco- disco dust taco

Holo Taco- disco dust taco

Holo Taco- disco dust taco


Second we will take a look at Everthing Taco.

Holo Taco- Everthing Taco

Holo Taco- Everthing Taco

Holo Taco- Everthing Taco

Holo Taco- Everthing Taco

Holo Taco- Everthing Taco

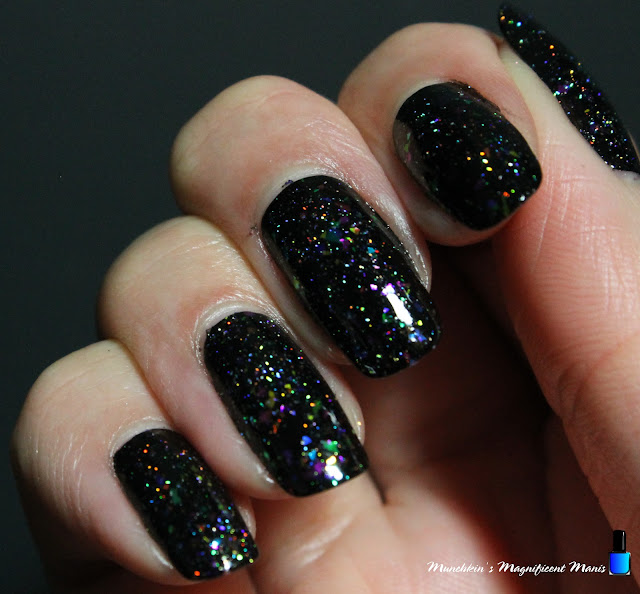
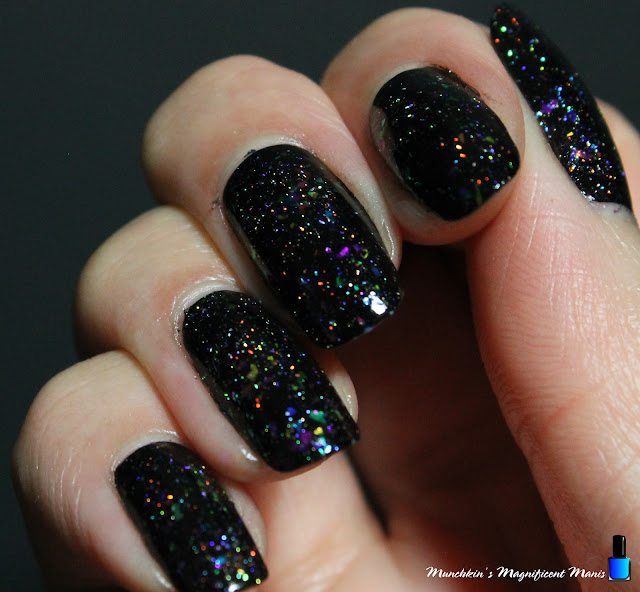
Everything Taco is a topper with three different holo glitters; scattered, linear, and flakie. Along with six different unicorn skins/ iridescent flakes. Hence the name Everything Taco, this polish has a mix of all of the Holo Taco holo toppers and iridescent toppers that they came out with at the time. 

This topper I once again applied over a black cream polish and I just applied one coat.

As for Everything Taco, I really could only see the scattered holo and a flake maybe iridescent topper. This polish is very beautiful it looks like it is glowing on the nails. 

On the black background and with the photography light, this polish looks like it is glowing🤩😍

Holo Taco- Everthing Taco

Holo Taco- Everthing Taco

Holo Taco- Everthing Taco

Holo Taco- Everthing Taco

Holo Taco- Everthing Taco

Lastly we have Rainbow Snow. 

Holo Taco Rainbow Snow

Holo Taco Rainbow Snow

Holo Taco Rainbow Snow

Holo Taco Rainbow Snow

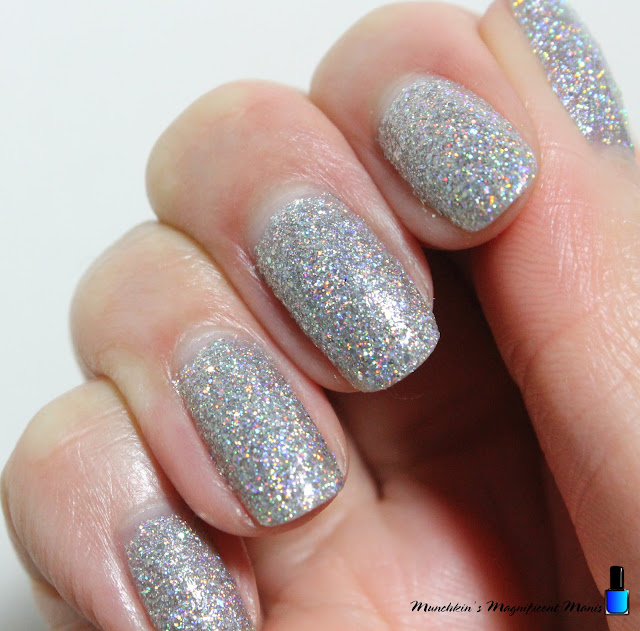
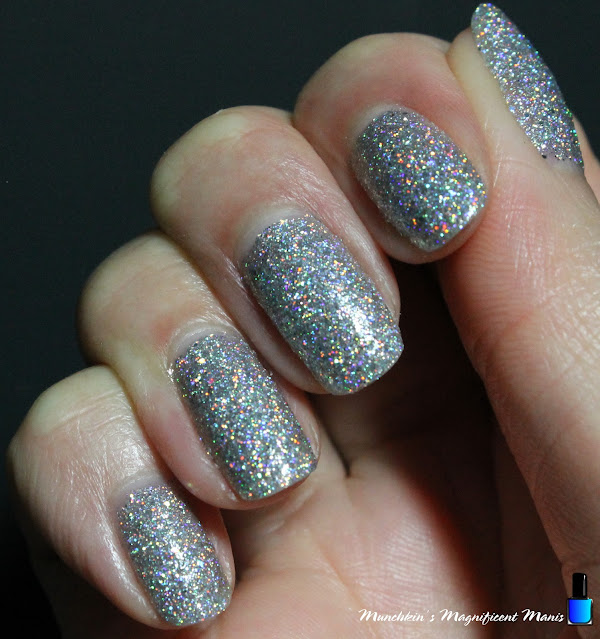
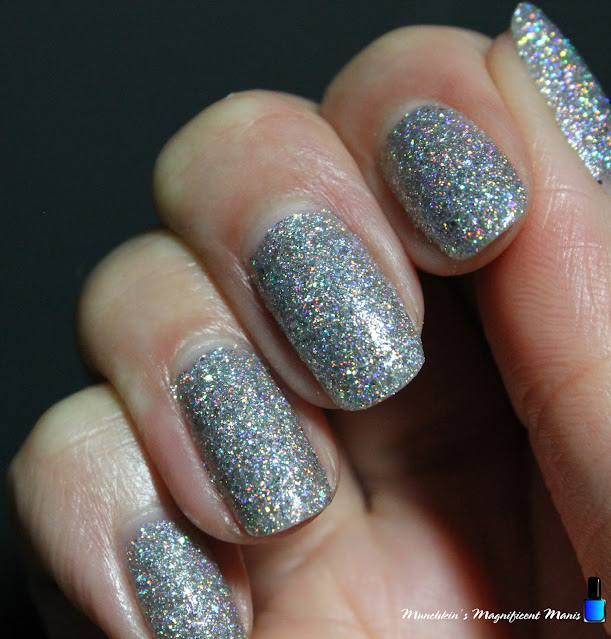
Rainbow Snow is described as a silver holographic polish packed with small, medium and large glitters. 

This polish took three coat to be opaque and can be kind of thick due to all of the glitter in this polish. I also applied two coats of top coat to try and smooth the polish. 

Holo Taco Rainbow Snow

Holo Taco Rainbow Snow

Holo Taco Rainbow Snow

Holo Taco Rainbow Snow


In conclusion the three polishes that I got for the Holo Taco Black Friday sale were pretty. I was just a little disappointed in Disco Dust, it just was not as reflective as I would have hoped and I could only see two colors blue and pink. I really did like Everything Taco, that was my favorite of the three. Also Rainbow Snow is very beautiful with all of the holo glitter in it.  

I would say that Everything is very first favorite, then Rainbow Snow, lastly Disco Dust.

All of these polishes are available on the Holo Taco website.


rainbow-snow $14 USD

Hope all of you enjoy this small Holo Taco haul.

See you next time for more nail fun! 

Friday, November 24, 2023

Autumn Time- Fall Nail Design

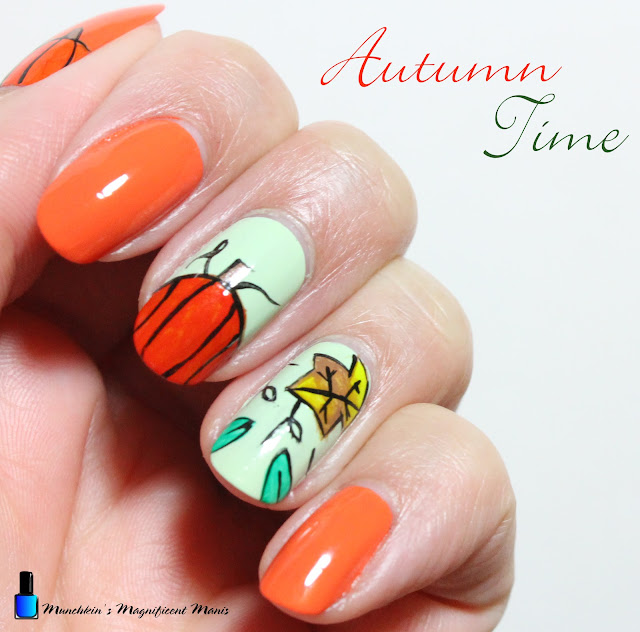
Hello everyone! Hope everyone had a good Thanksgiving and a long weekend (if you got the time off from work.) Today on the blog we will be creating a fall themed nail design, even though most people are probably like it is winter, but it is actually it is still fall, so I thought we could still go a head and create a fall design, even thought most people might be in the winter/ Christmas mood. 

Fall Nail Design

Here are the polishes and nail art tools used to create this fall nail design-


Top and Base coat- CND Stickey Base Coat and CND Super Shiney Top Coat.

Polishes- Sally Hansen- xterme wear- Sun kissed and OPI Hawaii- That's Hula- rious. 

Acrylic paint- Black, red, yellow, green, and brown.

Nail art brushes- Thin detail brush and stripper brush.

Other- Small cup of water to clean off nail art brushes. 

Fall Nail Design

Apply a top coat, let that dry.

Polish-

Thumb, index, and pinky- orange creme polish. 

Middle and ring finger nail- light green creme polish. 

Let that dry. 

Fall Nail Design

Pumpkin on the Middle Finger Nail: 

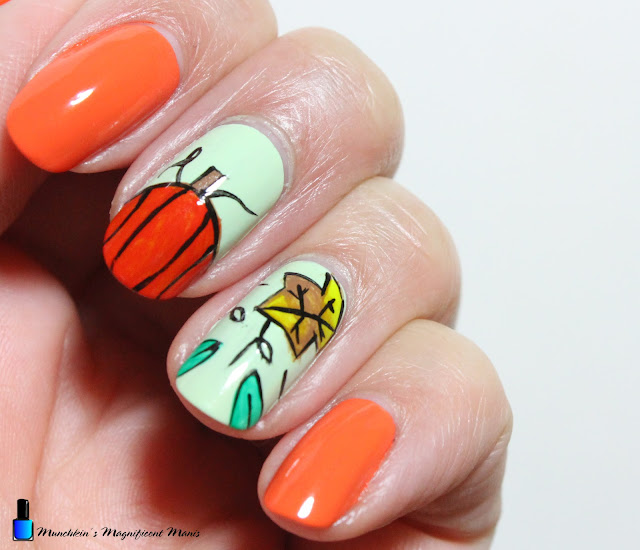
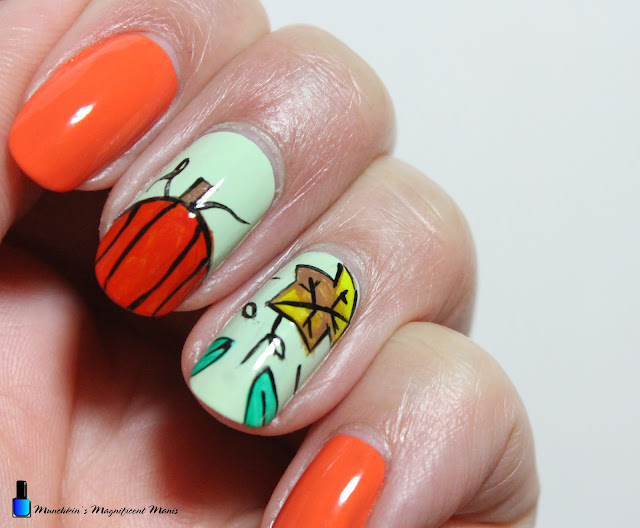
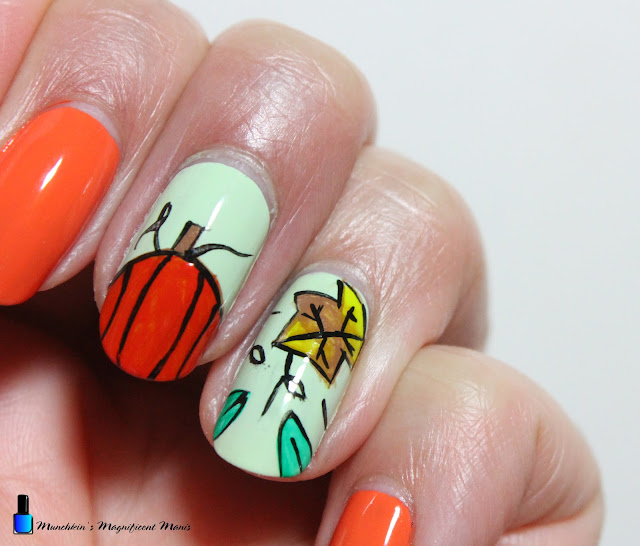
First we will start off with the pumpkin design on the middle finger nail. Take a thin stripper brush with black paint on it, starting near the tip of the nail make an oval shape. Then make a stem and fill that in with brown paint. 

Then with a detail brush, mix yellow and red to make orange (unless you have orange paint) and then fill in your pumpkin.

For some small details make four line on your pumpkin, then make a curved line with a loop coming out of the top your pumpkin and another curved line on the other side. 

Fall Nail Design

Leaves on the Ring Finger Nail:

Next we will make leaves on the ring finger nail. First we will make the lager leaf on the upper right hand corner of the nail near the cuticle. First take a thin stripper brush with black paint on it and make small triangle near the center of the nail, make two more triangles on both sides, then fill that in with yellow and brown, once you have the leaf color opaque enough make a few line in the leaf for the veins. 

After that make two green leaves on the tip of the nails and then outline them. 

Lastly make a few curved lines in the empty space of the nail for some vines. 

Fall Nail Design

Pumpkin's on the Thumb Nail:

Lastly on the thumb nail we will make two pumpkins, take a thin stripper brush with black paint on it and make a large oval and then a small oval right next to each other. 

Fill in your pumpkins with orange paint, then make a stem with brown paint, and outline the stem.

Then on your pumpkins make two line on them. 

Fall Nail Design

Fall Nail Design

Once your nail design is Fall/ Autumn ready apply a top coat to seal in your design and to help it to last.

Hope all of you are having a good fall and had a Happy Thanksgiving!

Hope all of you enjoyed this fall nail design!

See you next time for more nail fun! 
 

Monday, October 30, 2023

Boo Happy Halloween Nail Design

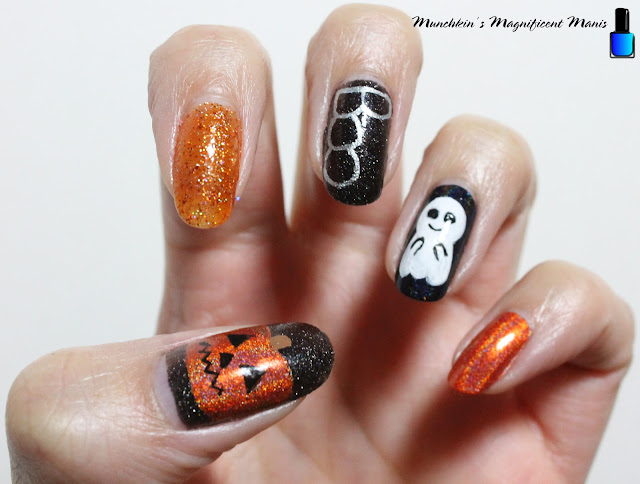
Hello everyone! Happy Halloween! Today on the blog we will be creating a cute Halloween design with a ghost and a pumpkin, just in time for your treat or treating or Halloween parties.
Halloween Nail Design

Here are the polishes and nail art tool used to create this cute Halloween nail deign.


Base and top coat- CND Stickey Base Coat and CND Super Shiney Top Coat.

Polishes- Holo Taco- Double Dare- Cristine's  Bday Polish, Holo Taco- Zyler the cat, Holo Taco- Electrostatic- Electric Holo Collection, Holo Taco- Orange Drink- Rainbow Collection, and Holo Taco- World's First- Chorme Collection. 

Acrylic paint- Black, white, and brown.

Nail art brushes- Thin detail brush and stripper brush.

Other- Water and acetone to clean off your nail art brushes.

Halloween Nail Design

Apply a top coat to your nails, let that dry.

Polishes- 

Thumb and middle finger nails- Black polish (Holo Taco- Double Dare)

Index- Orange glitter polish (Holo Taco- Zyler the cat)

Ring- Black holographic polish (Holo Taco- Electrostatic)

Pinky- Orange holographic polish (Holo Taco- Orange Drink)

Let that dry.

*With all of the nail art that I create I go back and fourth between the nails, to let each part dry before staring another part of that design.*

Halloween Nail Design

Halloween Nail Design

Ghost on the Ring Finger Nail

First we will start off with the ghost on the ring finger nail. Take a small detail brush with white paint on it and near the cuticle make a circle, then make two lines going down the circle you made for the body and then make three curved lines for his "feet". Then fill in your ghost with the white paint, you will need to go over this a few time to be opaque. 

Once your ghost has dried, we can make his cute little face. Take a detail brush or a dotting tool with black paint on it and make two eyes. Then with your thin striper brush make a small curved line under his eyes for his smile.

Lastly we will make his little hands, take that same detail brush and make curved lines on each side of his body for this little nub arms. 

Halloween Nail Design

Halloween Nail Design

The Word Boo the the Middle Finger Nail

Next we are on the the harder part, writing the word boo on the nail, first we will make the outline with white paint, I find it easier to make an outline first that way if you mess up and the paint has not dried you can still wipe it off and try again. Then when you have your outline the way you like you can then go over it with silver chrome polish. 

Halloween Nail Design

Pumpkin on the Thumb Finger Nail 

With the pumpkin I also first make an outline of the shape of the pumpkin first with a thin stripper brush with brown paint on it. Then take an orange holographic polish and fill in your outline.

Let that dry, and then we will make the pumpkins face. Take a thin detail brush with black paint on it and make two triangles for the eyes, then a small triangle under the eyes for the nose, the for the mouth make a zig zag line. 

Lately take your thin detail brush with brown paint on it and make a small square on the top for the stem. 

Halloween Nail Design

Once you have your cute Halloween nail design they way you look apply a top coat to seal in your nails and help them to let though all of your trick or treats.


Halloween Nail Design
Here is the practice version, for some reason I couldn't get the ghost little smile to look the same, but the final design still turned out cute.

Hope all of you have a safe and Happy Halloween, and hope you enjoyed this Halloween design!

See you next time for more nail fun!