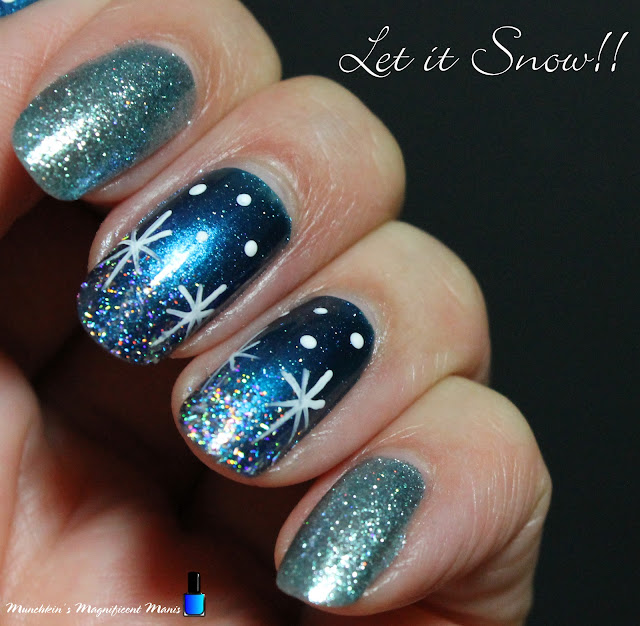
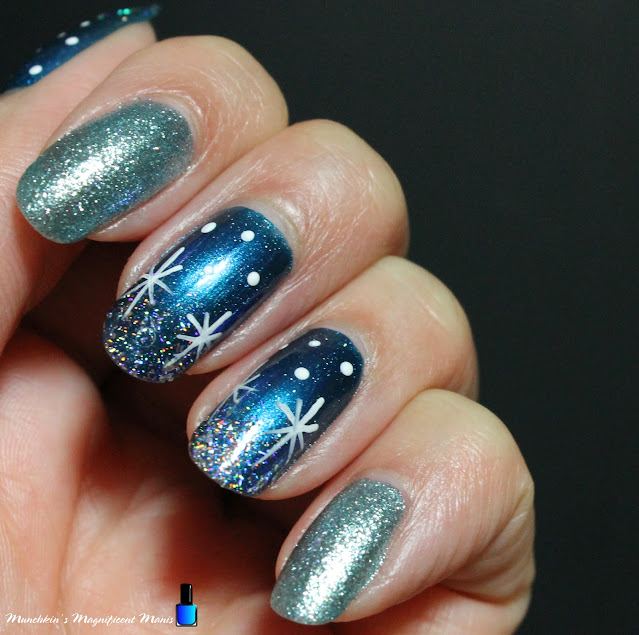
Hello everyone! Hope everyone is having a good start to the new year, unfortunately I was sick for the first start of the year, but now I am feeling much better. Anyways today we will be creating a pretty winter themed nail design, using one of the Holo Taco magnetic polishes, two of the holo toppers and a glitter polish.
Here are the polishes and nail art tools used to create this winter nail design:
Base and top coat- CND Stickey Base Coat and CND Super Shiney Top Coat.
Polishes- Holo Taco- Twice in a Blue Moon- Magnetic Magic Collection, LA Colors- Diamond Crush- Cloud 9, Holo Taco- Flakie, and Holo Taco- Scattered.
Acrylic paint- White.
Other- makeup sponge.
Nail art tools- Small dotting tool and a thin stripper brush.
Apply a base coat to clean dry nails.
Let that dry.
Polish-
Thumb, middle, and ring finger nail- Shimmer Blue Polish (Holo Taco- Twice in a Blue Moon)
Index and pinky finger nail- A light blue glitter polish, with a scatter holo topper (LA Colors- Diamond Crush- Cloud 9, and Hold Taco scattered.)
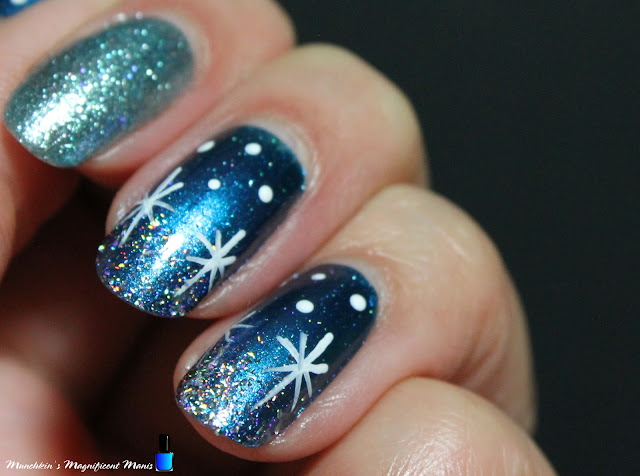
For the Holo Taco Polish Twice in a Blue Moon, this is a magnetic polish and I did do the magnetic part, it is just hard to tell, I still couldn't get it to show up as well.
On our index and pinky nails, we will just leave this with just the light blue glitter and a scatter holo topper to add more or a shine to this design.
Let that dry.
First we will make a simple snowflake design on our middle and ring finger nails, with a glitter gradient.
First we will do the glitter gradient, this will also include the thumb nail. I first polish just a little on the tip of the nail, then I take a makeup sponge, polish a little on the sponge, then dab the sponge on to the tip of the nails, lastly I polish a little more on the tip of the nails where I want just a little more glitter.
Let that dry.
Now on to the snowflake. Take a thin stripper brush with white paint on it and make a cross shape, then an X shape through that. Do this two time on the nail for your snowflake shapes.
For smaller snowflake, we will just make a few small dots with a small dotting tool.
Lastly we will create the larger snowflake on the thumb nail, once again take your large stripper brush with white paint on and make a cross shape, then an X shape over that, then make two lines/ arrow shape on each line on the cross shape, then make two lines/ arrow shape on the X shape. Lastly on the space between the snowflake make some small lines.
Also once again for the small snowflakes take a small dotting tool with white paint on it and make small dots around the nail.
Once you nails are ready for the winter weather, apply a top coat to seal in your design and to help it to last.
Hope all of you enjoyed this winter nail design!
See you next time for more nail fun!


