Friday, August 26, 2016

Underwater Seascape- Waterfall Nail Design

Hello everyone! Today we will be creating a simple design. This design is actually called a waterfall design, but when I was practice it earlier this week, it looked kind of like an abstract underwater seascape and not so much a waterfall.
Anyways for this design I wanted to incorporate two colors from the Essie Summer 2016 collection, mainly Viva Antigua and some of the color Loot the Booty. These colors went great for the seascape theme. 

Waterfall/ Seascape Nail Design, Essie Viva Antigua and Loot the Booty     Underwater Seascape or Waterfall Nail Design 
using Essie Viva Antigua and Loot the Booty.

Here are the polishes and tools used for this seascape nail design:


Base and Top Coat- CND Stickey Base Coat and  Revlon Extra Life No Chip top coat

Nail polishes- Essie- Viva Antigua! and Essie- Loot the Booty.

Nail art striping polish- Kiss nail art striper- Silver.

Nail art tools- a thin nail art striper brush and a small dotting tool.

Other- a small glass jar with nail polish remover or acetone to clean off your nail art brushes.

Let's start this simple seascape/ waterfall nail design!  

As always start off with a base coat on all of your nails, to protect them and to help your manicure last.

Waterfall/ Seascape Nail Design, Essie Viva Antigua and Loot the Booty 
Underwater Seascape Nail Design 

First we start off by paint all of our nails with a shimmery turquoises (Essie Viva Antigua!) This polish has a gold shimmer in it. This time when I went to apply the polish it kind of was thick, it may have been do to the fact that I felt warm and the room was a little warm. I did put some thinner in the polish, which helped but this polish should not have been thick because it is still new and I have only used it a few times.  

For the actual design part, it is very simple it consists mainly of random curved lines. I did base this design off of a design I found I Pinterest, but when it came to actually doing the design I just painted the lines randomly and it came out looking quite nice.

For the curved lines, using a thin striper brush with a dark blue (Essie Loot the Booty), starting from the center of the nail near the cuticle make one curved line, then make a few more on each side of the nail. Their was not a curtain number of lines that I did. Also some of the larger lines I added a few small lines to that.

Once you have all the blue lines that you want and that is dry, take a silver stripering polish and draw just a few curved lines near/ next to the blue ones, if some of the sliver lines overlap that is okay. 

Then with a small dotting tool, with that same silver polish make a few dots near the tip of the nail. In the middle on the thumb I put three dots and then on the sides I put two dots, for the other nail I put two dots in the center and one on the side.

Waterfall/ Seascape Nail Design, Essie Viva Antigua and Loot the Booty 
 Underwater Seascape Nail Design 

Once your design has dried apply a top coat to seal in your design and to protect your nails. 

Waterfall/ Seascape Nail Design, Essie Viva Antigua and Loot the Booty 
 Underwater Seascape Nail Design 

The polishes from the Essie Summer collection Viva Antigua! and Loot the Booty, along with a silver polish looked really nice for a seascape design. I think the small dots kind of look like bubbles. Even though this design was meant to be a waterfall design, I think the underwater seascape workout. Do you think this looks like a seascape or a waterfall?

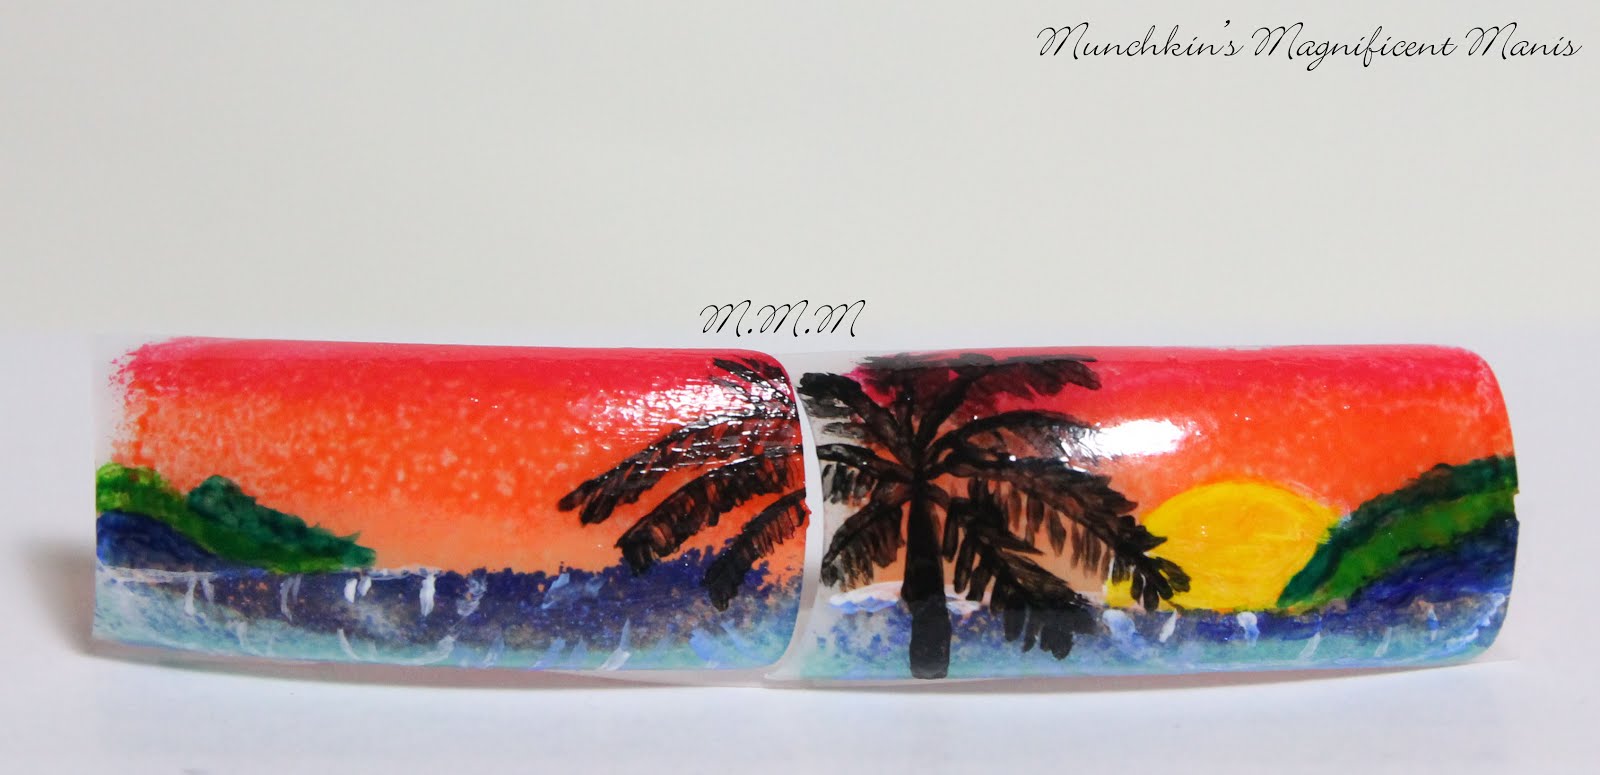
Here is a link to the Paradise found- tropical design that I also used the Essie Summer 2016 collection.

Also in the last tutorial that I used this collection, I forgot to include where you can find these polishes. 

Essie summer collection mini set $17.00 at Ulta, mini's 4x 0.16fl oz

Essie.com $8.50 each, regular size 13.5 ml, 4.6 fl oz

Target $8.99 each, size 13.5 ml, 4.6 fl oz

Or where Essie polishes are sold.

Hope all of you enjoy this Underwater Seascape or Waterfall nail design!

Also hope that all of you have been liking how I have been doing the tutorials, even though they don't show photos of each step, I still try to explain each step.  

See you next time for more nail fun!     

Thursday, August 11, 2016

Butterfly Kisses- Butterfly Nail Design

Hello everyone! Today on the M.M.M blog we will be creating a pretty butterfly; a full butterfly on the thumb nail and the butterfly wings on the other nails. This butterfly will be a little bit different from the butterflies that you are use to seeing, these butterflies will be holograph. I thought it would be a different and cool twist on creating butterflies if we use holo polish.   

 Pink Holographic Butterfly Nail Design   


Here are the polishes and tools used for this butterfly nail design:


Base and Top Coat- CND Stickey Base Coat and Revlon Extra Life No Chip top coat.

Nail polishes- Color Club- Halo's- Cloud Nine, Color Club- Eternal Beauty,Color Club- Halo's- Crystal Baller, Sally Hansen- Hard as Nails- Black Heart, and China glaze- white on white.

Nail art polish- Kiss nail art stripper- Black

Acrylic paint- black

Nail art tools- small dotting tool, long thin stripper brush, and a thin liner brush.

Other- small glass jar with water in it to clean off your brushes.


Let's start this holo butterfly design!   

Always start off with a base coat to protect your nails and to help your design last.

Then paint all of your nails with a pink holographic polish (Color Club- Halo's- Cloud Nine.)  

 Butterfly wings on index, middle, ring, and pinky finger nails.

First we will start off with the wing design on the index, middle, ring, and pinky finger nails. With black acrylic paint and a thin stripper or liner brush ( I ended up switching between the two), first make a curved line near the cuticle.

On the curved line make three or more small lines or dots as a guide to where you are going to make the larger lines for the wings.

Then try to make straight lines going up the nail (I had a little bit of trouble for some reason, my hand kept shaking when I was trying to make the line).

Once you get to the top make a small curved line, after you have one area done go to the next and make the top of the curve a little lower, keep making the curves lower for each part of the wing.

Once you have the wing shapes, take a black polish and fill in the tip of the nail, for the smaller parts you may need to use your black stripper/ nail art polish.

Once the black part has dried, take a small dotting tool with white polish on it and make a few dots along the tip of your nail, I only did three.

 
 Butterfly on the thumb nail

Next we will be making the larger butterfly. First we will make the outline of the body, take a thin liner brush with black acrylic paint and draw a thin line down the center, this will be kind of a guide to know where to paint the butterflies wings and be a part of it too.

Then make a curved shape near the bottom right half of the nail tip for it's wing.Then on the other side do the same thing for two wings. 

After that on the top of the wing on the right side, kind of make half of a wing.

On the other side, or above the wing on the left side make another wing, for me I ended up kind of making this wing pointed, you can always try and make it more round like the other wings or the same as I did. 

Now we will add some color into to butterfly, take a purple holographic polish (Color Club- Eternal Beauty) and paint the inside of the wings, once that has dried take a blue holographic polish (Color Club-Crystal Baller) and paint some blue staring in the middle of the wings, only go half way up the wings still leaving some purple showing. 

Once that has dried you may need to re-outline your butterfly with black paint, if the holographic polish covered the outline. 

For the smaller details, first we will make a curved line on the tips of the wings and paint that in with black paint. Then on the wings we will add small lines on the wings, I just made a few thin lines from the center of the wings.

Once the black part on the wings has dried, take a small dotting tool with white polish on it and make a few dots on each part of the wings.

For the final touch just add two lines on top and the center of the butterfly for the antennas. 

  
 Final Butterfly Nail Deisgn

Once your design has dried apply a top coat to protect you nails and make them even more shinny!

Other close up of the butterfly on the thumb nail.

For this design you can use whatever holographic colored polish you would like or any type of polish from cremes, glitters, shimmers, etc. I just thing holo makes any design look more prettier.

Hope all of you enjoyed this holographic butterfly design!

See you next time for more nail fun! 

Friday, August 5, 2016

Paradise Found- Tropical Design

Hello everyone! Sorry that it has been a few weeks since I have done done a design for all of you! If you read my last little post that I did, Yay I did it! You would know that I just finished with nail tech school and now I just have to take the state boards to become an official/ licensed nail technician. 
Anyways for today we have a bright, tropical design that we will be creating, you all know how I love tropical designs and with it being summer time this will be a great design to create.

Tropical Nail Design and Essie 2016 Summer Collection      
For this design I got inspiration from this bag (in the photo above), this bag was part of the Bath & Body Works Hawaii collection from 2015, this bag had travel size items from the Oahu Coconut Sunset fragrance. I also recently purchased the 2016 Essie Summer collection and thought this design would go great with the colors in this collection.

Here are the polishes and nail art tools used for this tropical design:

   
Base and top coat - CND Stickey Base Coat and Revlon Extra Life No Chip top coat.

Nail polishes- Essie 2016 collection; Viva Antigua!, Coconut Cove, Berried Treasures, and Loot the Booty. China glaze- white on white, OPI Hawaii- Is Mai Tai Croooked, and  Sally Hansen- Triple Shine- Play Koi. 

Acrylic paint- white, black, blue, green, and yellow.

Nail art tools- thin detail and liner brush, and a make up sponge. 

Other- small jar with water in it, to clean off the nail art brushes and tape or liquid latex to help make the clean up easier. 

Remember to always start off by applying a base coat to all of your nails, then you apply your polish.

For this design we will need to first paint all of our nail white (I suggest two coats of white, I used one coat and it was kind of streaky) this helps to make your bright colors pop. Then once that is dry, apply a top coat that way when we sponge on the colors the white will not come up.     

This design will get kind of messy, so we will need to put tape on the side of our fingers and near the cuticle or you can use liquid latex for an easier clean up.  

Tropical Nail Design  
Tropical design on the thumb nail

We will start off with the tropical design on the thumb nail. To start off this design first we will do the sponge gradient, you will need to do the same thing on your ring finger. I did the gradient in two part first with the sky colors and then the water. 

Take a damp makeup sponge, and paint on a bright pink, a bright orange, and a light orange. ( Berried Treasures, Play Koi and Is Mai Tai Croooked) Then sponge that color on, you may need to do this two more times to be opaque.

Then cut that part of the sponge off, then we will do the water part. Once again make sure your sponge is still damp and paint the sponge a dark blue and a turquoise. (Loot the Booty and Viva Antigua!) Then sponge those two colors on right under the light orange, once again you may need to re- due this a few times.

Repeat this same step on your ring finger.

Now for the smaller details, we will first start off with the palm tree. With black acrylic paint paint the steam of the tree, then make the outline of the tree branches, and once you have the outline the way you like start to make small lines on each branch for the leaves

After that we will go on the the land that is near the tip of the nail. With blue paint kind of dab your brush to form a bush, then do the same for light green on top of the blue, and dark green on top of the light green.

Next is the sun, first make a white outline for the sun and once that is dry fill that in with yellow paint.

The last step is to make small detail in the water, to kind of make it look like waves. The way my sponging ended up it looks like a really big wave is coming. For this step it was best for me to just make a lot of random lines that looked like the bag (in the photo at the start of the blog.) 

Tropical Nail Design  
 Tropical design on the ring finger nail.

For the ring finger as you can see it is very similar to the thumb nail. The only thing different that you have to do is just make half the palm tree, no sun, and make the small line for the waves a little bit different.

Blue and turquoise gradient Essie Viva Antigua and Loot the Botty   Blue and turquoise gradient 

The next step is much easier then the other nails, we will just be doing a two color sponge gradient. I have only tried the sponge gradient a few time, this time it turned out a little bit better, I still need to work on it though to try and get them to blend together better. 

This will be done on the index, middle and pinky finger nails. For the sponge gradient take a clean damp makeup sponge, paint a blue and turquoise (Loot the Booty and Viva Antigua!) right next to each other, they can overlap. Then sponge the colors on to the nail, make sure to kind of move the sponge from side to side to try and blend the colors together.

You may need to do this a few more time to make the colors opaque enough. 

Tropical Nail Design and Essie 2016 Summer Collection        Final design, Paradise Found

Once your bright tropical design has dried apply a top coat to protect your nails and to seal in your design.  


 Once again here are my practice versions of today's designs. 

Essie Berried Treasures and Coconut Cove 
                Right hand Essie's Berried Treasures on thumb, index, middle, and pinky nail 
and Coconut Cove on ring finger nail.

On my other hand I want to incorporate the other colors as well, so I just paint them with the solid colors of Coconut Cove and Berried Treasures. I used two coats for both colors, Coconut Cove was still a little bit streaky so I put a light third layer on. As for Berried Treasures I thought was okay with two coats, but later on it looked like it could have used a third because it was still kind of streaky.

Essie 2016 Summer Collection   
 Essie 2016 Summer Collection
 Essie 2016 collection; Viva Antigua!, Coconut Cove, Berried Treasures, and Loot the Booty.

Essie 2016 Summer Collection swatch  

The Essie Summer 2016 collection has six colors in the collection. With a mini box set (which I purchased) with four of the colors from the collection. The minis are a good size for a mini and the brushes seem easy to work with

Loot the Booty is a dark blue with blue shimmer in it.

Berried Treasures is a bright strawberry (at least that what I think of when I see this color) or berry pink creme polish

Coconut Cove is an off white creme polish.

Viva Antigua is a turquoise with gold or light green shimmer in it.

The other two I do not have.

Hiking Heels is a bright lava red.

Tribal Text- Styles is a black with sliver shimmer in it.

I only wore Berried Treasure and Coconut Cove as a solid color on my right hand and Viva Antigua and Loot the Booty I sponged on for a gradient, so it was hard to tell how they really applied. As stated above the two polish I did fully wear where kind of streaky, but they were still very pretty.  Viva Antigua and Loot the Booty where the two colors that stood out for me in this collection because of the shimmer in them. I do plain on wear them for a full manicure, so I can see how they wear on the nails. 

This is the second time I have bought any Essie polishes, the first time I was not impressed I bought Starry Starry Night the Retro Revival and it didn't have a good formal. This time the polishes where much better, I really liked them and think they are great colors for summer or going on a tropical vacation or cruise.

Hope all of you enjoyed this tropical nail design, I really like how this design turned out and I am glad I could share it with all of you! Also hope all of you enjoyed the review of the Essie Summer 2016 collection as well!

For the next few weeks I am going to be studying for the state board to be a licensed nail technician, I do still plain on doing a post on Friday, but if I don't all of you will know why.

See you next time for more nail fun!