Saturday, September 16, 2023

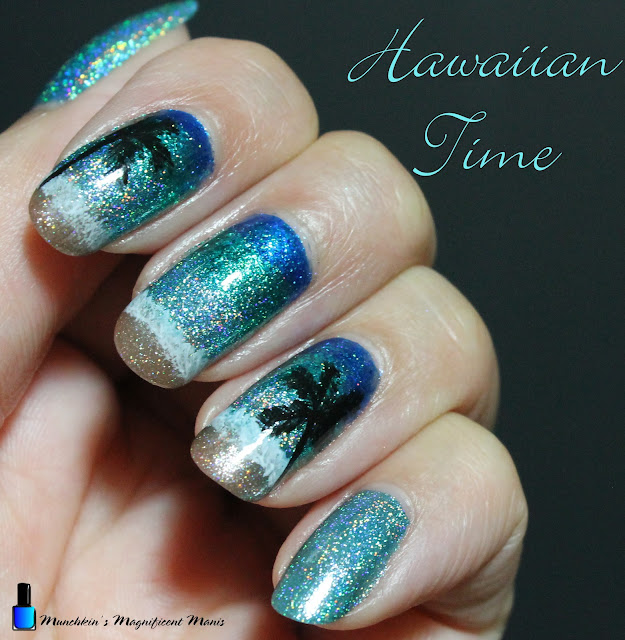
Hawaiian Time- Tropical Nail Design

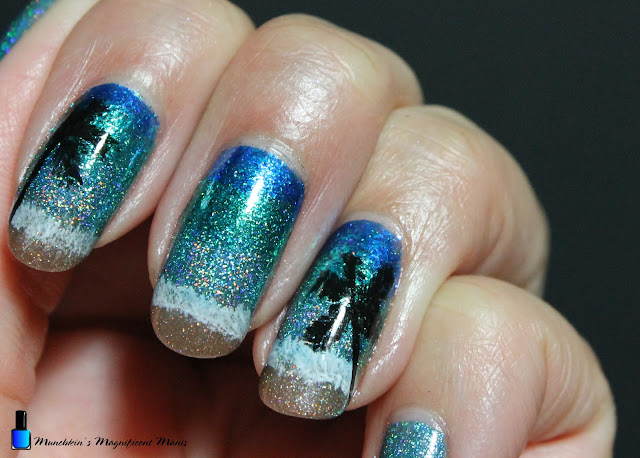
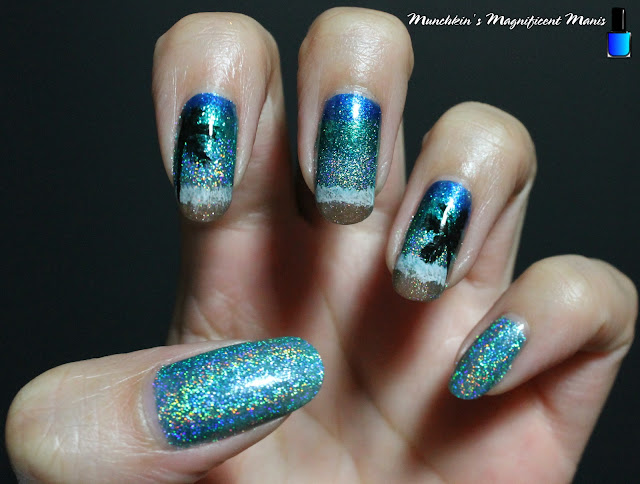
Hello everyone! Today on the blog we have one more tropical design for the summer, even though to most people summer has come to a close, in most places at lest in the US the weather still fills summer like, so why not make at lest on more summer/ tropical themed nail design. In the last M.M.M post we took a look at the ILNP Under the Sea collection, today we will be creating a design using most of the polishes from that collection. 

Tropical Nail Design

Here are the polishes and nail art tools used to create this tropical nail design:

Base and top coat- CND Stickey Base Coat and CND Super Shiney Top Coat.

Polishes- ILNP- Sea Glass- Under the Sea Collection, ILNP- Paradise, ILNP- Blowing Bubbles, and ILNP- Sandbar Magnetic polish.

Acrylic paint- Black and white. 

Nail art brushes- Thin stripper brush and flat brush.

Other- Water to clean off your nail art brushes and a makeup sponge. 

Tropical Nail Design

Tropical Nail Design

Apply a top coat, let that dry. 

Polishes- 

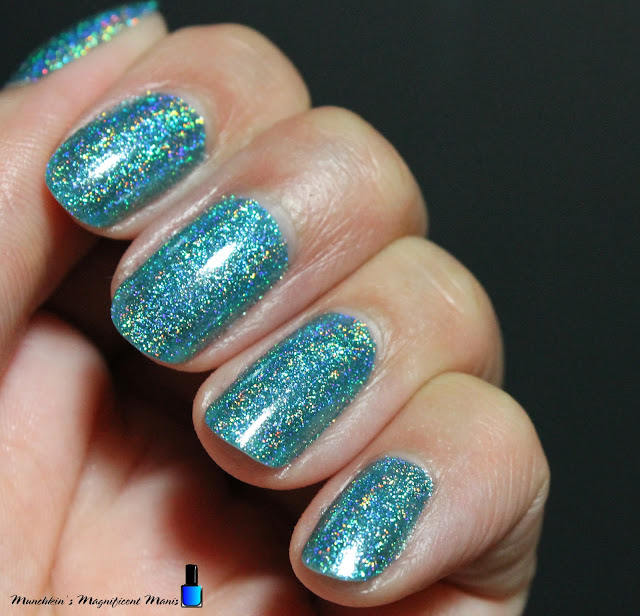
Thumb and pinky nail- A light blue holo polish (ILNP- Blowing Bubbles)

Index, middle and ring finger nails- Base color a beige sand colored polish (ILNP- Sandbar)

Let that dry.

Tropical Nail Design

Tropical Nail Design

For this design I will not go into too much detail on how to create this design seeing how, most of my tropical designs are created the same way, just different polishes.

Anyways for this design we will need to create a gradient on the index, middle and ring finger nails. On your sponge you will need to start off with, Sandbar, Blowing Bubbles, Paradise, and then Sea Glass. Sponge this on the nails three time to be opaque.

Tropical Nail Design

For the ocean waves take a flat brush with a very small amount of water down white paint and dab this where the sand and ocean meet, Sandbar and Blowing Bubbles bend together.    

Tropical Nail Design

Tropical Nail Design

For the final touch we will add two black/ shadows of a palm trees to the nails, on the index nail make a palm tree on the left side of the nail, then on the ring finger nail make a palm tree on the right side of the nail. On the middle finger nail leave that with just the ocean. 

Tropical Nail Design

Once your nails are vacation ready apply a top coat to seal in your nails and help your beautiful tropical design to last. 


As with all of the nail design that I create, I always do a practice version, if I feel like I did a good job on the practice version I will share it with all of you.

Hope all of you enjoyed this topical nail design! Also hope everyone had a great summer. I know my summer was pretty good, this summer was the first summer in a while that my hubby and I went on a vacation that required us to get on a plain, we went to Miami Beach, Florida. 

See you next time for more nail polish fun! 


Saturday, September 9, 2023

ILNP- Under The Sea Collection

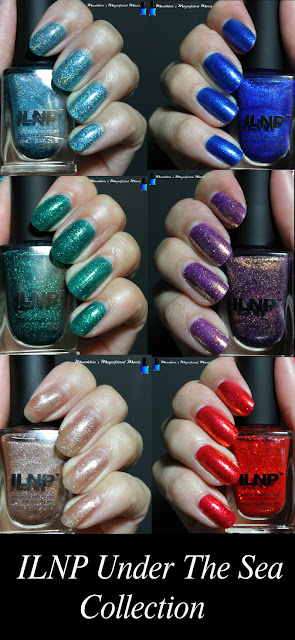
Hello everyone! Today on the blog we will be taking a look at a indie brand nail polish collection from ILNP (I Love Nail Polish), The summer 2023 Under The Sea Collection. The collection has six polishes with different finishes such as shimmers, holographic, and one magnetic polish. With the collection being called under the sea, I think it is a collection that is inspired by The Little Mermaid. Also the brand ILNP is made in the USA. 

ILNP- Under The Sea Collection


ILNP- Under The Sea Collection
Here are the polishes. They did come in individual small black boxes as well.

Let's take a closer look at these polishes.

ILNP- Under The Sea Collection- Blowing Bubbles

ILNP- Under The Sea Collection- Blowing Bubbles

ILNP- Under The Sea Collection- Blowing Bubbles

ILNP- Under The Sea Collection- Blowing Bubbles

First we have Blowing Bubbles this is described as a rich sky/ ocean blue polish with a vivid holographic flakes and reflective silver metallic flakes in it.

This light blue polish is so packed with so much holo, even in not so bight light this polish really shines. Then in sun light 😮 this polish looks even more amazing! 

This polish applied well in two coats. 

ILNP- Under The Sea Collection- Sea Glass

ILNP- Under The Sea Collection- Sea Glass

ILNP- Under The Sea Collection- Sea Glass

ILNP- Under The Sea Collection- Sea Glass

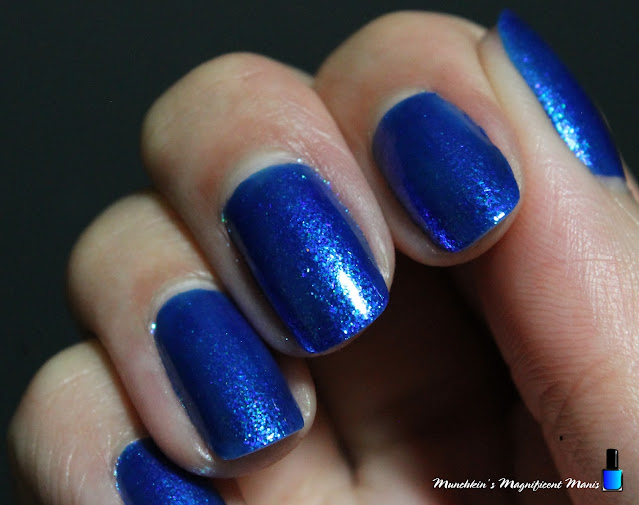
Second we have Sea Glass this is described as a deep cobalt blue, with iridescent flakes that shift from blue to purple, and have a green shimmer in it.

This cobalt blue polish I did see the green shimmer in it and a little of the blue and purple shift in certain light.

This polish applied well in three coats.

ILNP- Under The Sea Collection- Paradise

ILNP- Under The Sea Collection- Paradise

ILNP- Under The Sea Collection- Paradise

ILNP- Under The Sea Collection- Paradise

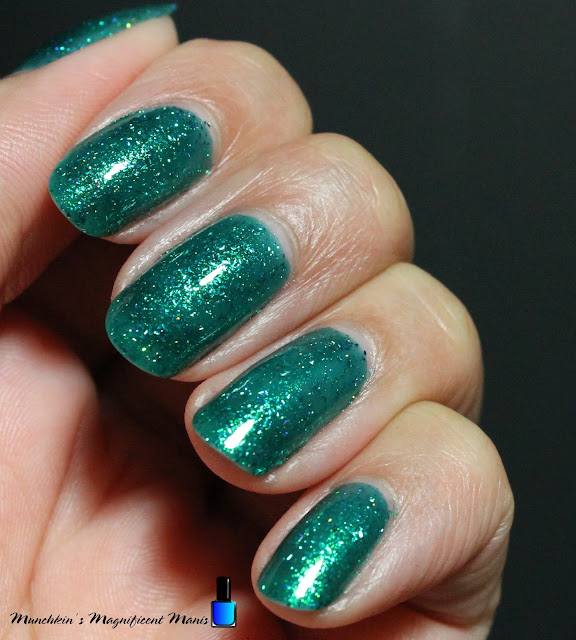
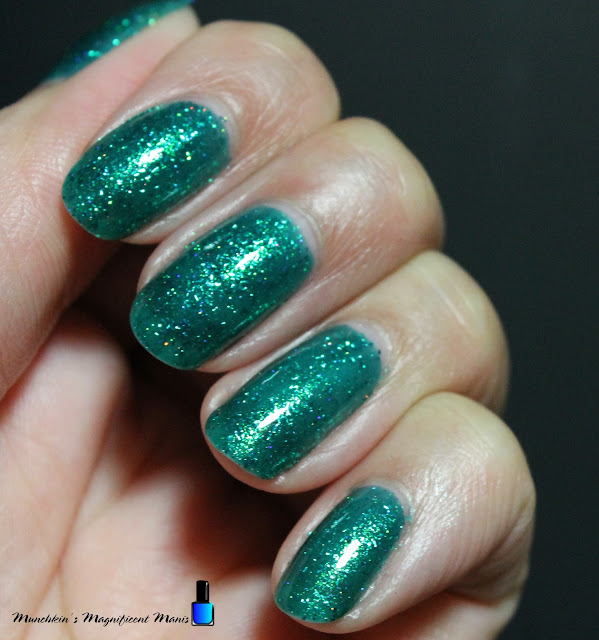
Third we have Paradise this is described as a tropical teal green jelly polish, that has emerald metallic flakes and green shimmer, along with holographic flakes. 

This green jelly polish was on the sheer side, as you can see from the photos. Jelly are meant to be sheer, but to me I still could not build this one up to not look patchy.

This polish was very sheer even in three coats and was kind of patchy for me. 

ILNP- Under The Sea Collection- Hidden Treasure

ILNP- Under The Sea Collection- Hidden Treasure

ILNP- Under The Sea Collection- Hidden Treasure

ILNP- Under The Sea Collection- Hidden Treasure

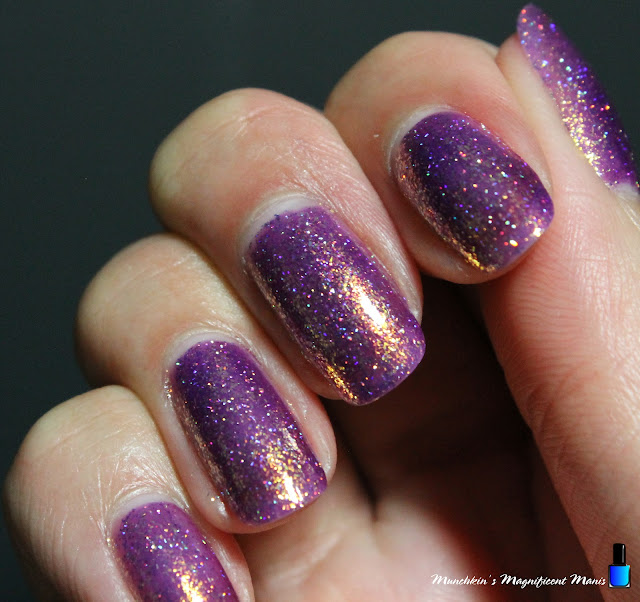
Fourth we have Hidden Treasure this is described as a shimmery purple holographic polish, that has a reflective gold shimmer,  and holographic flakes. 

This purple polish was a little on the sheer side, as you can see from the photos you cans still see visible nail line.

This applied okay in three coats, it did still look a little sheer even after three coats. 

ILNP- Under The Sea Collection- Sand Bar

ILNP- Under The Sea Collection- Sand Bar

ILNP- Under The Sea Collection- Sand Bar

ILNP- Under The Sea Collection- Sand Bar

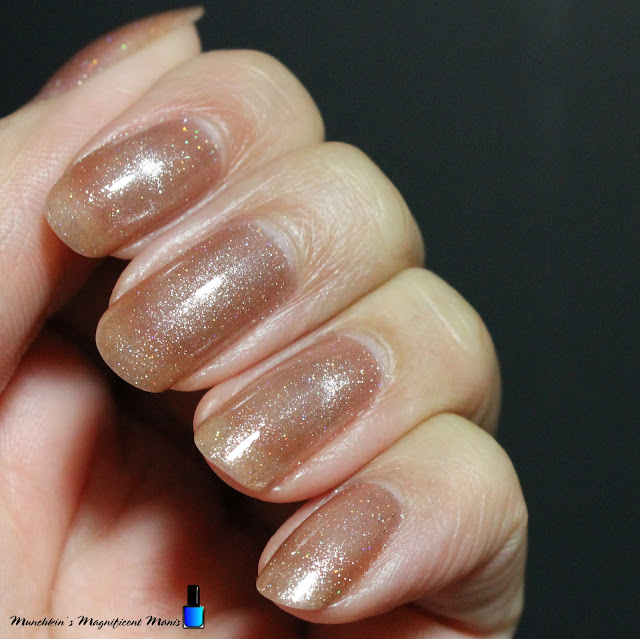
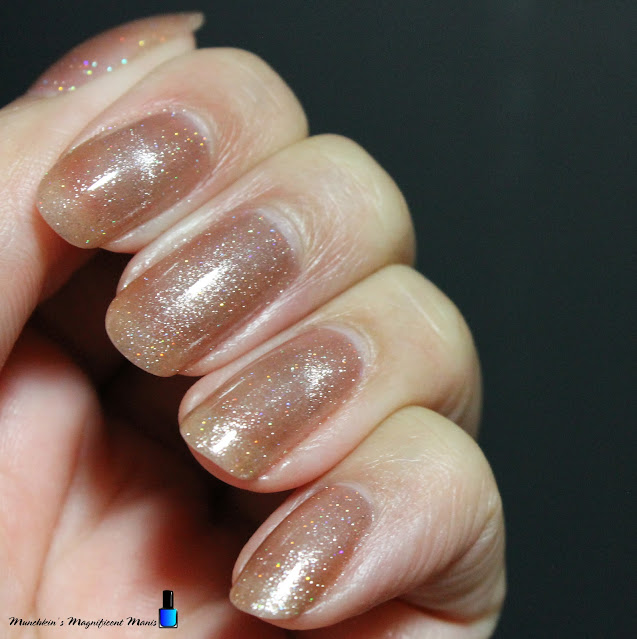
Fifth we have Sand Bar this is described as sandy beige magnetic polish, that has holographic flakes and magnetic pigments in it.

This sand colored polish was very sheer, this kind of polish I don't care for because of it being a neutral color, even with the holo glitter in it, it was just to sheer for me. If you are more of a neutral person and want to gradually get in more holographic shimmer polishes this might be good for you.

This polish was way to sheer for me even in there coats. 

Also this polish is a magnetic polish, if you buy the set it does not come with a magnet, so you will need to buy one (I used the Holo Taco one that I had.) 

All thought this polish is subtle the magnetic pigment in this polish work very well. On the index and ring finger I did the cat eye style and the other nails I did the aura style, which you can really see the magnetic pigments move, when the polish is wet. 

ILNP- Under The Sea Collection- Ariel

ILNP- Under The Sea Collection- Ariel

ILNP- Under The Sea Collection- Ariel

ILNP- Under The Sea Collection- Ariel

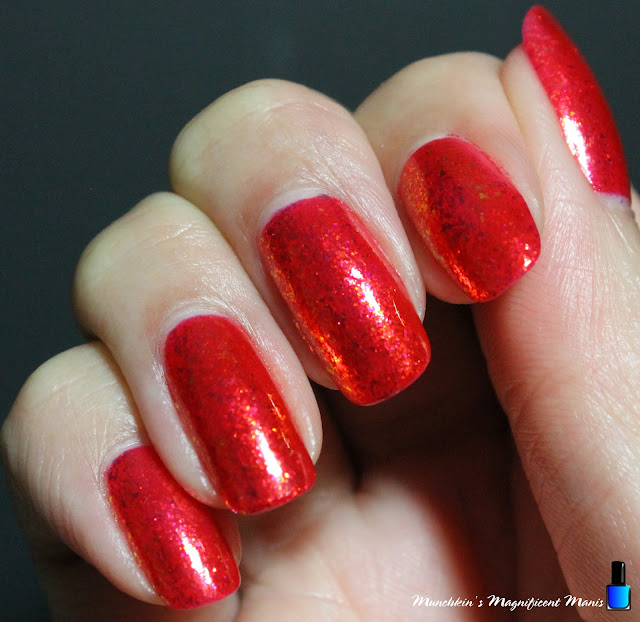
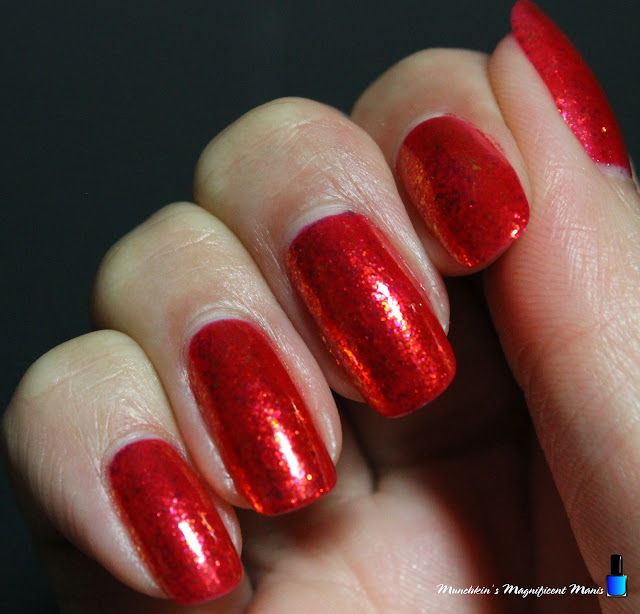
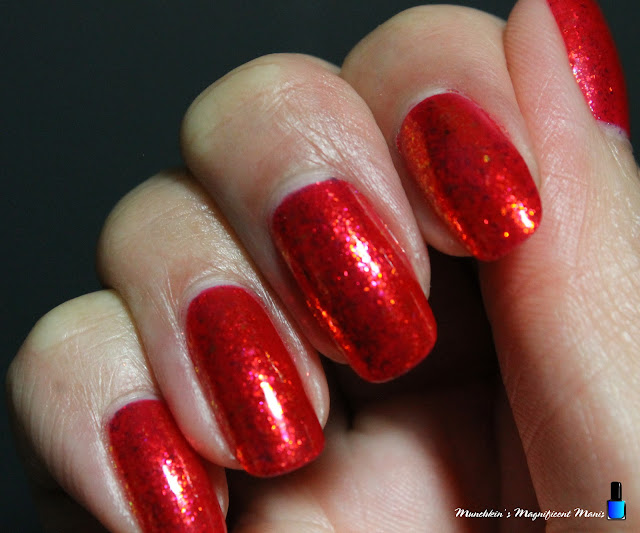
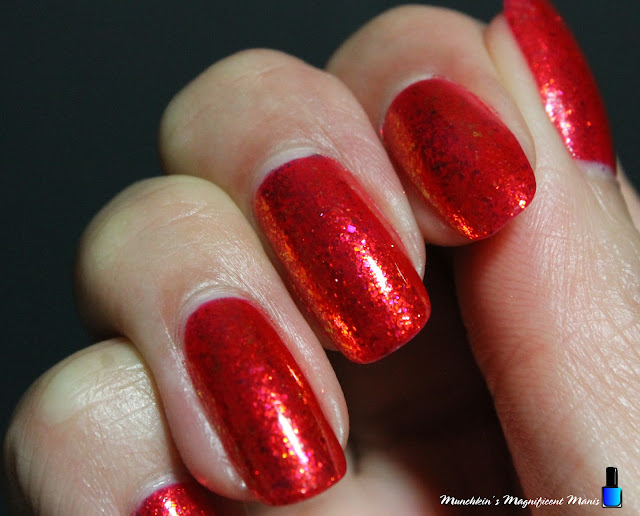
Sixth and lastly we have Ariel this is described as a bright lobster red shimmer jelly polish, with a  intense red to orange sparkle in it. 

This shimmery red polish was more of an opaque jelly polish and you can really see the almost gold shimmer in it. 

This polish applied well in three coats. 


In conclusion I really loved this collection, the ocean theme and colors were all very beautiful, I liked that their was different finishes for each polish. Although most of the polishes took three coats and two of the polishes were on the sheer side, I still really enjoyed this collection. There was one thing that really impressed me, that was the wear of these polishes. I wear my polish all week and normally I get tip wear and chipping, I did not get any chipping and pretty much no tip wear. Red polishes always end up having tip wear, not Ariel, which is very impressive! 

I highly recommend any indie brand nail polish if you are looking for unique nail polishes that wear very well, ILNP is no exception to this. I highly recommend this brand. 


ILNP- Under The Sea Collection- Blowing Bubbles

As you may have guess Blowing Bubbles is my favorite from the collection. The moment I applied this polish I was impressed!😍 This applied well in two coats and that holo shimmer in it is amazing! It seem even more intense then other blue holo polishes I have. 

This collection is available on the ILNP website ILNP- Under the Sea Collection all six polishes are $62.50 USD.

All of the polishes Blowing Bubbles, Ariel, Sea Glass, Paradise, and Hidden Treasure are $10 USD

Sandbar is $12.50 USD, with this polish if you don't have a magnet you can purchase the magnetics magnetic-wand for $5.00 USD on the website. 


Hope all of you enjoyed the ILNP Under the Sea Collection review!

See you next time for more nail polish fun! 


Saturday, September 2, 2023

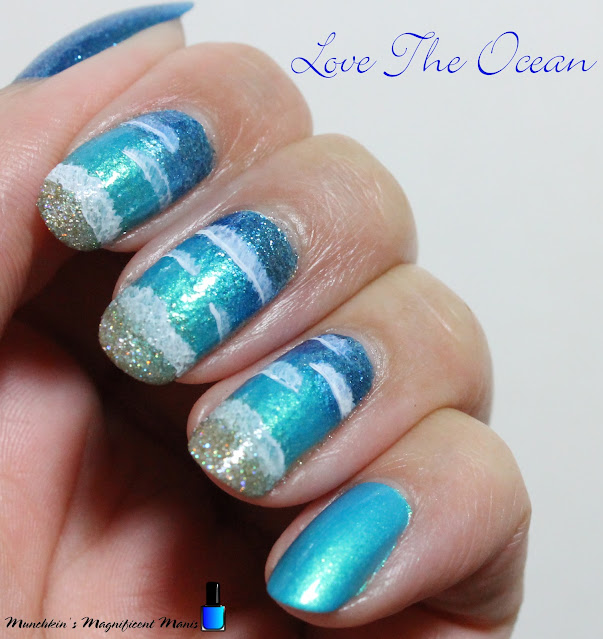
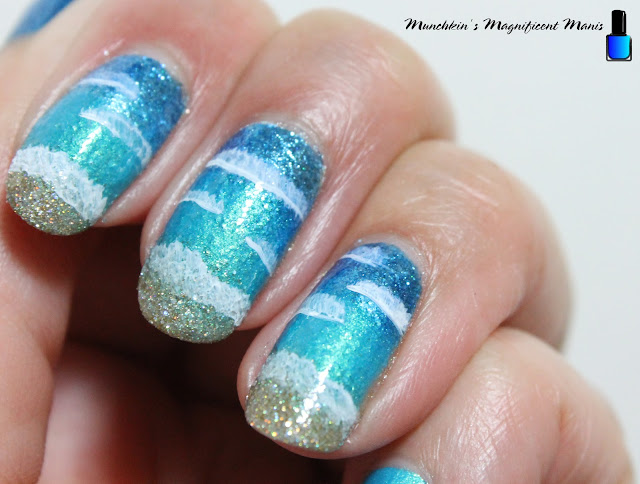
Love The Ocean- Ocean Gradient Nail Design

Hello everyone! Today on the blog we will be creating a very simple ocean themed nail design. I know that now that it is September many people are in the fall mood, if you are like me just because it is the first few days of September it don't mean that it is automatically fall. So if you are still in the mood for summer then this ocean nail design is just for you. 

Ocean Nail Design

For this design I have created other ocean design with my tropical designs that I have done, for this design it will only be a simple ocean nail design, no palm trees or anything to hard.

Here are the polishes and nail art tools used to create this ocean nail design: 

Base and top coat- CND Stickey Base Coat and CND Super Shiney Top Coat.

Nail Polishes- Zoya- Twinkling- Alessia, Orly- Kelli's Solstice- Kell's Galaxy Remix Trio, and Holo Taco- Beach Please- Vacation collection.

Acrylic paint- White.

Nail art brushes- thin stripper and flat brush.

Other- Makeup sponge, and water to clean off your nail art brushes.

Ocean Nail Design

Ocean Nail Design

Apply a base coat, let that dry.

Polish-

Thumb- A dark glitter blue polish (Zoya- Alessia)

Index, middle, and ring finger nails (This is your base color polish)- Glitter sand looking polish (Holo Taco- Beach Please) 

Pinky- A shimmer light blue polish (Orly- Kelli's Solstice)

Let that dry.

Ocean Nail Design

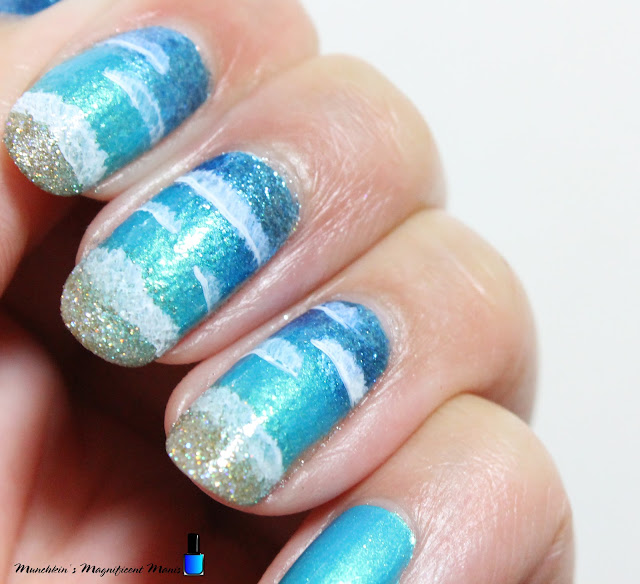
For the ocean we will be creating a gradient staring with the dark blue polish, the light blue and the sand colored on the tips of the nails.

First take a makeup sponge staring with Holo Taco Beach Please (sand color), Orly- Kelli's Solstice (light blue), and Zoya Alessia (dark blue). Polish each color on to your sponge slightly overlapping each other. 

Then on the ring finger nail first dab the sponge on to the nail. Repeat this step for each nail, then going back and repeat the last step with the polish and dabbing again, until opaque (it took three times) 

Apply a top coat, to smooth the gradient together. 

Let that dry.

Ocean Nail Design

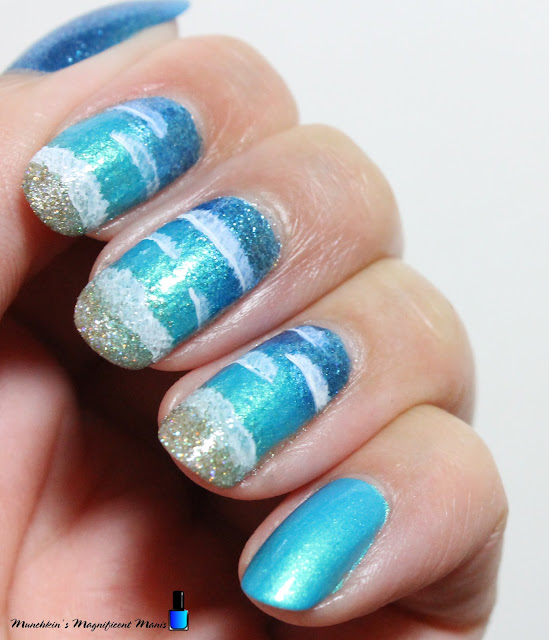
For some small details, we will add small waves. First take a small flat brush, with a very small amount of white paint that is watered down and where the sand and water meet start to dab the flat brush along the nail. 

For the smaller waves make a few lines with your stripper brush in the ocean and then with the same flat brush, staring on the lines pull up on the brush to make small waves. 

Ocean Nail Design

Once you have your ocean nail design just right, apply another top coat to the ocean design that we just finished, along with the other nails. 

Hope all of you enjoyed this ocean nail design!
On the MMM blog we are not finished with summer, we still have another review on a summer themed nail polish collection and I would also sill like to create another topical nail design using this collection, that I will be reviewing very soon.

See you next time for more nail fun!