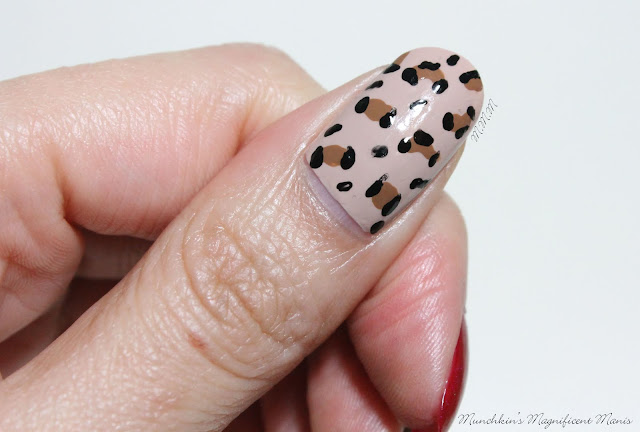
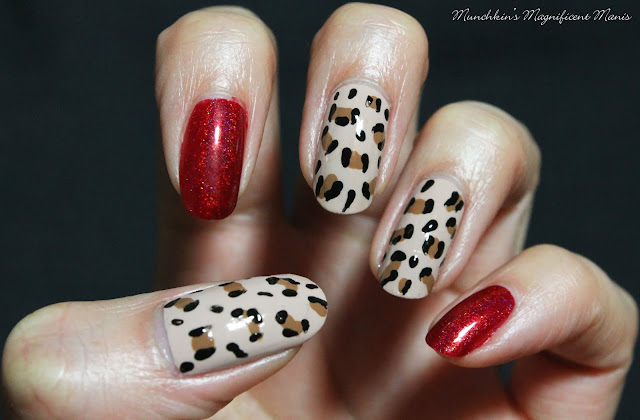
This design is very simple to create and great for beginners, the only nail art tool you need is a dotting tool.
Leopard Print Nail Design
Here at the polishes and nail art tools that you will need for this leopard design:
Base an top coat - CND Stickey Base Coat and Revlon Extra Life No Chip top coat.
Polishes- Left hand; OPI Hawaii- Do you take Lei Away and Cirque- Madder.
Right hand; Revlon- Gold Coin, Zoya- Renee- Redbook trio, and Nicole by OPI- That's Just Plain Nuts! (for the brown spots)
Acrylic paint- Black and brown- hot cocoa.
Nail art tools- large dotting tool (that is all!)
Leopard Print Nail Design
As always start off with clean dry nails and apply a thin layer of base coat, then let that dry.
For this design I used two different types of polish on each hand. I always like to have two different polish colors on each hand, to make it more fun! As always you can just go with one or the other for your color choice as well.
On your left hand polish your thumb, middle and ring finger with a nude/ tan polish (I used OPI- Do you take Lei Away) and then your index and pinky nail, polish those nails with a red holographic polish ( I used Cirque- Madder.)
Leopard Print Nail Design
On your right hand polish your thumb, middle, and ring finger with a gold polish (I used
Revlon- Gold Coin) and then your index and pinky nail, polish those with a red creme polish (I used Zoya- Renee.)
Revlon- Gold Coin) and then your index and pinky nail, polish those with a red creme polish (I used Zoya- Renee.)
Let your base polishes dry.
Leopard Print Nail Design
Now on to the leopard print, which will go on the tan/ gold nails. For the leopard print only put a few of the larger prints, try not to make to many and make sure to leave some of the tan/ gold showing, other wise the nails might look to cluttered.
Take your dotting tool and dip it into your brown paint, for your left hand and then for your right hand use a darker brown polish. On each nail make different random shaped dots to start your leopard print.
For both hands take that same clean dotting tool with black paint on it, and on each large dot make a curved shape on some of the sides, on some of the dots I put two and some I put three curved shapes.
Then to finish off your leopard print make some small black dots in the blank areas, also make sure to only make a few.
That is all that is to it for this leopard design.
Leopard Print Nail Design
Leopard Print Nail Design
Leopard Print Nail Design
Once you have your leopard print the way you like, apply a top coat to seal in your design and to help it to last.
Hope all of you enjoyed this simple leopard print nail design!
See you next time for more nail fun!


No comments:
Post a Comment