 Christmas Nail Design
As always here are the polishes and nail art tools used to create this cute Christmas design:
Base and top coat - CND Stickey Base Coat and Revlon Extra Life No Chip top coat.
Nail polishes- China Glaze The Grinch collection, Kiss nail art stripper- Silver, and Funky Fingers- As If (for just the star glitter.)
Acrylic paint- white, green, yellow, red, black, and brown.
Nail art tools- large dotting tool, thin detail brush, and thin stripper brush.
Small cup or jar of water to clean off nail art brushes.
Christmas Nail Design
Start off with a thin layer of base coat to protect your nails and to help your design to last.
Let that dry.
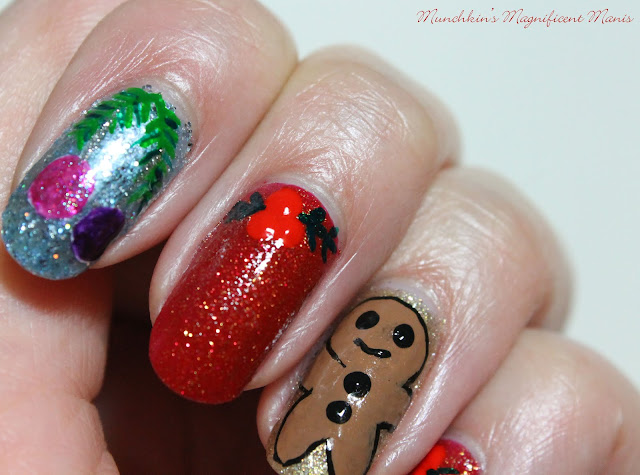
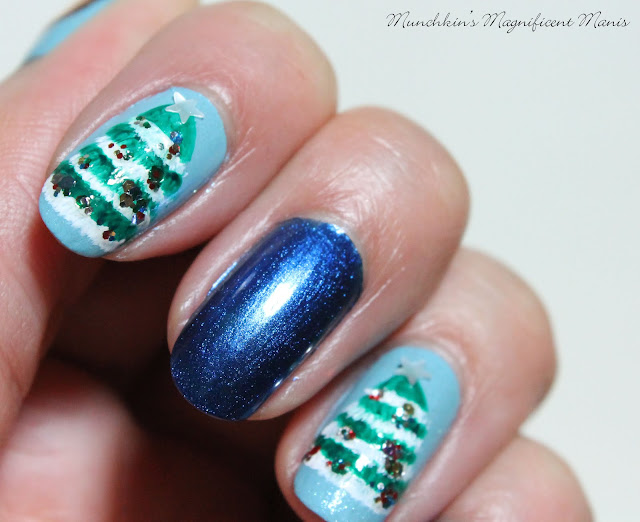
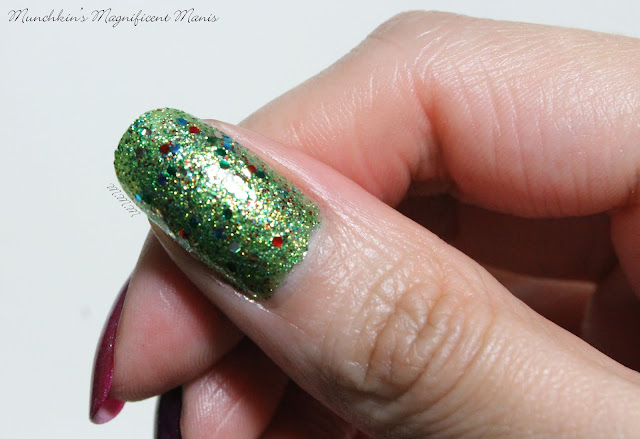
For our base color we will be using the polishes from the China Glaze Grinch collection. On your thumb nail polish that nail a glittery green, and a rainbow glitter over that when it is dry, the index nail a light glittery blue, your middle and pinky finger nail a glittery red, and your ring finger nail a glittery gold.
Let that dry.
Christmas Nail Design
Christmas tree Ornaments-
Then on to the nail art, we will first start off with the ornaments on the two tree branches on the index nail. Take a thin stripper brush with a light green paint and make two long thin lines, starting from the cuticle. Then make some small lines from the larger lines (kind of like a palm tree branch), after that take a darker green and make some small lines next to the light green lines.
For the ornaments I first made the circle with white paint and then went over the circles with two different polish colors, a pink with a iridescent shimmer over that, and then a purple polish.
Then you just add two small sliver line from the branches to the ornaments.
Christmas Nail Design
Christmas Holly-
Next we will creating holly on the middle and pinky finger nail, this design is very simple. Just take a dotting tool with red paint on it and make two or three dots near the cuticle, then make a two long lines with green paint, coming from each side of the red berries, and then make four small lines for the leaves.
Gingerbread Man-
Now on to the gingerbread man on the ring finger nail. First make outline of the gingerbread man with brown paint, make a circle for his head, two arms and two legs, you will need to go over this a few time to be opaque.
Then with your large dotting tool make to eyes and then two dots on his chest for the buttons, and then make a small curved line under his eyes for his smile.
Also if you would like you can outline your gingerbread man with black, this is hard to do, but seems to always make the design look better.
My gingerbread was a little deformed, but he sill turned out cute and really when you make cookies that don't turn out perfect.
Christmas Nail Design
Christmas Tree-
On the thumb nail when I had used the glittery green and rainbow glitter together for the review of the Grinch polishes, I thought this would look cool just making an outline of a Christmas tree because the colors together remind me of a Christmas tree. So that is what we will be doing on the thumb nail.
Take a thin stripper brush with black paint on it and make a Christmas tree shape, and then take a polish that has star shapes and place it on top of the tree or you can paint a star on top of your tree.
Christmas Nail Design
Once you have your Christmas nail design the way you like, apply a top coat to seal in your design and to help it last until Christmas.
Hope all of you enjoyed this Christmas nail design, also if you have not all ready don't forget to check out last weeks nail design Reindeer Games
Hope all of of you have a wonderful Christmas and a Happy Holiday, along with a Happy New Year!
See you next time for more nail fun!
Hope all of of you have a wonderful Christmas and a Happy Holiday, along with a Happy New Year!
See you next time for more nail fun!


