Saturday, March 25, 2023

Holo Taco- One Coat Chrome Collection Review

Hello everyone! Today on the blog we will be taking a look at one of the newest collection from Holo Taco, the one coat chrome collection that just came out not too long ago, around the end of February. This is a new formula for Holo Taco, but not a new nail polish formula. Back in the early 200's I remember that Sally Hansen had some chrome nail polishes, I had just had the blue polish and I remember that polish being pretty good, then when around the time that I started this blog they released the polishes again and they where not the same. Also chrome is often done with powders and gel polish, where you buff the chrome powder into the gel polish and cure the gel polish.

Holo Taco- One Coat Chrome Collection

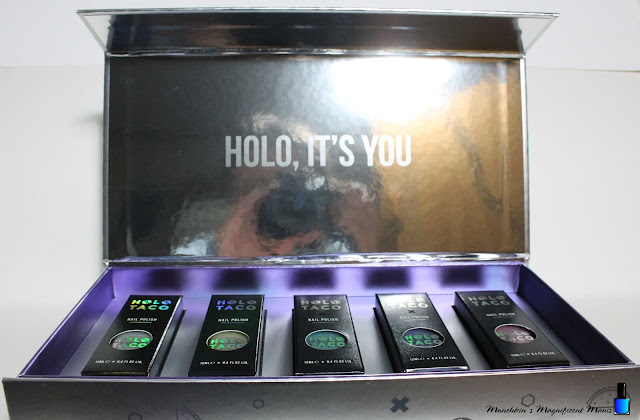
As with most all of the Holo Taco collections there is a collection box that you can purchase, these boxes are limited so it is best to get them right away if you want the collection box, they usually go very fast.

Holo Taco- One Coat Chrome Collection

Here is the collection box. As with most of the collections this one includes five polishes in a very reflective box. 

Holo Taco- One Coat Chrome Collection

Holo Taco- One Coat Chrome Collection

Holo Taco- One Coat Chrome Collection

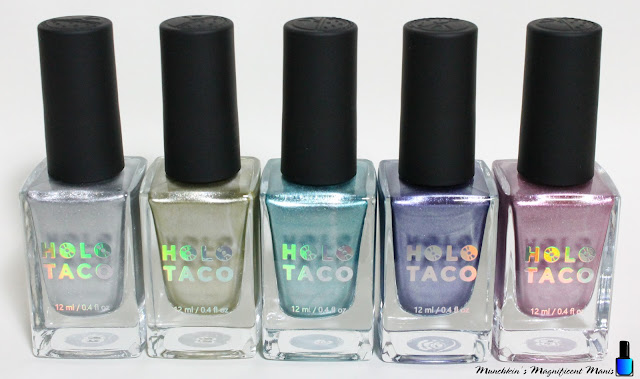
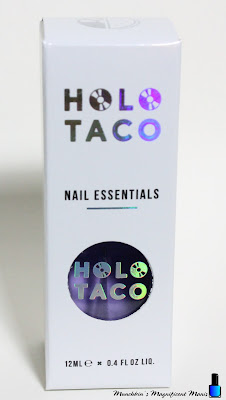
Here are the polishes in the small box and out side of the box. These polishes do have a wide flat brush to help with application. 

Holo Taco- One Coat Chrome Collection

Holo Taco- One Coat Chrome Collection

Also this collection if you purchase the collection box has a new base coat that comes with it the Quick dry top coat.

This is recommended to use with these polishes, but you don't have to use this base coat. The first two polishes were the only two that I used this base coat with the other I used my usually the CND Stickey Base Coat. Also it is recommended that you don't were top coat, but once again you can do so if you want to help your polish hopefully last longer, it was just said that it can dull the chrome. I did use top coat to help with longevity. 

Let's take a look at there polishes. 

World's First- 

Holo Taco- Word's First

Holo Taco- Word's First

Holo Taco- Word's First

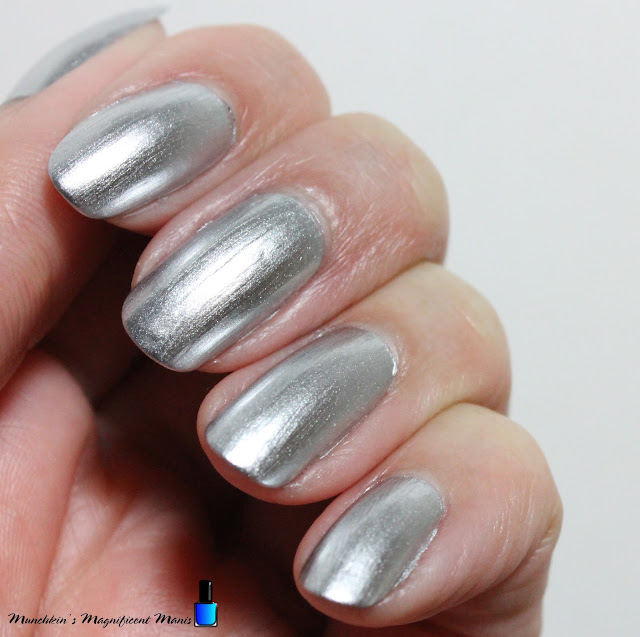
First we have World's First this a bright very mirror shine silver. All of these are suppose to be one coat polishes. I applied two coats for each polish, a long with a top coat. This polish I did use the Holo Taco Quick Dry Base Coat. 

At the end of this post I will go over my final thoughts on how they applied and anything else. 

I took these polishes on both black and white backgrounds because the polishes are so reflective that the black background was reflecting on to the nails. 

Holo Taco- Word's First

Holo Taco- Word's First

Holo Taco- Word's First


Trophy Life-  

Holo Taco- Trophy Life

Holo Taco- Trophy Life

Holo Taco- Trophy Life

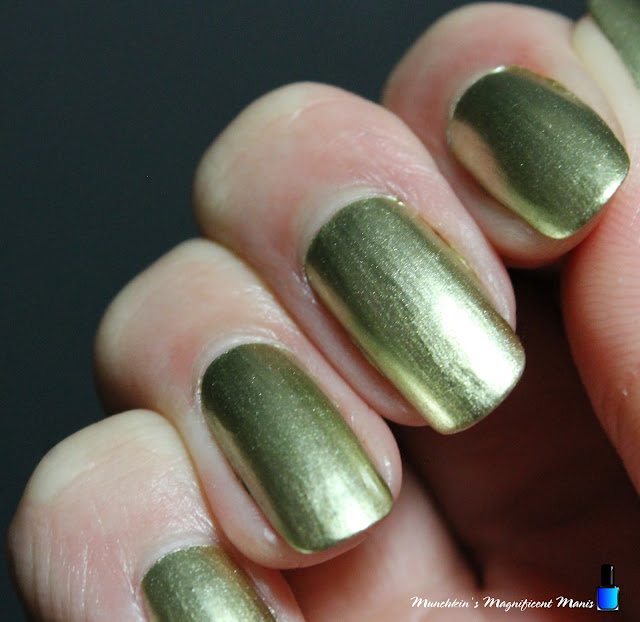
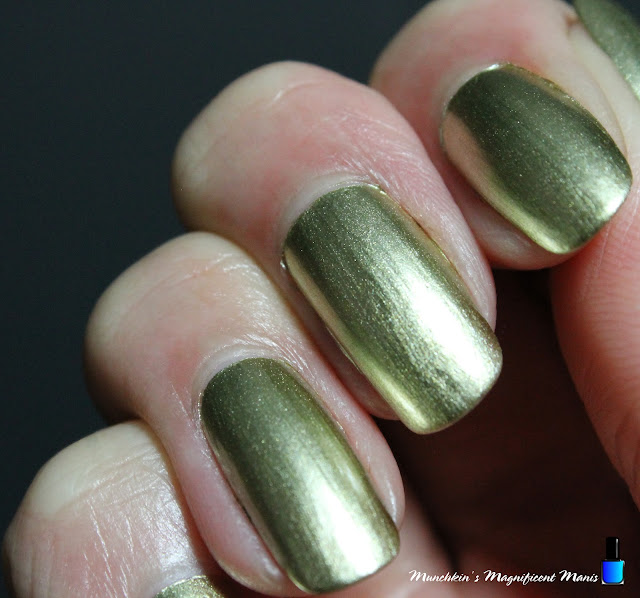
Next we have Trophy Life this is described as a pale yellow toned gold. In the photos above the dark background I felt like gave it a kind of greenish tone. The white background gave it more a true to color look. 

I also used the Holo Taco Quick Dry Base with this polish. 

Holo Taco- Trophy Life

Holo Taco- Trophy Life

Holo Taco- Trophy Life


Pink Steel- 

Holo Taco- Pink Steel

Holo Taco- Pink Steel

Holo Taco- Pink Steel

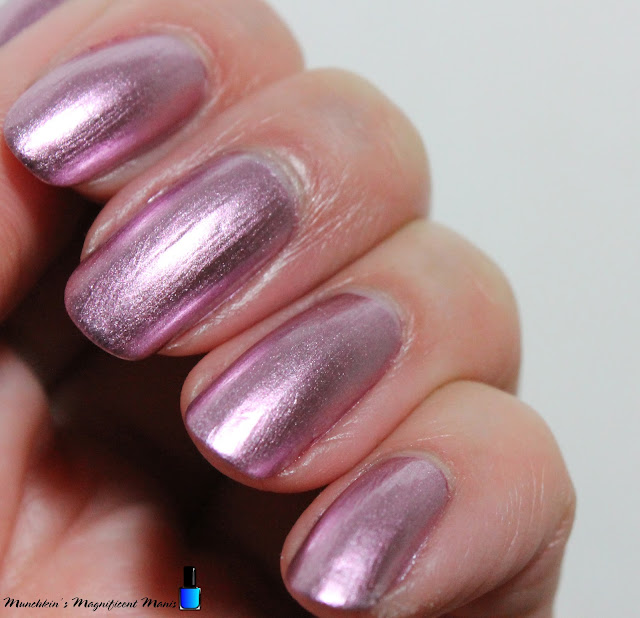
Pink Steel is described as a pale/ light pink polish. On the rest of this collection I did use CND Sticky Bare Coat along with CND Super Shinny top coat. 

Holo Taco- Pink Steel

Holo Taco- Pink Steel

Holo Taco- Pink Steel


Aqua Foil- 

Holo Taco- Aqua Foil

Holo Taco- Aqua Foil

Holo Taco- Aqua Foil

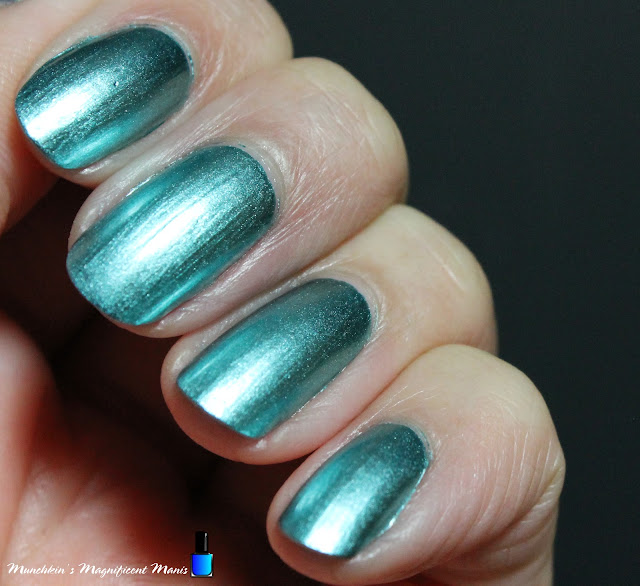
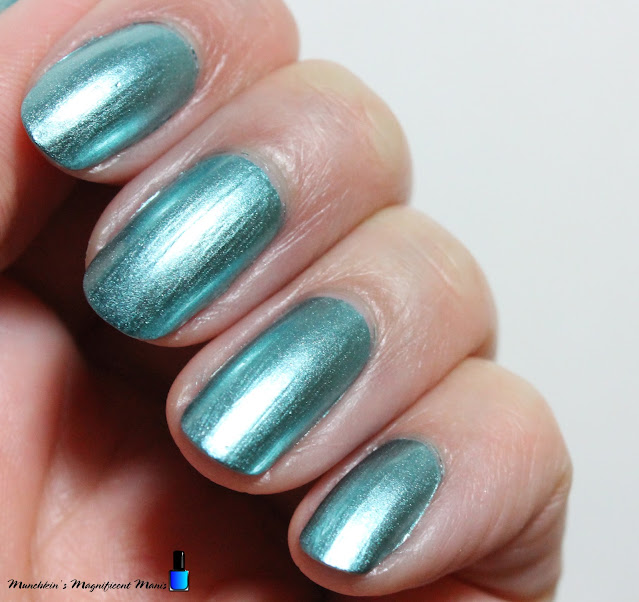
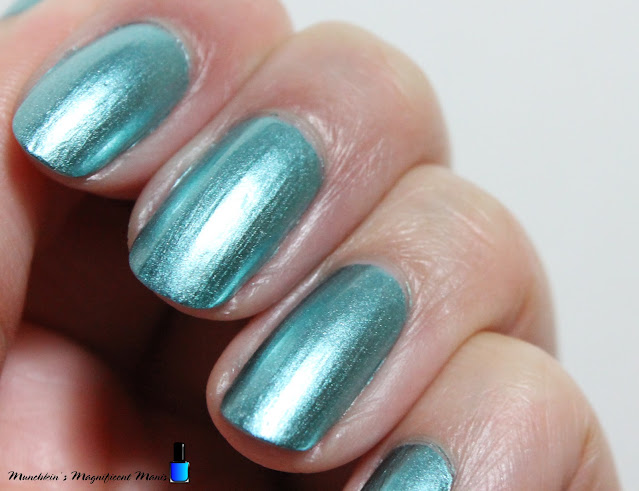
Aqua Foil is described as a turquoise blue/ green polish. This blue polish does lean more on the greenish side. 

Holo Taco- Aqua Foil

Holo Taco- Aqua Foil

Holo Taco- Aqua Foil


Iron Violet- 

Holo Taco- Iron Violet

Holo Taco- Iron Violet

Holo Taco- Iron Violet

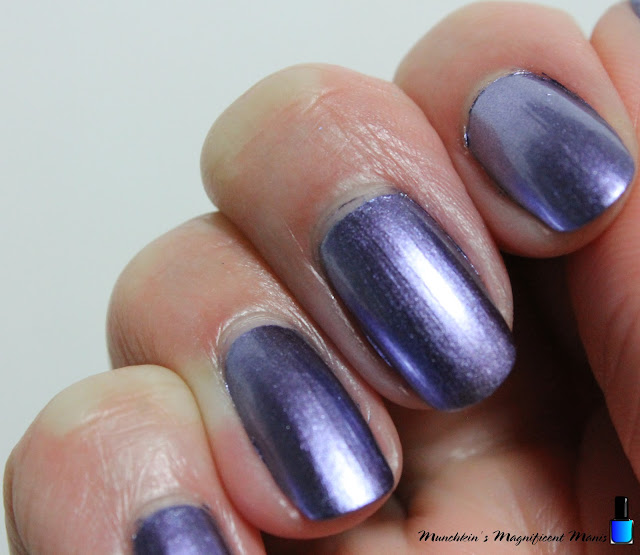
Lastly we have Iron Violet this is described as a cool toned purple/ violet colored polish.

Holo Taco- Iron Violet

Holo Taco- Iron Violet

Holo Taco- Iron Violet

Also more information on these polishes, Cristine did say that these are suppose to be one coat polishes and do to the formula of the chrome they may not last as long as a usual Holo Taco polish, she also said that you don't need a top coat that it can dull the polishes, but if you want to you can apply a top coat if you would like, that at first the polishes might look a little dull, but once they are dry it should still be shinny. Also for the one coat opacity you need to do as few strokes as possible, and she also recommends to rap the tip of the nails with the polish. 

My thought on this collection is they are very pretty I love the chrome idea. Sadly formula wise this has been my lest favorite collection. I had a lot of trouble getting them to cover in one coat, I had to do two coats, I do also have a little trouble not over stocking when I polish, so maybe that was in issue. On a few of the nails I did have to redo a few time because it just was not covering right for me. 

As for wear all the other Holo Taco polishes wear very well for me, I always wear the same polishes for one week. This collection with the silver and gold I wore the Holo Taco Quick Dry base and CND Super Shine top coat. This seem to chip with in a day of wear.

As for the other polishes the pink, blue and purple I used my usually base and top coat. With the blue and purple I just cut and filed my nails and this time I rapped the tips of the nails it did seem to wear a little better. 

These polishes to me just seem to have to much of a leaning curve and for me personally were hard to work with and for the price I personal feel like that should still wear better for a longer time. 

If you would like to purchase this collection the box as of doing this post is still available along with just the single polishes. 
Collection Box $82 USD
Single polishes- $14 USD

Hope all of you enjoyed this review of the new Holo Taco Chrome Collection!

See you next time for more nail polish fun! 

Saturday, March 4, 2023

Disney 100 Anniversary Nail Design

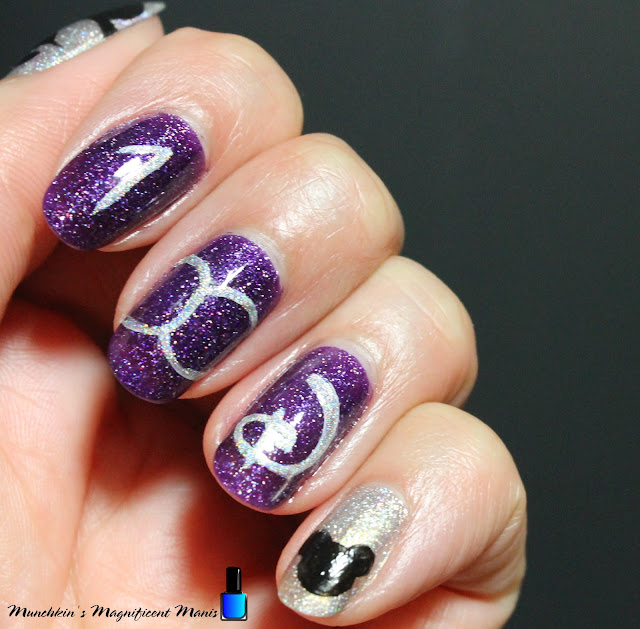
Hello everyone! Today on the blog we will be celebrating 100 years of the Disney company. This years we Disney is celebrating 100 years of the Disney company as a whole. In October 2021 it was Disney World's 50th anniversary, which was will be ending soon, now it on to the Disney 100 year anniversary. I did create two 50th anniversary design, so it was only right to make a 100th design too. Also this celebration is called Disney 100 years of wonder and the official date is October 1. 
Disney 100 Anniversary Nail Design

Here are the polishes and nail art tools for this wonderful Disney nail design:

Base and top coat- - CND Stickey Base Coat and CND Super Shiney Top Coat.

Polishes- Zoya- Urban Grunge- Alicia, Zoya- Urban Grunge- Finley, and Color Club Halo's- Harp on. 

Acrylic paint- black and white.

Nail art tools- thin detail and sniper brush.

Other- water and acetone to clean off your nail art brushes.

Disney 100 Anniversary Nail Design

Apply a base coat to clean dry nails.

Let that dry. 

Polish-

Thumb and pinky nail- Silver holographic polish (Zoya Alicia)

Index, middle and ring nails- Dark purple holographic polish (Zoya Finley)

Let that dry. 

Disney 100 Anniversary Nail Design

Disney 100 Anniversary Nail Design

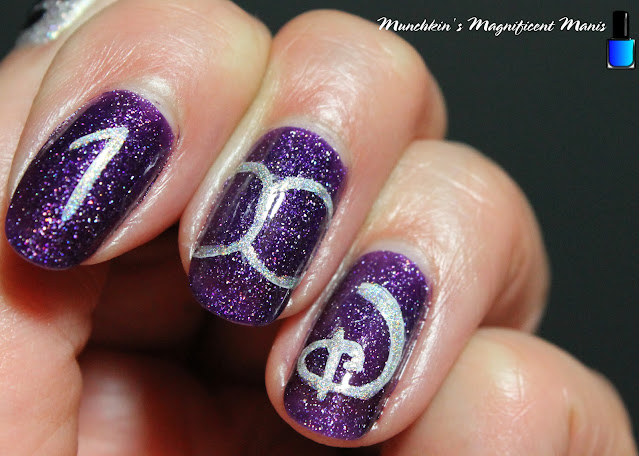
100 on the index and middle finger nails-

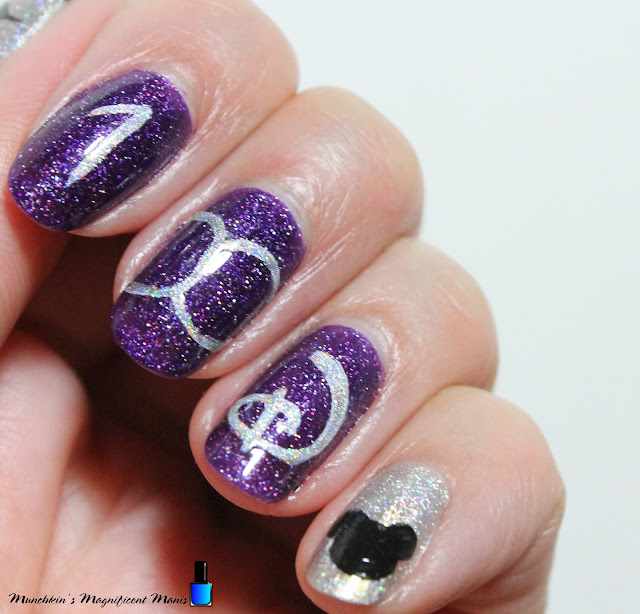
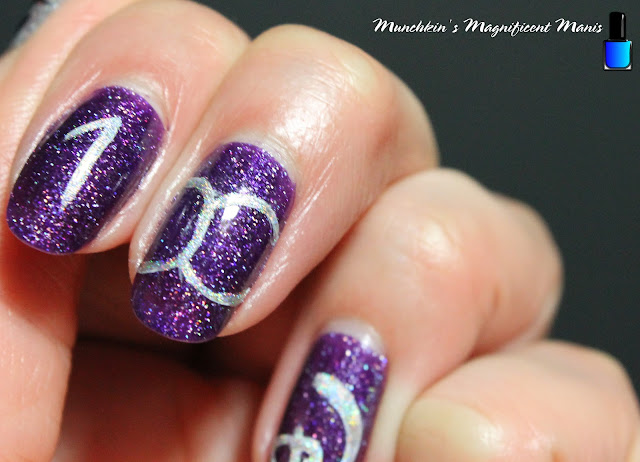
First we will start off with the number 100 on the index and middle fingers. First we will create an outline with white paint. 

Take a stripper brush with white paint on it, on the index nail make a line down the middle of the nail and then a slanted line on the top for the 1.  

For the 00 on the middle finger nail, the two zero's will over lap, once again take the stripper brush with white paint on it, staring on the left side make a 0, then over lapping that 0 and make  another zero. 

Once you are happy with your outline take a silver holo (I used Color Club Halo's- Harp on) and go over the white outline.

Disney 100 Anniversary Nail Design

Disney 100 Anniversary Nail Design

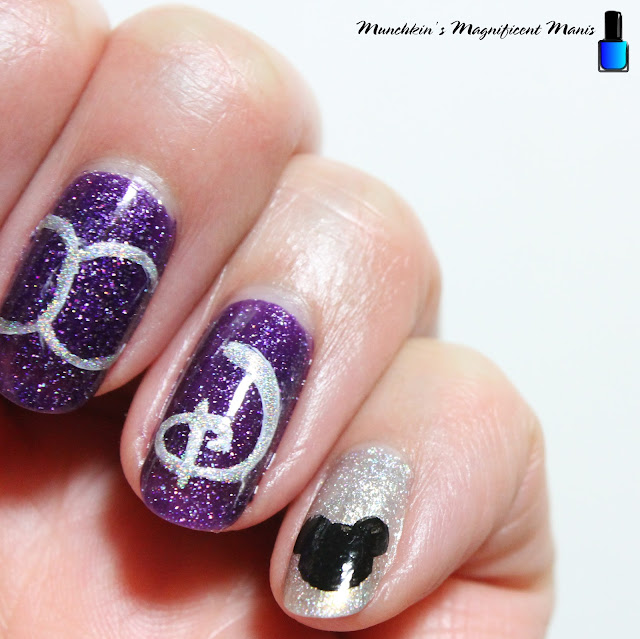
The Disney D letter on the ring finger nail-

Next we will make the Disney D on the ringer finger nail. This part is hard, I even a trouble with this one. Once again we will make the outline with white paint, take your thin detail brush first make the small line that you see in the photo above, then make the small curve on the right side of the line we just made, then make a large curve around that line. Then keep go in a D shape going up the side of the nail. Hopefully that makes sense. 

Once you have the shape right once again take the silver holo polish that you used for the 100 and go over your outline, making sure to make the curve near the top of the D thicker. 

Disney 100 Anniversary Nail Design

Disney 100 Anniversary Nail Design

Small Mickey on the Pinky Nail- 

On the pinky nail we will make a small Mickey on the corner of the nail. Take a detail brush with black paint on it make large circle, then make two small circles on the top of that for Mickey's ears.

Disney 100 Anniversary Nail Design

Disney 100 Anniversary Nail Design

Mickey on the Thumb Nail- 

Lastly we will make Mickey peeking out of the corner of the thumb nail. First take your stripper brush with black paint, make a large circle almost as big as the nail. Then we will make the triangle shape on top of Mickey's head, then make a thicker line going around his head. 

For Mickey's ears make a large circle near the top of Mickey's head, then half of a circle on the bottom side of his head, that is not showing hardly at all. Also fill that in with black paint. 

Now on to Mickey's face, make a curved line for where his eyes will set then two half ovals for his eyes, fill those in, then lastly make an oval for his nose, and then fill that in.   

Disney 100 Anniversary Nail Design

Once your nail design is just right apply a top coat to seal in your design to help your design to last though your Disney celebration. 

Disney 100 Anniversary Nail Design

Disney 100 Anniversary Nail Design

Hope all of you enjoyed this Disney 100 years of wonder nail design. 

This is a design that I came up with, with some inspiration from some nail art that I found on Pinterest, as of posting this there is no Disney 100 designs. Also if you have not checked out the Disney World 50th anniversary designs that I came up with also check that out as well. 

disney-world-50th-anniversary-nail

disneys-50th-anniversary-second-nail


Lastly here is a look at the practice version that I did. 


See you next time for more nail fun!