Thursday, October 31, 2019

Holoween Gradient- Halloween Nail Design

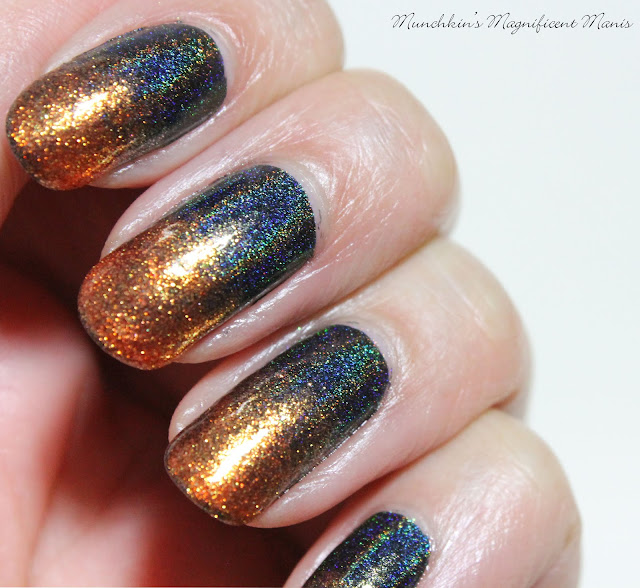
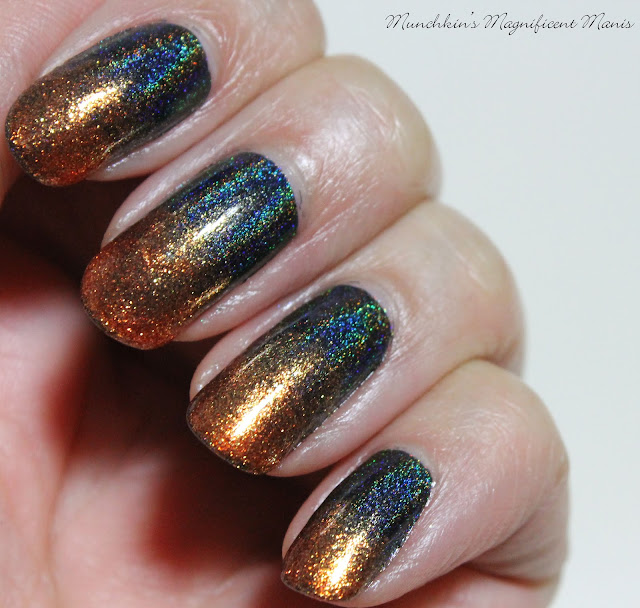
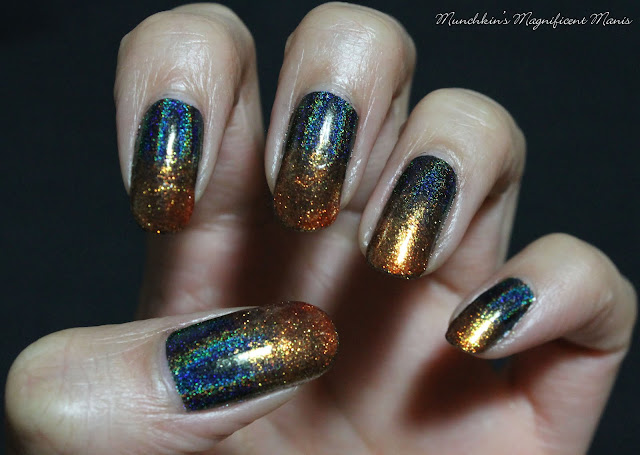
Hello everyone! Happy Halloween! Today we will be creating a simple gradient design with just the polish and the brush that it comes with. I wanted to post this earlier, but a lot of things keep coming up. 

Halloween Gradient Nail Design 
Halloween Gradient Nail Design

Here are the polishes that you need for this design and no nail art tools/ brushes:


Base and top coat- CND Stickey Base Coat and Revlon Extra Life No Chip top coat. 

Polishes- Color Club- Black Magic- holo and Wet n wild- Glitter orange.

That's all you need!

Halloween Gradient Nail Design
Halloween Gradient Nail Design  
Halloween Gradient Nail Design

Apply base coat.

Polish all of your nails with a black holographic polish, let that dry.


Halloween Gradient Nail Design
 Halloween Gradient Nail Design
 Halloween Gradient Nail Design

Then with the polish brush that is in the bottle, polish with a small amount of orange glitter polish half way up the nail, then focus most of the polish on the tip of the nail. You will need to go over this a few time, I suggest only doing two coats, I did way to many coats and ended up slightly denting the polish even after I thought it was dry.     

You can also do a gradient with a makeup sponge as well. I will share some link to some of my other gradient that I have done in the past a well. 


Halloween Gradient Nail Design  
Halloween Gradient Nail Design 
 Halloween Gradient Nail Design

Then once you have your gradient the way you like apply a top coat to seal in your nails and to help them last all Halloween.

Also here is a link to last years design that I did, That I really liked and enjoyed making. I honestly had very little time this year to plan out a nail design, that why I just did a simple gradient, that I still wanted to share with all of you.


Hope all of you enjoined this, even though this post was very short!

Happy Halloween! 

See you next time for more nail fun!  

Saturday, October 19, 2019

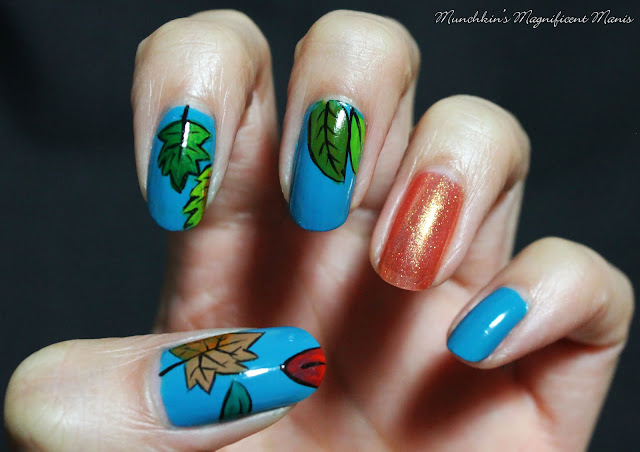
Fall Leaves- Nail Design

Hello everyone! Happy Fall! Today on the blog we will be creating a simple leaf design on our nails. Also sorry that it has been a while since I last posted, I got a new job at a T-shirt company and I have been busy try to get use to that new job. 

Fall Leaf Nail Design
Fall Leaf Nail Design 

Here are the polishes and nail art tools used to create this fall design:


Base and top coat - CND Stickey Base Coat and Revlon Extra Life No Chip top coat.

Nail polishes- Milani- Quick Teal and  Wet n wild- Glitter orange.

Acrylic paints- Black, red, green, yellow, brown, and orange.    

Nail art brushes- Thin detail brush and a thin stripper brush.


Fall Leaf Nail Design
 Fall Leaf Nail Design 

* From now on I want to try and simplify my post, sometimes I fell like I go into to much detail and type way to much for each design.*

Apply base coat, let dry.

Polishes-  
Thumb, index, middle, and pinky- a teal polish.
Ring finger- a glittery orange.

Let that dry.

 Fall Leaf Nail Design
 Fall Leaf Nail Design
 Fall Leaf Nail Design

Paints need for leaves-
Green, light green, yellow, orange (mixed red and yellow), and brown

Index nail design- 
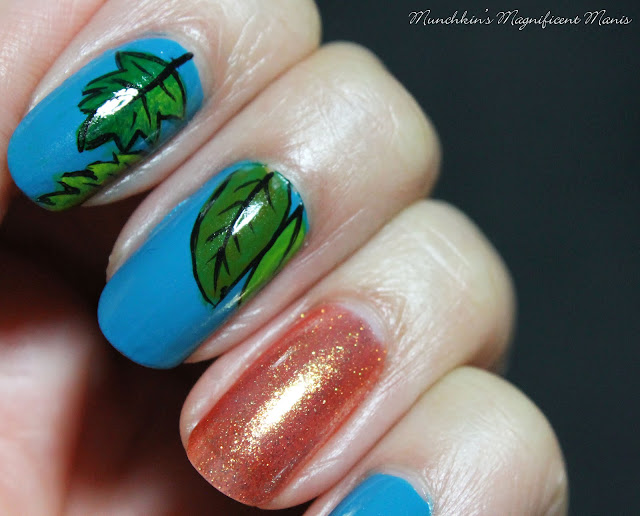
Use a thin detail brush to make a maple leaf shape near the cuticle. Then make half of a leaf on the side of the nail. Once dry, take a thin stripper brush and outline the shapes of your leaves and add small detail by making lines for the leaf veins. 


Middle finger nail design- 

Just like the last nail make a more pointed shaped leaf in the middle of the near the cuticle and one more next to that leaf, make the larger one green and the smaller one yellow. Then repeat that same step as before by outline and adding details.  

Fall Leaf Nail Design
Fall Leaf Nail Design 

Thumb nail design- 

This design is similar to the index nail, just make a larger maple leaf with two colors orange and brown. Then make to smaller leaves a red one at the tip of the nail and a green on off to the side of the nail. Once again outline the leaves and add the vine details. 

Fall Leaf Nail Design
 Fall Leaf Nail Design
 Fall Leaf Nail Design 

Once you are happy with your fall leaf design apply a top coat to seal in your design and to help it last.


Fall Leaf Nail Design
 Fall Leaf Nail Design
Fall Leaf Nail Design 

Also here is the design I did on my right hand, with just the design on the thumb and ring finger nail.  


Along with the practice version.


Hope all of you enjoyed this design and have a nice fall.  

See you next time for more nail fun!