Saturday, February 13, 2021

Valentine's Chocolates- Valentine's Day Nail Design

Hello everyone! Happy Valentine's Day! Today we will be creating a fun chocolate looking design on our nails, well at lest two of our nails and the other nails we will have a pink glitter polish on them. Anyone have fun plains for Valentine's Day, well as much as we can do? Me and my hubby don't have much planed, in our state restaurant have been closed for a while, in dining and have just opened up, so we have plans to eat at a Italian restaurant next weekend because the restaurant was all ready booked for this weekend.

Valentine's Day Nail DesignValentine's Day Nail Design 
 
 
Here are the polishes and nail art tools used to create this yummy nail design:

Base and Top Coats-  CND Stickey Base Coat, Revlon Extra Life No Chip top coat, (not pictured) CND Top coat ( I used this on the Holo Taco Menchie polish because of this being a thick glitter to kind of smooth the polish.) and OPI Matte Top coat for the chocolate nails.

Polishes- Holo Taco- Menchie the cat, Nicole by OPI- That's Just Plain Nuts!, Revlon- top speed- Hearts of gold fx, and Kiss nail art stripper- White.

Acrylic paint- red, black, and white.

Nail art brush- thin stripper brush.

Cup of water to clean of your nail art brush.

Valentine's Day Nail Design
Valentine's Day Nail Design 

Apply a base coat, and let that dry.

Polish- 

Thumb, ring and pinky- a pinky glittery polish (Holo Taco- Menchie the cat)

Index and middle- a brown creme polish (Nicole by OPI- That's Just Plain Nuts!)

Let that dry.

Valentine's Day Nail Design
Valentine's Day Nail Design 


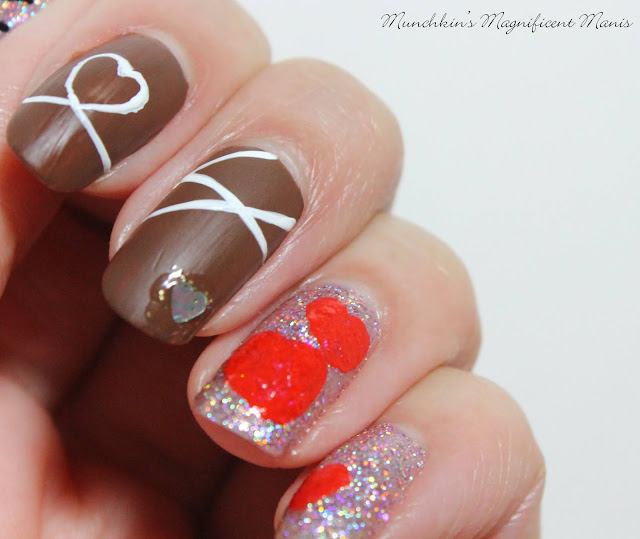
For your index and middle finger nail that we will make them look like chocolate, I suggest first applying a glossy top coat to help your nails last, matte top coat is known for not lasting as long as a glossy one, so it is best to apply a glossy then a matte top coat.

Then once your glossy top coat has dried, to get that chocolate look apply a matte top coat.

The for the design on the chocolate, I first took white paint to make the design then went over it with a nail art polish just in case. 

On the index nail make a heart shape with two lines extending from the heart.

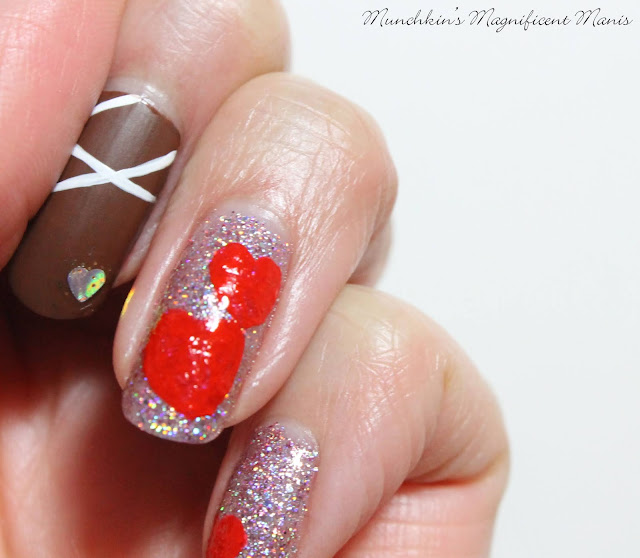
On the middle finger nail make a line near the cuticle and then an X shape under that line. Then if you have a polish that has heat shape glitter put some of the glitter then a piece of the heart shape glitter near the tip of the nail. In the photo I did keep that glossy, but I suggest also making that matte because it does actually look better, I did this later on.

Valentine's Day Nail Design
Valentine's Day Nail Design 
 
On the ring finger nail make one large red heart and then a smaller red heart above that one. 
Also for the pink glitter polish Menchie the cat, I did apply a different top coat the CND top coat, due to this polish being a thicker glitter a thicker top coat seem to work better then my usual thinner top coat Revlon no chip. 
 
Valentine's Day Nail Design
Valentine's Day Nail Design 

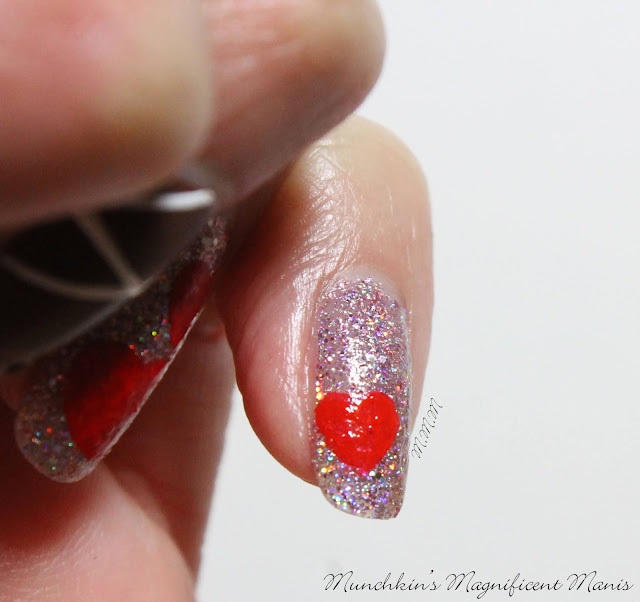
On the ring finger nail make a small heart near the tip of the nail, on the corner of the nail.

Valentine's Day Nail Design
Valentine's Day Nail Design 

Lastly on the thumb paint the word love with the O being a heart.

Valentine's Day Nail Design
Valentine's Day Nail Design 

Once your nails look yummy enough to eat apply a thicker top coat to just the pink glittery nails and leave the chocolate nails with just the matte top coat.

Hope all of you enjoyed this valentine's day nail design and have a good Valentine's Day as well.

See you next time for more nail fun!

Saturday, February 6, 2021

Snow Day, Snowed In- Snowflake Nail Design

Hello everyone! Sorry that it has been a while since I posted anything. Today we will be creating a design that is fitting for the weather, at lest where I live very snowy and cold. You may have guessed we are creating a snowflake nail design, using the two of the polishes from the Holo taco Frosted Metals collection. 

Snowflake Nail Design

 Here are the polishes and nail art tools used to create this snowy nail design:

Base and top coat- CND Stickey Base Coat and CND Stickey Base Coat.

Polishes-  Holo Taco- Cold Shoulder- Metallic Foil Collection and Holo Taco- Gift Receipt- Metallic Foil Collection.

Acrylic paint- blue and white.

Nail art tools- small and medium dotting tools, and thin stripper brush.

Other- cup of water to clean off your nail art brush and dotting tools. Also not pictured a Q-tip/ cotton swab.

Snowflake Nail Design

Apply base coat, then let that dry

Polish- 

Thumb, middle, and pinky- a blue metallic polish (Holo Taco Cold Shoulder)

Index and ring finger- a silver metallic polish (Holo Taco Gift Receipt)

Let that dry as well.

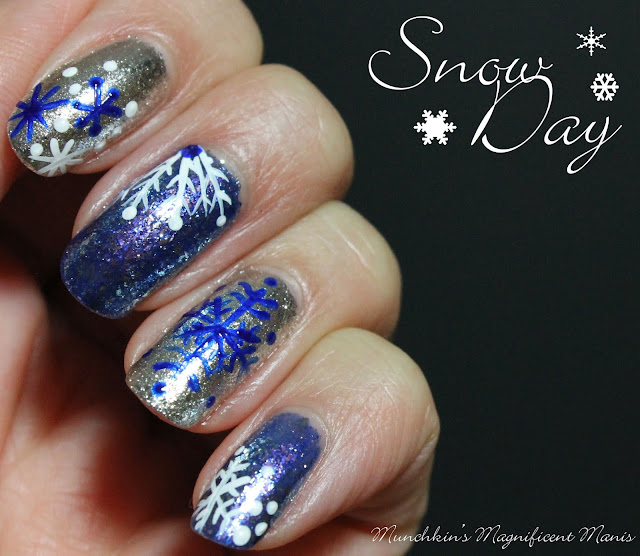
Snowflake Nail Design       On the pinky nail make a white snowflake on the left side of the nail on the tip of the nail, and then some small dots with a dotting tool on the other side.    

On the ring finger nail make a large blue snowflake right in the middle of the nail, then make small dots near each point of the snowflake.                                                             

Snowflake Nail Design

Snowflake Nail DesignOn the middle finger nail make half of a white snowflake on the upper corner of the nail near the cuticle. Then with a dotting tool make a large blue dot in the middle of the snowflake,and then some small dots on the tips of the snowflake.

Snowflake Nail Design
Lastly on the thumb nail make a mitten shape and using a Q-tip/ cotton swab with white paint on it dab the cotton swab at the bottom of your mitten shape for the fluffy part of your mitten. Also you can add three more or less snowflakes around your mitten as well.

Snowflake Nail Design

Once you have your winter snow day nail design just the way you want apply a top coat to seal in your design and help it to last thought your snow day, or as lest a week, if polish last good on your nails.

Hope all of you enjoined this snow day/ winter nail design and for all of you that live in a cold place stay warm, and for all of you that live in a warm area you are lucky!

 See you next time for more nail fun!