Showing posts with label Chocolate Nail Design. Show all posts

Saturday, February 10, 2024

I'm A Cookie Monster- Cookie Nail Design

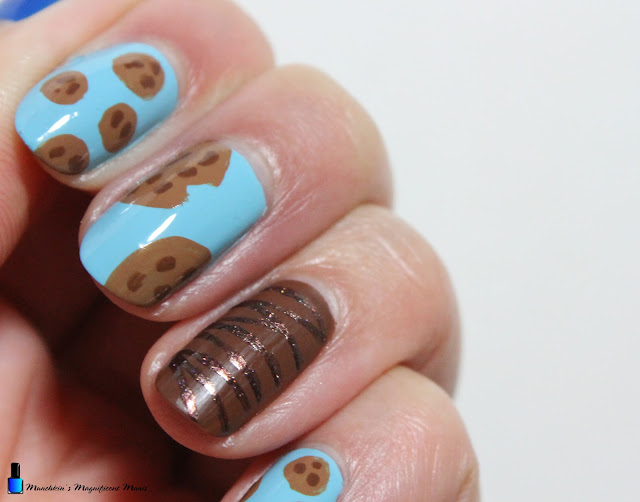
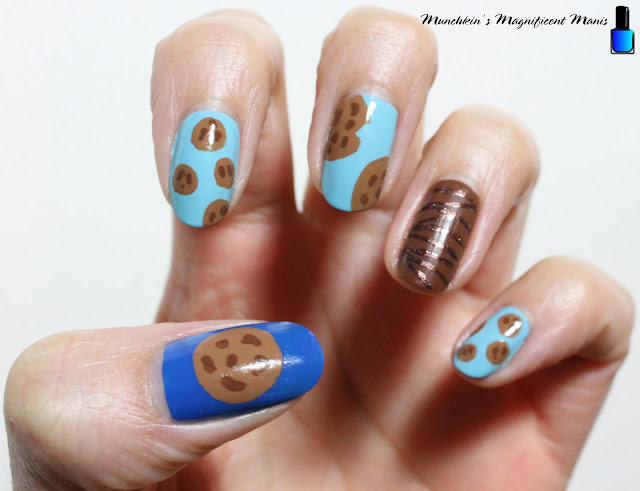
Hello everyone! Today on the blog we will be creating a fun cookie nail design to be specific a chocolate chip cookie nail design. I love all things chocolate and dessert and I just thought it would be fun and cute to make a cookie nail design. If you are a cookie monster just like me then this nail design is just for you. 

Cookie Nail Design

Here are the polish and nail art tools used to create this cookie nail design:


Base and top coat- CND Stickey Base Coat and CND Super Shiney Top Coat. OPI- Matte Topcoat (for the chocolate look on one nail.)

Polishes- Zoya- Splash- Maren, Finger paints- Tiffany Imposter, Nicole by OPI- That's Just Plain Nuts!, and Holo Taco- Fairy Tail- Magnetic Magic Collection. 

Acrylic paint- Brown.

Nail art brushes- Thin detail and stripper brushes. 

Other- Water to clean off nail art brushes.

Cookie Nail Design

Apply a top coat, let that dry.

Polish- 

Thumb- a dark blue (Zoya- Maren)

Index, middle, and pinky- a light blue (Finger paints- Tiffany Imposter)

Ring finger nail- a brown cream polish (Nicole by OPI- That's Just Plain Nuts!) 

Let that dry.

* Also apply a Matte top coat over your brown polish on the ring finger nail. *


Cookie Nail Design

Large Cookie on the Thumb Nail: 

First we will start off with the large cookie on the thumb nail. Take a detail brush with brown paint on it and make a large circle on the middle of the nail and fill that in, you will need to go over that a few times to be opaque. 

When that is dry take the brown polish that you used on your ring finger nail and we will make the chocolate chips. With that same clean detail brush with a small amount of brown polish on it make some random shapes for your chocolate chips.

The nice part of this design is the cookie doesn't need to be a perfect circle along with the chocolate chips. 😊 

Cookie Nail Design

Small cookies on the index and pinky nails:

Next we will make some very small cookies on the index and pinky nail. Once again take your small detail brush with brown paint on it and make a few small circles, on both nails I made four circles. Some of the circles I did make half circles. 

Then repeat the same steps that you did for the large cookie just for the smaller cookies. 

Cookie Nail Design

Half Cookies on the Middle Finger Nail: 

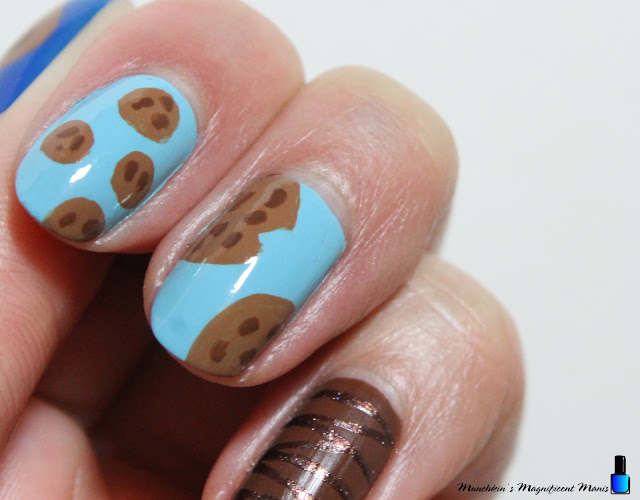
For the middle finger nail we will make one cookie that someone bit and one half cookie.
For our half eaten cookie make a large half circle near the cuticle, the way I made this was I made the half circle fill it in and then wiped away the area that I made the bitten part and made a triangle shape for the bit mark. 

Once again repeat the same steps you did before for the other cookies. 

Cookie Nail Design

Chocolate Ring Finger Nail: 

On your ring finger nail that has the matte top coat, this gives a nice chocolate look to it. We will now add a chocolate drizzle on it. Take a more shimmery brown polish (I used Holo Taco- Fairy Tail) and with a stripper brush make some random lines all over the nail. 

Cookie Nail Design

Once your cookie nails are good enough to eat, apply a top coat to seal in your nails and to help them last. 

Hope all of you enjoyed this cookie nail design!

See you next time for more nail fun! 

Monday, February 13, 2023

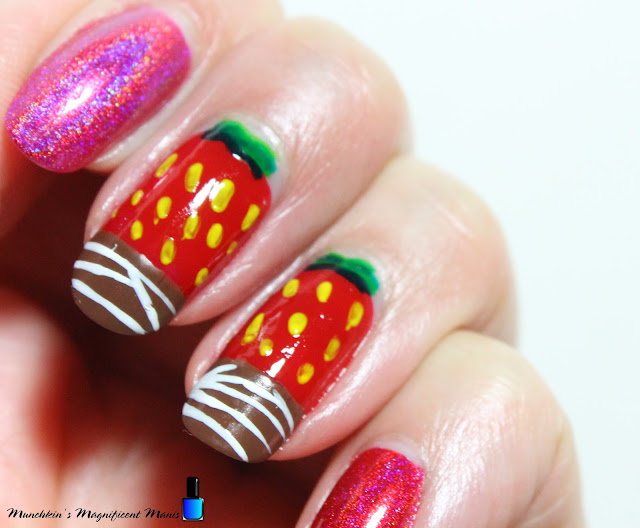
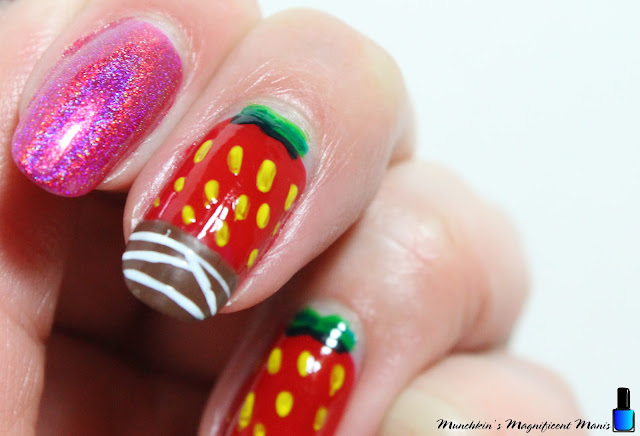
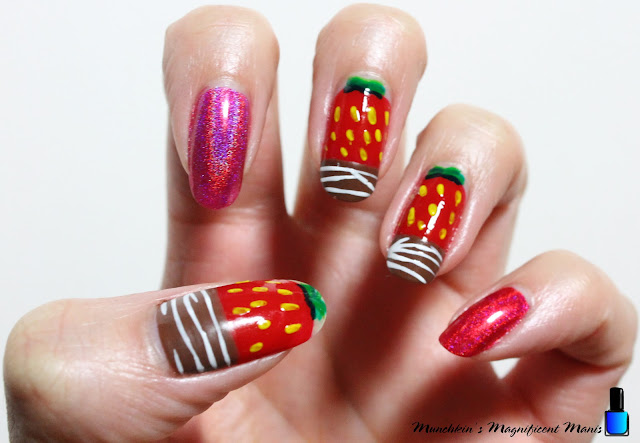
Chocolate Covered Strawberries- Valentines Day Nail Design

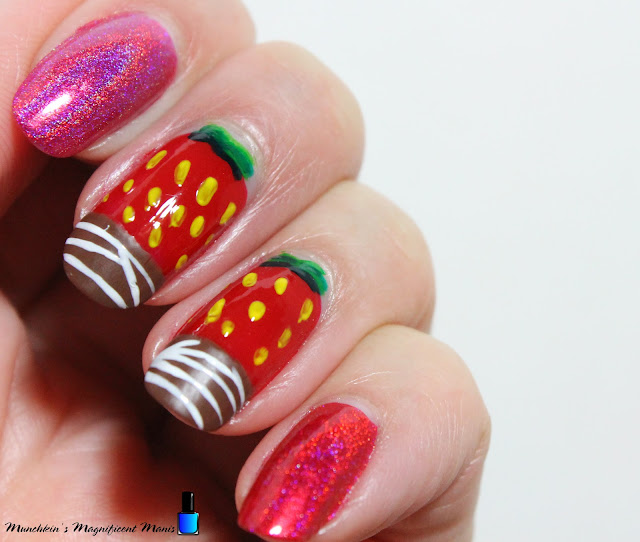
Hello everyone! Happy Valentine's Day! Today the day before Valentine's Day we will be creating  a chocolate covered strawberries nail design. This nail design is a yummy way to show how much you love chocolate, and to have a different nail design other then just some hearts with pink and red nails.

Valentines Day Nail Design

 Here are the polishes and nail art tools used to create this chocolate strawberries nail design:


Base and top coat- CND Stickey Base Coat, CND Super Shiney Top Coat, and OPI Matte Topcoat.

Polishes- Holo Taco- Red Licorice- Rainbow Collection, Holo Taco- Hot - Wire Pink- Electric Holo Collection, Zoya- Renee- Redbook trio, Nicole by OPI- That's Just Plain Nuts!, and Kiss Nail Art Polish- White. 

Acrylic paint- Green and yellow.

Nail art brush- Thin detail brush.

Valentines Day Nail Design

Apply a top coat, let that dry.

Polish-
Index nail- Bright pink holographic polish (Holo Taco- Hot - Wire Pink)

Pinky nail- Red holographic polish (Holo Taco- Red Licorice)

Thumb, Middle and Ring finger nail- Leave this with no polish for now, until we do the nail art.

Valentines Day Nail Design


Valentines Day Nail Design

Chocolate Covered Strawberries on the Thumb, Middle and Index Nails:

On the thumb, middle and index nail we will be polish the nails a little different, with a red cream polish on the middle and index we will start near the cuticle, on the thumb near the tip of the nail. 

First polish in a curve shape near the cuticle making sure to leave some blank space or the tip of the nails, then polish down the nail making sure to leave some space for the brown/ chocolate.

Then kind of doing a French manicure, by polish the tip of the nails or on the thumb near the cuticle with brown polish, I go from one end of the nail to the other. 

You will need to go over the red and brown a few time to be opaque. 

Valentines Day Nail Design

Now on to the seeds and stems. Take your detail brush with yellow paint on it and make random lines on your strawberries for the seeds.

For the stems I used two greens a light green and dark green. With that same clean detail brush with dark green, make two curved line on top of your strawberries, then take a light green and in-between the dark green make a few light green curved lines.   

Next go a head and apply a glossy top coat over all of the nails.

Let that dry.

Valentines Day Nail Design

To have the chocolate look, on the brown polish apply a matte top coat.

Then lastly for a final touch we will take a white nail art polish and make a few lines for a white chocolate drizzle look.

Valentines Day Nail Design

Now you are all done, their is no need to apply any more topcoat. 

Hope all of you enjoyed this yummy chocolate cover strawberries nail design!

Happy Valentines Day! Rather you have someone or not, this day is all about love! 

See you next time for more nail fun! 

Saturday, February 13, 2021

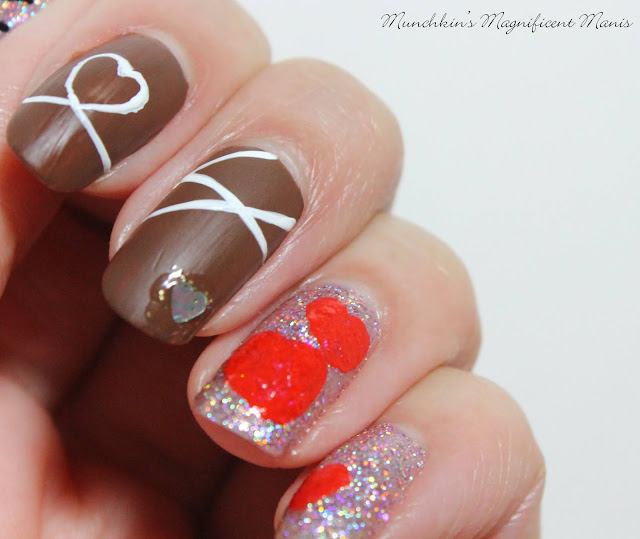
Valentine's Chocolates- Valentine's Day Nail Design

Hello everyone! Happy Valentine's Day! Today we will be creating a fun chocolate looking design on our nails, well at lest two of our nails and the other nails we will have a pink glitter polish on them. Anyone have fun plains for Valentine's Day, well as much as we can do? Me and my hubby don't have much planed, in our state restaurant have been closed for a while, in dining and have just opened up, so we have plans to eat at a Italian restaurant next weekend because the restaurant was all ready booked for this weekend.

Valentine's Day Nail DesignValentine's Day Nail Design 
 
 
Here are the polishes and nail art tools used to create this yummy nail design:

Base and Top Coats-  CND Stickey Base Coat, Revlon Extra Life No Chip top coat, (not pictured) CND Top coat ( I used this on the Holo Taco Menchie polish because of this being a thick glitter to kind of smooth the polish.) and OPI Matte Top coat for the chocolate nails.

Polishes- Holo Taco- Menchie the cat, Nicole by OPI- That's Just Plain Nuts!, Revlon- top speed- Hearts of gold fx, and Kiss nail art stripper- White.

Acrylic paint- red, black, and white.

Nail art brush- thin stripper brush.

Cup of water to clean of your nail art brush.

Valentine's Day Nail Design
Valentine's Day Nail Design 

Apply a base coat, and let that dry.

Polish- 

Thumb, ring and pinky- a pinky glittery polish (Holo Taco- Menchie the cat)

Index and middle- a brown creme polish (Nicole by OPI- That's Just Plain Nuts!)

Let that dry.

Valentine's Day Nail Design
Valentine's Day Nail Design 


For your index and middle finger nail that we will make them look like chocolate, I suggest first applying a glossy top coat to help your nails last, matte top coat is known for not lasting as long as a glossy one, so it is best to apply a glossy then a matte top coat.

Then once your glossy top coat has dried, to get that chocolate look apply a matte top coat.

The for the design on the chocolate, I first took white paint to make the design then went over it with a nail art polish just in case. 

On the index nail make a heart shape with two lines extending from the heart.

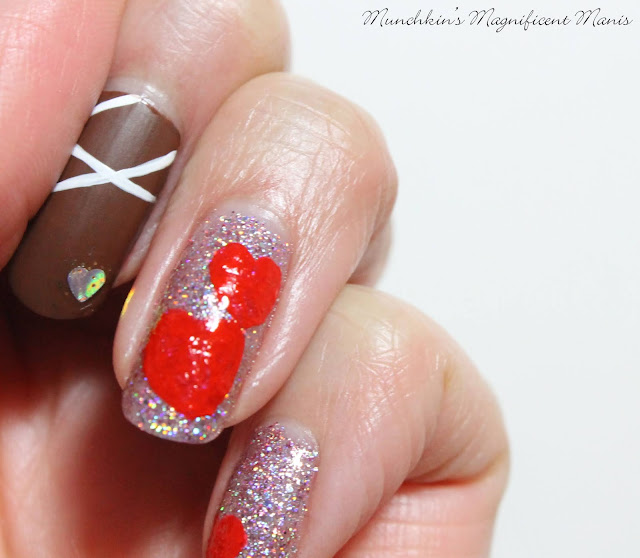
On the middle finger nail make a line near the cuticle and then an X shape under that line. Then if you have a polish that has heat shape glitter put some of the glitter then a piece of the heart shape glitter near the tip of the nail. In the photo I did keep that glossy, but I suggest also making that matte because it does actually look better, I did this later on.

Valentine's Day Nail Design
Valentine's Day Nail Design 
 
On the ring finger nail make one large red heart and then a smaller red heart above that one. 
Also for the pink glitter polish Menchie the cat, I did apply a different top coat the CND top coat, due to this polish being a thicker glitter a thicker top coat seem to work better then my usual thinner top coat Revlon no chip. 
 
Valentine's Day Nail Design
Valentine's Day Nail Design 

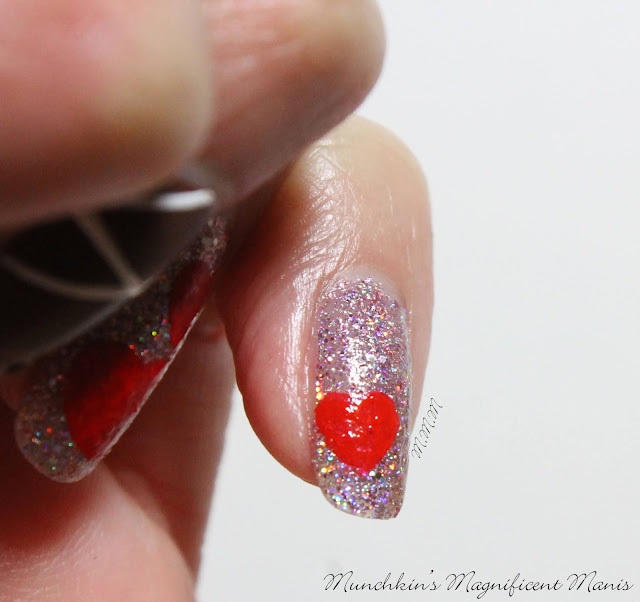
On the ring finger nail make a small heart near the tip of the nail, on the corner of the nail.

Valentine's Day Nail Design
Valentine's Day Nail Design 

Lastly on the thumb paint the word love with the O being a heart.

Valentine's Day Nail Design
Valentine's Day Nail Design 

Once your nails look yummy enough to eat apply a thicker top coat to just the pink glittery nails and leave the chocolate nails with just the matte top coat.

Hope all of you enjoyed this valentine's day nail design and have a good Valentine's Day as well.

See you next time for more nail fun!