Showing posts with label Holographic Nail Polish. Show all posts

Friday, October 31, 2025

Happy Halloween- Nail Design

Hello everyone! Happy Halloween! I was planning on do this post a few days before Halloween, as you can see that did not happen, I am posting this on Halloween, which is ok too. It has just been a long tiring week and I did not get a chance to finish this post before Halloween. Anyways 
today on the blog we will be creating a cute Halloween design with pumpkins and a ghost. 

Halloween Nail Design

Here are the polishes and nail art tools used to create this Halloween nail design:


Base and top coat- Orly- Bonder Base Coat (been trying another base coat) and CND Super Shiney Top Coat.

Polishes- Holo Taco- Rainbow Collection-Orange Drink, Holo Taco- Electric Holo Collection- Hot - Wire Pink, Holo Taco- Rainbow Collection- Purple Slushie, Holo Taco- Electric Holo Collection- Electrostatic, and Holo Taco- Electric Holo Collection- Circuit Breaker.

Acyclic paint- black, white, green, yellow, and red (to make orange)

Nail art brushes- thin striper and detail brush.  

Other- makeup sponge for gradients, and water to clean off nail art brushes. 

Halloween Nail Design

Apply a top coat to clean dry nails, let that dry. 

Polishes- 

Thumb, ring and pinky finger nails- Orange holographic polish ( the base color for the thumb and pinky nails.)

Index nail- Silver holographic polish. 

Middle finger nail- Black holographic polish.


Halloween Nail Design

Gradient on the Thumb and Pinky Finger Nails- 

First we will start off with gradient on the thumb and pinky finger nails. On the pinky finger nail we will not be have nail art over the gradient, just on the thumb nail. 

First we need to apply a liquid around the fingers to help with clean up and to make doing gradients much easier. 

For the gradient part take a makeup sponge and polish a purple holographic polish (Holo Taco- Purple Slushie) and slightly over lapping the polish a pink holographic polish (Holo Taco- Hot Wire Pink), then once agin slightly over lapping the polish, with the same color you used as your base color the orange holographic polish (Holo Taco- Orange Drink.)

Then dab the sponge on to each nail, you will need to repeat this step at least two times to be opaque.  

Once you have finished your gradient peel off your liquid latex with some tweezers. 

Halloween Nail Design

Pumpkin on the Thumb Nail-

Once you are finished with the gradient on the pumpkin. First take a thin detail brush with white paint on it, (we will first make the outline/ shape of the pumpkin with white) to make your pumpkin make an apple like shape in the middle of the nail, fill that in a few times to be opaque. We are first making an outline of the pumpkin in white, that way it will show more over our gradient.

Once your white outline has dried take an orange or mix red and yellow to make an orange, and fill in your white pumpkin shape at lest three times to be opaque, let that dry. 

For your pumpkin's face make three triangles, first the one in the middle for the nose and then two above that for the eyes, then fill that in with black paint.

For the pumpkins smile, make a curved line under the triangle nose, then at the top of the curved line make a straight line on each side making a small square for the tooth, then fill in the smile with black paint. 

For the final touch, make a green stem at the top of the pumpkins head and then two curved lines for the vines. 

Halloween Nail Design

Halloween Nail Design

Pumpkin on the Ring Finger Nail-

On to the pumpkin on the ring finger nail, we will be using the whole nail of the pumpkin and just making a face on the nail. First take a thin striper brush with black paint on it and make a triangle in the middle of the nail for the nose (I accidentally made the nose to big), then make two triangles above the nose for the eyes, fill in the triangles with black paint. 

For the pumpkins smile, make a curved line under the triangle nose, then at the top of the curved line make a straight line on each side making a small square for the tooth, then fill in the smile with black paint. This tooth I made a little bigger. 

Halloween Nail Design

Ghost on the Middle Finger Nail- 

Lastly we will be making a little ghost on the middle finger nail. Take a thin detail brush with white paint on it make a circle for the head, then two oval shapes for the arms, and then make a two curved line for his body to where it make a tale near the tip of the nail. Then fill in your ghost a lest three times to opaque. 

For the ghost eyes and mouth, take a medium size dotting tool with black paint on and and make two dots for the eyes and then a lager dot for the mouth, you can always use a paint brush to make the mouth a little bigger. 

Halloween Nail Design

Once your nails are ready for tricks or treats apply a top coat to seal in your design and to help it last through all of the candy eating that you will be doing. 

Hope everyone has a safe and Happy Halloween and of course hope all of you enjoyed this cute Halloween nail design! 

See you next time for more nail fun! 

Saturday, June 14, 2025

At The Beach- Ocean and Beach Nail Design

Hello everyone! Today on the blog we will be creating a beautiful ocean/ beach design. It's that time of year again when we all enjoy going to the beach and going swimming. At the beginning of the year I created a blue gradient nail design that I thought would make a pretty beach nail design, so that's what I did I took that same gradient that I did and made it into a beach/ ocean design. 

Ocean and Beach Nail Design

Here is the nail polishes and nail art tools used to create this beautiful ocean/ beach nail design: 


Base and top coat- CND Super Shiney Top Coat and CND Stickey Base Coat.

Polishes- KB Shimmer- Plant One On Me Collection- Lilac It Or Not, Zoya- Twinkling Collection- Jen, Holo Taco- Toppers- Flakie, Holo Taco- Toppers- Scattered, and Holo Taco-Vacation collection-Beach Please. 

Acrylic paint- white.

Nail art brushes- thin striper brush and liner brush.

Other- makeup sponge for gradients, Holo Taco's liquid latex, and water to clean off your nail art brushes.

Ocean and Beach Nail Design

Ocean and Beach Nail Design

Apply a top coat to clean dry nails, and let that dry.

Polish- 

For your base color for the gradient apply a light color first, a light shimmery/ holographic blue,KB Shimmer- Lilac It Or Not. 

Let that dry. 

Ocean and Beach Nail Design

Ocean and Beach Nail Design

Ocean Gradient: 

Before we start the gradient part of this design, as long as you are not allergic to latex, you can apply a liquid latex barrier around all of your nails, and let that dry. This helps to make the clean up much more easier. 

Then for creating a gradient from lightest on the tip of the nails to darkest near the cuticle, first take make up sponge and polish your lightest blue polish (I used KB Shimmer- Lilac It Or Not) then polish your darkest blue color (I used Zoya Jen). Then with your lightest color on the tip of the nails, dab the sponge on the nails to make a gradient. 

You will need to do this step few time so your gradient will be opaque. I went over each nail twice. 

For an added holo touch, take a Flakie Holo topper and polish on the darkest part of your gradient and then a Scattered Holo topper right under that, but not all the way down the nail on the lightest part just a little on the lightest part. (you will be able to see this better on the other colors I did on my right hand.)

Ocean and Beach Nail Design

Ocean and Beach Nail Design

Sand on the Beach: 

To make this design look more like the ocean, we will need to add sand and waves in the water. First take a clean makeup sponge and a sand looking polish on a sponge (Holo Taco- Beach Please). Then dab that on just the tips of the nails, you will need to do they two time to be opaque, I also polishes on a layer a well to make sure it was opaque enough. 

Ocean and Beach Nail Design

Ocean and Beach Nail Design

Ocean and Beach Nail Design

Ocean Waves: 

For the ocean waves, take a thin striper brush with watered down white paint on it and make a few wavy line on the nails, do this one at a time While the line is still wet take a clean dry liner brush and brush the line upward to make a wavy. If the line you made dried you can all ways go over the line again to make the wave. 

Ocean and Beach Nail Design

Ocean and Beach Nail Design

Once your beach nails are all ready apply a top coat to add a shine and to help them to last though your ocean/ beach vacation. 

Here is the practice version.

Hope all of you enjoyed this ocean/ beach nail design!

See you next time for more nail fun! 

Tuesday, February 13, 2024

Happy Valentine's Day 2024 Nail Design

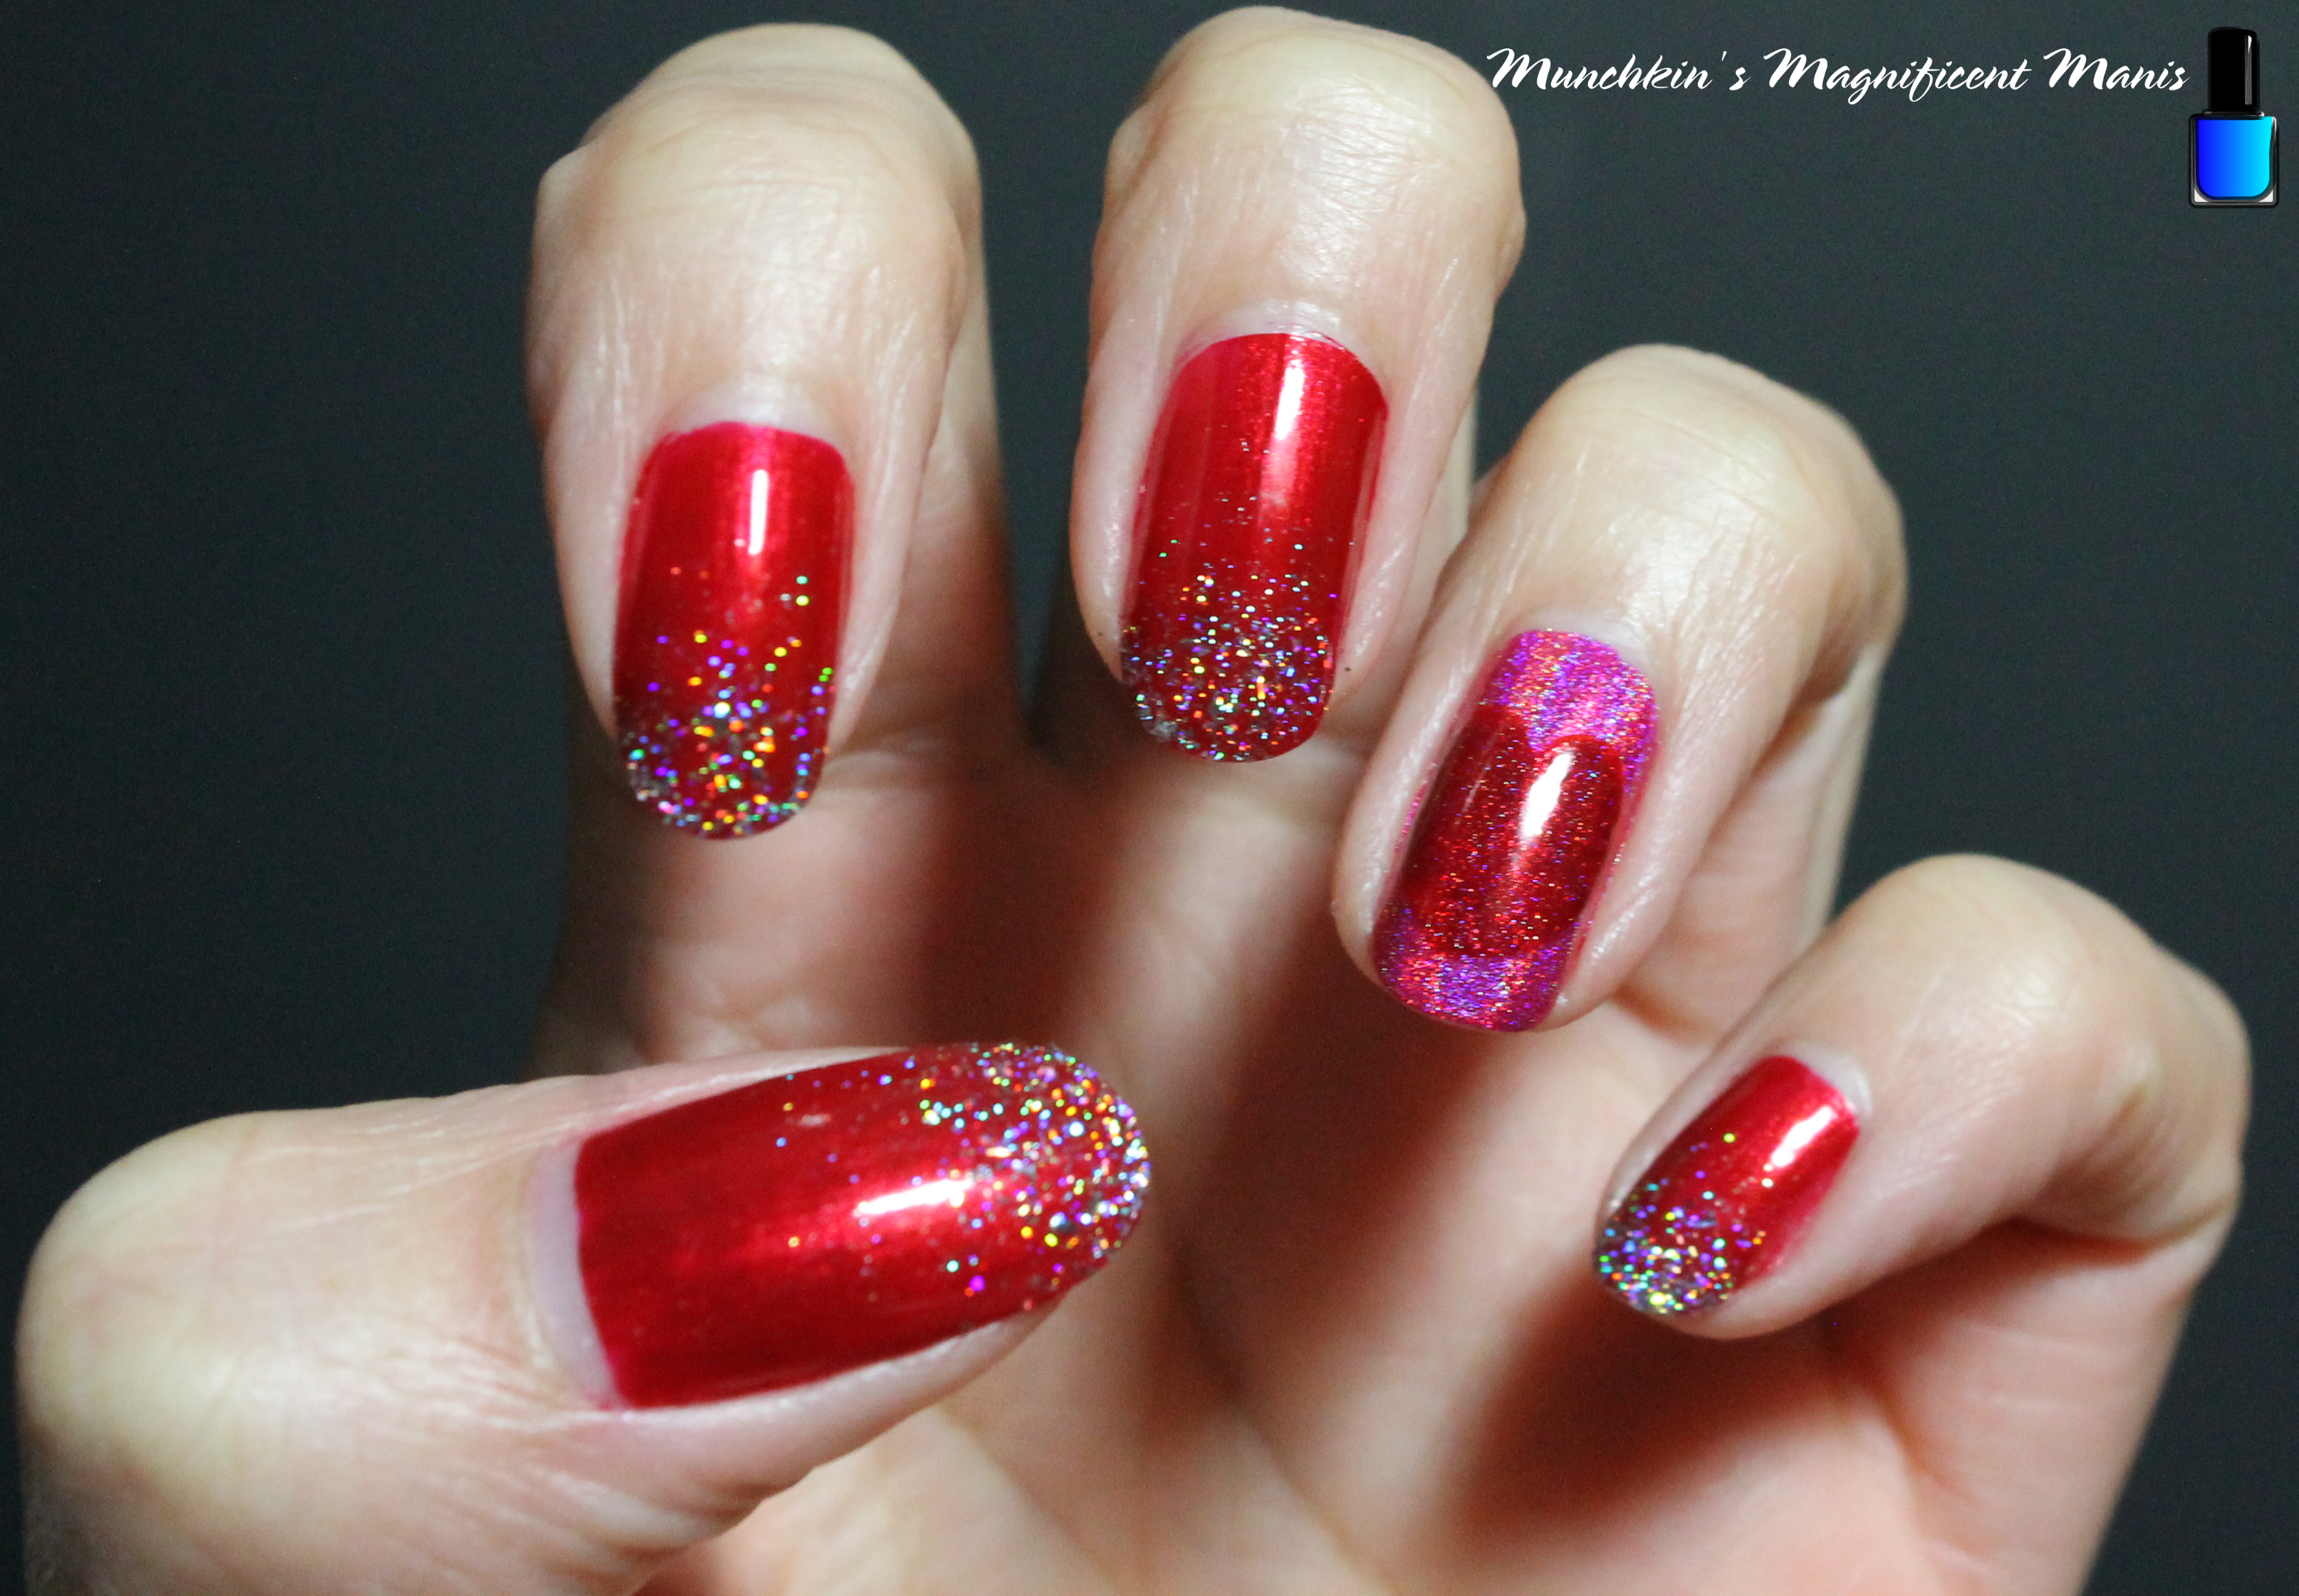
Hello everyone! Happy Valentine's Day! Today on the blog we will be creating a simple and pretty glitter gradient with a heart accent nail. This year I decided to keep the Valentines Day design simple and I was actually inspired to do a glitter gradient from the new years glitter gradients that I always do, I just thought it would look pretty to do a glitter gradient with a red polish. 

Valentine's Day Nail Design

Here are the polishes and nail art tool used to create this V-day nail design: 


Base and top coat- CND Stickey Base Coat and CND Super Shiney Top Coat.

Polishes- Zoya- Renee- Redbook trio, Finger paints- Cubism Crimson, Holo Taco- Hot - Wire Pink- Electric Holo Collection, Cirque- Madder, Holo Taco- Flakie Taco, and Holo Taco- Scattered. 

Nail art tools- Thin detail brush and a makeup sponge for glitter gradients.

Other- Water to clean off nail art brush. 

Valentine's Day Nail Design

Apply a top coat, let that dry.

Polishes- 

Thumb, index, middle, pinky- A shimmer red (Finger paints- Cubism Crimson, I used on the left hand.) or a cream red ( Zoya- Renee, I used on the right hand.)

Ring finger- Holographic hot pink (Holo Taco- Hot - Wire Pink.)

Let that dry.

Valentine's Day Nail Design

Valentine's Day Nail Design

Glitter Gradient on the Thumb, Index, Middle and Pinky Nails- 

First take your silver flakie holo polish and polish that a little bit on the tip of the nail. Then take a makeup sponge, polish that same flakie polish on that sponge and dab that on the tips of the nail, focusing most of the glitter on the tip of the nail.

Repeat this for all four nails.

Then take your silver scattered polish and polish over the flakie and going a little past the glitter that you dabbed on to give a gradient effect. Basically larger glitter more at the tip and small glitter near the middle of the nail, for that gradient look. 

Valentine's Day Nail Design


Heart Design on the Ring Finger Nail- 

For the accent nail or the ring finger nail, take a detail brush with red paint on it and make a heart shape, I always do this first even if I am going to go in with polish later. Then go over that heart shape that you just made with a red holo polish (Cirque- Madder). I make my heart upside down for photo purpose, if this is a little heart to do you can alway make the heart facing you.

Valentine's Day Nail Design

Once your nails are Valentine's Day ready, apply a top coat to seal in your design and to help it to last. 

If you would like an even simpler option, below is just a glitter gradient and the accent nail/ ring finger nail just has a the pink holo polish with no heart. 

Valentine's Day Nail Design

Valentine's Day Nail Design

Valentine's Day Nail Design

Valentine's Day Nail Design

Valentine's Day Nail Design


Lastly here the practice version, where I tried different reds, and even some heart glitters. 

Hope everyone has a good Valentine's Day and I hope all of you enjoy this Valentine's Day nail design!

See you next time for more nail fun! 

Saturday, March 4, 2023

Disney 100 Anniversary Nail Design

Hello everyone! Today on the blog we will be celebrating 100 years of the Disney company. This years we Disney is celebrating 100 years of the Disney company as a whole. In October 2021 it was Disney World's 50th anniversary, which was will be ending soon, now it on to the Disney 100 year anniversary. I did create two 50th anniversary design, so it was only right to make a 100th design too. Also this celebration is called Disney 100 years of wonder and the official date is October 1. 

Disney 100 Anniversary Nail Design

Here are the polishes and nail art tools for this wonderful Disney nail design:

Base and top coat- - CND Stickey Base Coat and CND Super Shiney Top Coat.

Polishes- Zoya- Urban Grunge- Alicia, Zoya- Urban Grunge- Finley, and Color Club Halo's- Harp on. 

Acrylic paint- black and white.

Nail art tools- thin detail and sniper brush.

Other- water and acetone to clean off your nail art brushes.

Disney 100 Anniversary Nail Design

Apply a base coat to clean dry nails.

Let that dry. 

Polish-

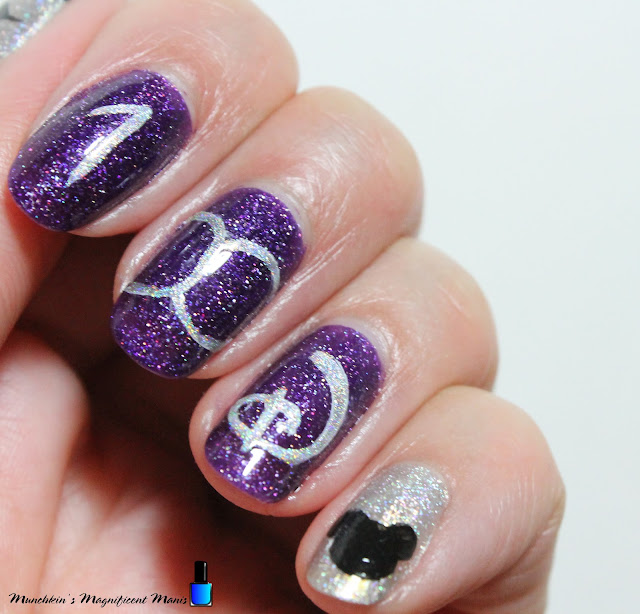
Thumb and pinky nail- Silver holographic polish (Zoya Alicia)

Index, middle and ring nails- Dark purple holographic polish (Zoya Finley)

Let that dry. 

Disney 100 Anniversary Nail Design

Disney 100 Anniversary Nail Design

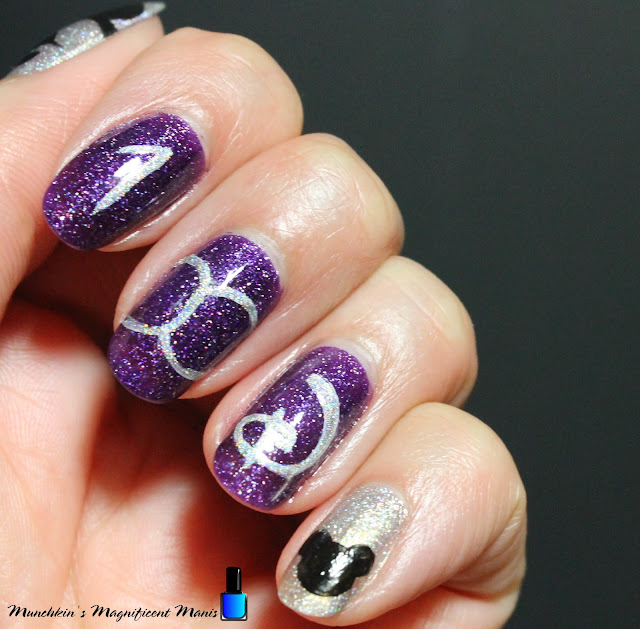
100 on the index and middle finger nails-

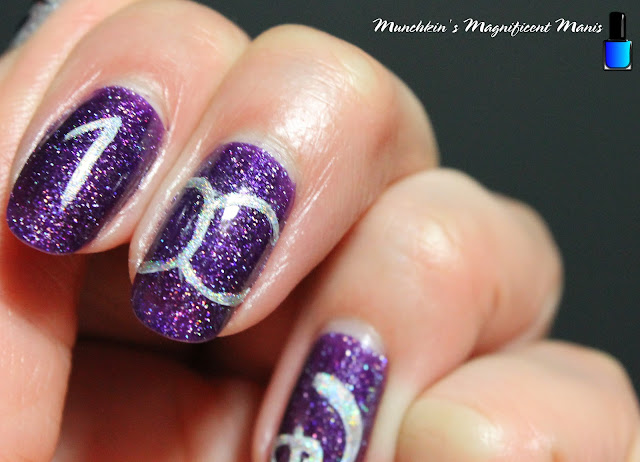
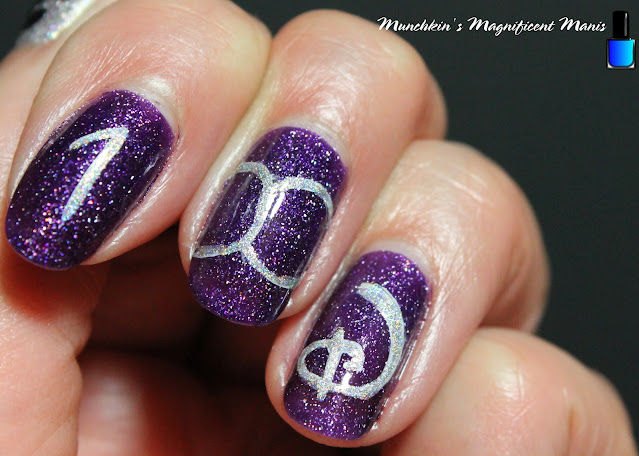
First we will start off with the number 100 on the index and middle fingers. First we will create an outline with white paint. 

Take a stripper brush with white paint on it, on the index nail make a line down the middle of the nail and then a slanted line on the top for the 1.  

For the 00 on the middle finger nail, the two zero's will over lap, once again take the stripper brush with white paint on it, staring on the left side make a 0, then over lapping that 0 and make  another zero. 

Once you are happy with your outline take a silver holo (I used Color Club Halo's- Harp on) and go over the white outline.

Disney 100 Anniversary Nail Design

Disney 100 Anniversary Nail Design

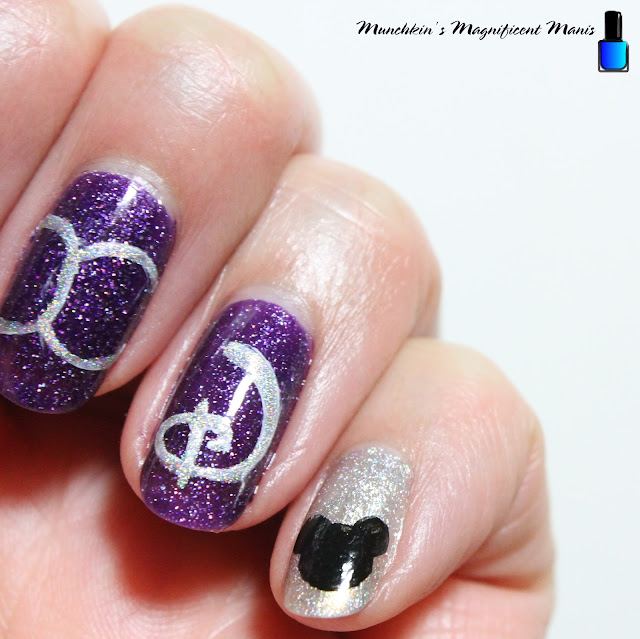
The Disney D letter on the ring finger nail-

Next we will make the Disney D on the ringer finger nail. This part is hard, I even a trouble with this one. Once again we will make the outline with white paint, take your thin detail brush first make the small line that you see in the photo above, then make the small curve on the right side of the line we just made, then make a large curve around that line. Then keep go in a D shape going up the side of the nail. Hopefully that makes sense. 

Once you have the shape right once again take the silver holo polish that you used for the 100 and go over your outline, making sure to make the curve near the top of the D thicker. 

Disney 100 Anniversary Nail Design

Disney 100 Anniversary Nail Design

Small Mickey on the Pinky Nail- 

On the pinky nail we will make a small Mickey on the corner of the nail. Take a detail brush with black paint on it make large circle, then make two small circles on the top of that for Mickey's ears.

Disney 100 Anniversary Nail Design

Disney 100 Anniversary Nail Design

Mickey on the Thumb Nail- 

Lastly we will make Mickey peeking out of the corner of the thumb nail. First take your stripper brush with black paint, make a large circle almost as big as the nail. Then we will make the triangle shape on top of Mickey's head, then make a thicker line going around his head. 

For Mickey's ears make a large circle near the top of Mickey's head, then half of a circle on the bottom side of his head, that is not showing hardly at all. Also fill that in with black paint. 

Now on to Mickey's face, make a curved line for where his eyes will set then two half ovals for his eyes, fill those in, then lastly make an oval for his nose, and then fill that in.   

Disney 100 Anniversary Nail Design

Once your nail design is just right apply a top coat to seal in your design to help your design to last though your Disney celebration. 

Disney 100 Anniversary Nail Design

Disney 100 Anniversary Nail Design

Hope all of you enjoyed this Disney 100 years of wonder nail design. 

This is a design that I came up with, with some inspiration from some nail art that I found on Pinterest, as of posting this there is no Disney 100 designs. Also if you have not checked out the Disney World 50th anniversary designs that I came up with also check that out as well. 

disney-world-50th-anniversary-nail

disneys-50th-anniversary-second-nail


Lastly here is a look at the practice version that I did. 


See you next time for more nail fun!