Showing posts with label Happy Valentine's Day Nail Design. Show all posts

Tuesday, February 13, 2024

Happy Valentine's Day 2024 Nail Design

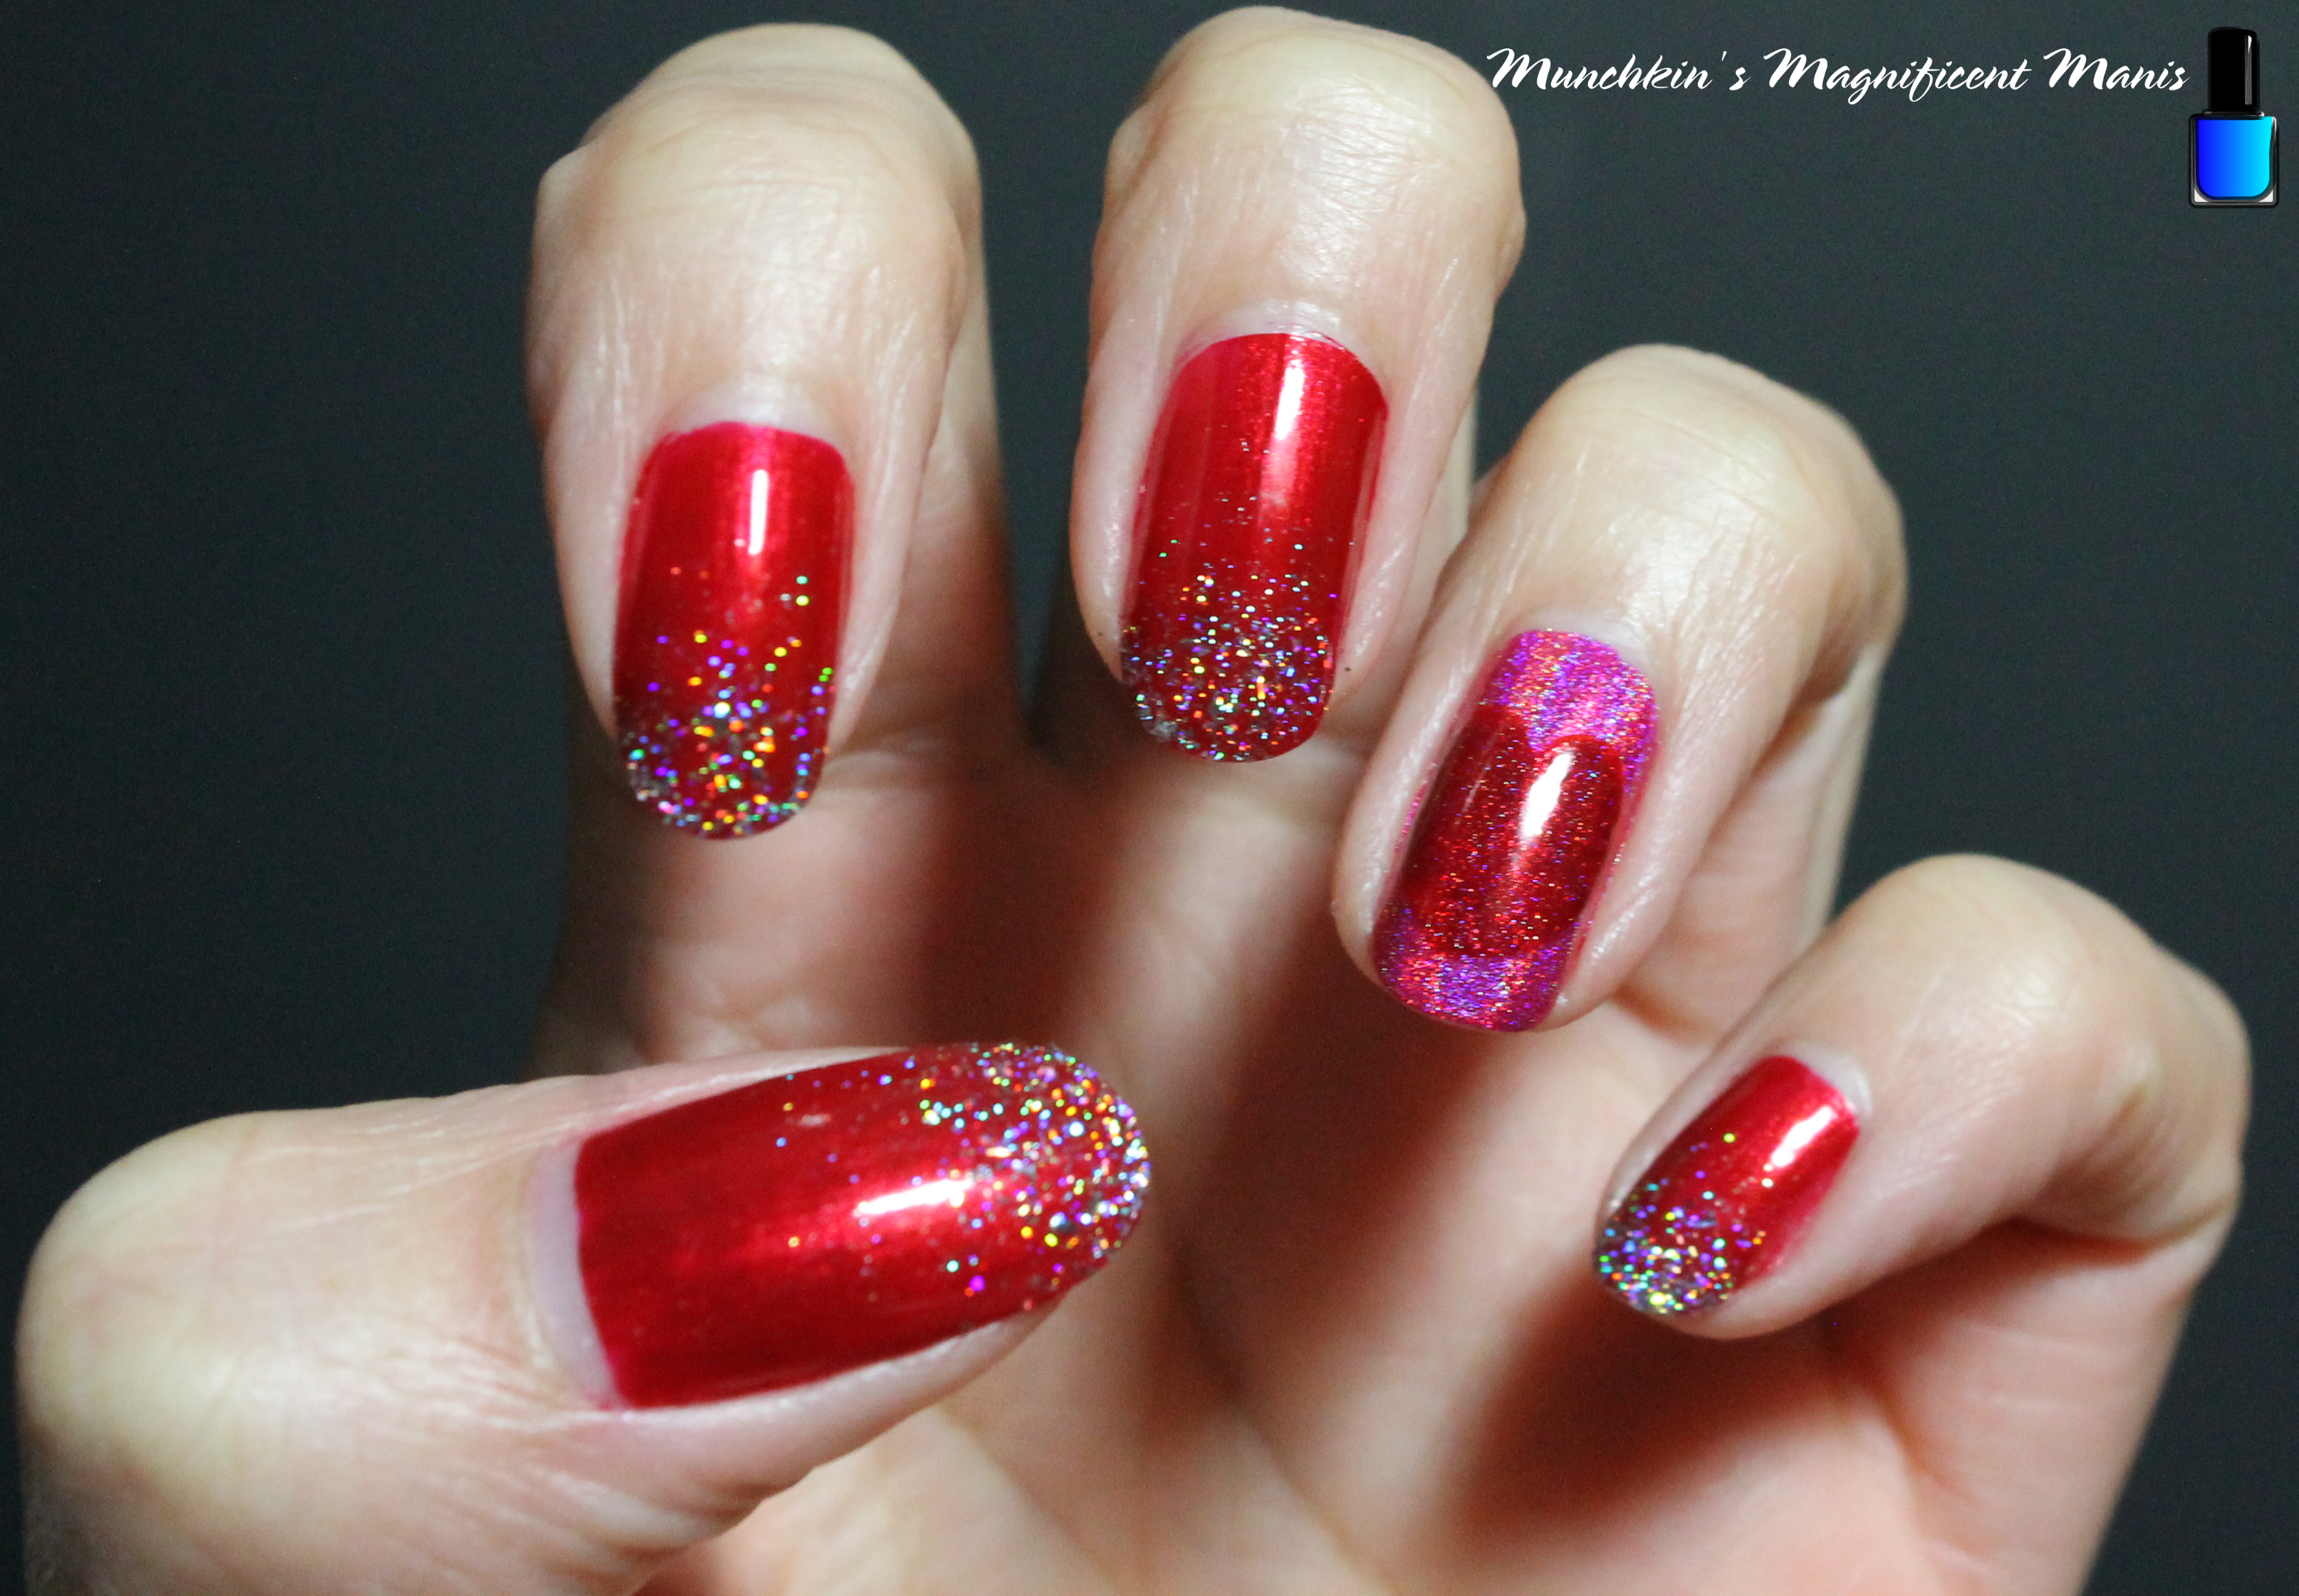
Hello everyone! Happy Valentine's Day! Today on the blog we will be creating a simple and pretty glitter gradient with a heart accent nail. This year I decided to keep the Valentines Day design simple and I was actually inspired to do a glitter gradient from the new years glitter gradients that I always do, I just thought it would look pretty to do a glitter gradient with a red polish. 

Valentine's Day Nail Design

Here are the polishes and nail art tool used to create this V-day nail design: 


Base and top coat- CND Stickey Base Coat and CND Super Shiney Top Coat.

Polishes- Zoya- Renee- Redbook trio, Finger paints- Cubism Crimson, Holo Taco- Hot - Wire Pink- Electric Holo Collection, Cirque- Madder, Holo Taco- Flakie Taco, and Holo Taco- Scattered. 

Nail art tools- Thin detail brush and a makeup sponge for glitter gradients.

Other- Water to clean off nail art brush. 

Valentine's Day Nail Design

Apply a top coat, let that dry.

Polishes- 

Thumb, index, middle, pinky- A shimmer red (Finger paints- Cubism Crimson, I used on the left hand.) or a cream red ( Zoya- Renee, I used on the right hand.)

Ring finger- Holographic hot pink (Holo Taco- Hot - Wire Pink.)

Let that dry.

Valentine's Day Nail Design

Valentine's Day Nail Design

Glitter Gradient on the Thumb, Index, Middle and Pinky Nails- 

First take your silver flakie holo polish and polish that a little bit on the tip of the nail. Then take a makeup sponge, polish that same flakie polish on that sponge and dab that on the tips of the nail, focusing most of the glitter on the tip of the nail.

Repeat this for all four nails.

Then take your silver scattered polish and polish over the flakie and going a little past the glitter that you dabbed on to give a gradient effect. Basically larger glitter more at the tip and small glitter near the middle of the nail, for that gradient look. 

Valentine's Day Nail Design


Heart Design on the Ring Finger Nail- 

For the accent nail or the ring finger nail, take a detail brush with red paint on it and make a heart shape, I always do this first even if I am going to go in with polish later. Then go over that heart shape that you just made with a red holo polish (Cirque- Madder). I make my heart upside down for photo purpose, if this is a little heart to do you can alway make the heart facing you.
Valentine's Day Nail Design

Once your nails are Valentine's Day ready, apply a top coat to seal in your design and to help it to last. 

If you would like an even simpler option, below is just a glitter gradient and the accent nail/ ring finger nail just has a the pink holo polish with no heart. 

Valentine's Day Nail Design

Valentine's Day Nail Design

Valentine's Day Nail Design

Valentine's Day Nail Design

Valentine's Day Nail Design


Lastly here the practice version, where I tried different reds, and even some heart glitters. 

Hope everyone has a good Valentine's Day and I hope all of you enjoy this Valentine's Day nail design!

See you next time for more nail fun! 

Tuesday, February 11, 2020

Luv you- Valentine's Day Nail Design

Hello everyone! Happy almost Valentine's Day! For Valentine's Day this year we will be creating of course a heart design, along with some swirls too, and of course we have to have some glitter.

Happy Valentine's Day Nail Design 
Happy Valentine's Day Nail Design

Here are the polishes and nail art tools used to create this nail design:


Base and top coat- CND Stickey Base Coat and Revlon Extra Life No Chip top coat. 

Nail polishes- China Glaze mini- Sesame Street- Giggling All The Way, and Glitter Daze- Let's have a Waikiki.

Acrylic paints- White, red, and black.

Nail art brushes- Thin detail brush and thin stripper brush.

A cup of water to clean off your nail art brushes.

Happy Valentine's Day Nail Design  
Happy Valentine's Day Nail Design 
Happy Valentine's Day Nail Design

Apply base coat, then let that dry.

Polish- 
Thumb, index, middle, pinky- Shimmer pink polish.
Ring finger- Pink glitter polish. 

Let that dry.

Happy Valentine's Day Nail Design
 Happy Valentine's Day Nail Design

Starting with the thumb nail, first make a large heart near the left side of your nail.

Then make some random swirls coming from the heart, I did three from the top and one from the bottom. Then from those swirls create more. (I know that is a weird way to describe how to do that part, but I was not to sure how to describe that part.) 

Then from those swirls make a few hearts, I made four in different spots.

Happy Valentine's Day Nail Design
 Happy Valentine's Day Nail Design
 Happy Valentine's Day Nail Design

For the index and middle finger nail designs, these two are the same just on opposite sides.

On the index nail make a heart on the right side of the nail, then make a swirl on both sides, on the top of the heart make three curved lines at the top, then make a few dots a well. You can also outline the heart as well.

For the middle finger nail repeat the same steps just on the left side.

Happy Valentine's Day Nail Design
 Happy Valentine's Day Nail Design
 Happy Valentine's Day Nail Design

 Happy Valentine's Day Nail Design
 Happy Valentine's Day Nail Design
 Happy Valentine's Day Nail Design

Lastly the heart design on the pinky finger nail. Once again make a large heart in the middle of the nail and then make some swirls at the top and bottom. You can also outline the heart if you would like or not. 

Happy Valentine's Day Nail Design

Once you have your heart nail design the way you like, apply a top coat to seal in your design and to help it last through your Valentine's day date or just for fun.

Hope all of you have a nice Valentine's Day and hope all of you enjoy this design!

See you next time for more nail fun!