Showing posts with label Glitter Gradient. Show all posts

Saturday, February 7, 2026

It's too cold outside- snowflake nail design

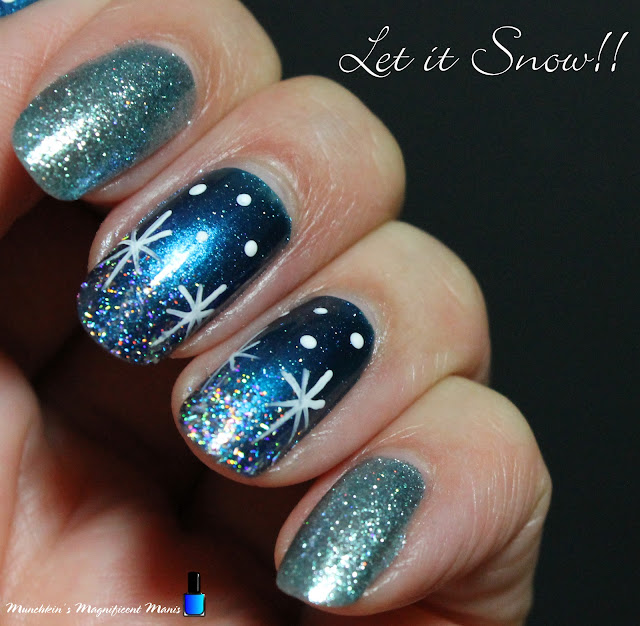
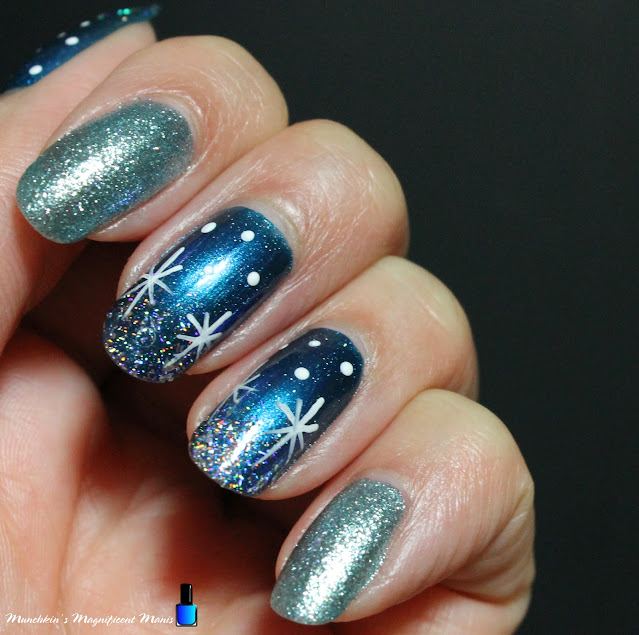
Hello everyone! Hope everyone is enjoying this super cold winter, just kidding! It has been way too cold this winter in the USA, even in the states that usually are not that cold, they are even having cold weather. I know where I live it has been way too cold and snowy and I am just ready for at least Spring time. Anyway we all may be tired of the winter weather, but why not have a pretty snowflake design on our nails, to somewhat enjoy the winter. 

snowflake nail design

Here are the polishes and nail art tools used to create this snowy nails design:


Base and top coat- CND Stickey Base Coat and CND Super Shiney Top Coat.

Polishes- Zoya- Estelle, Holo Taco- Toppers- Scattered, and Holo Taco- Electric Holo Collection- Circuit Breaker.

Acrylic paint- White.

Nail art tools- Thin striper brush, a small dotting tool, and a makeup sponge for glitter gradients. 

Other- Water to clean off your nail art brushes.

snowflake nail design

snowflake nail design

Apply a base coat to clean dry nails.

Let that dry.

Polish all of your nails with a shimmery blue (Zoya- Estelle.)

Let that dry.

Snowflake Nail Design

Glitter Gradient on all of the Nails: 

First we will start off with a glitter gradient on all of the nails. Take a scattered holographic polish and polish a little bit on the tips of the nails. Now take a makeup sponge with the same glitter polish that you just used and apply some to the sponge, dab the sponge on to the tips of the nails, I did this two times over all the nails to have enough glitter. Then I usually with the polish brush will apply anther thin layer over the tip of the nails, to smooth out what we just sponged on.

Snowflake Nail Design

Snowflake Nail Design

Snowflake Nail Design

Snowflakes:

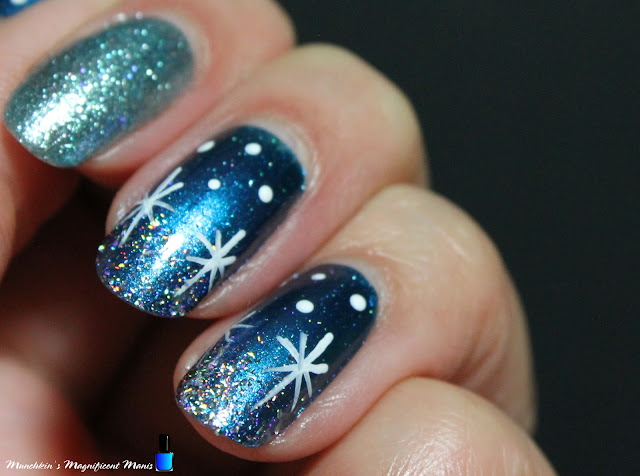
For the Snowflake we will mainly be focusing near the tips of the nails. To make a snowflake take a thin striper brush with white paint on it and make a cross shape, then an X shape through that. On every line make two to three very small lines. Then to finish off your snowflake, make a very small dot on the very end of each line. 

For even more snow, take a dotting tool with a sliver holographic polish on it and dab the dotting tool on the random blank areas of the nail. 

On all of the nail you can do different amounts of snowflakes depending on your nail length. Some nails I did two snowflakes, some three and some just a half snowflake. 

Snowflake Nail Design

Snowflake Nail Design

Snowflake Nail Design

Once your nails match the outside, apply a top coat to seal in your design and to help it last thought all the winter weather.

Hope all of you have enjoyed this winter snowflake nail design!

See you next time for more nail fun! 

Monday, January 20, 2025

Blue Holo Gradient

Hello everyone! Hope everyone is having a good start to the new year. Today on the blog we will be staring off the new year with a more simple design a gradient design, yes I have done this kind of design before, I just love to sometimes just do a simple gradient design and I still wanted to share it with all of you even thought I have done quite a few gradients on this blog. 

On each hand I did do two different colored polishes, still a dark blue (the same dark blue) and then two different light blues. 

Here is the first version on my left hand which was my favorite.

Blue Holo Gradient

Here are the polishes and nail art tools used to create this blue gradient- 


Base and top coat- CND Stickey Base Coat and CND Super Shiney Top Coat. 

Polishes- KB Shimmer- Plant One On Me Collection- Lilac It Or Not, Zoya Enchanted Collection- Saint, Zoya- Twinkling Collection- Jen, Holo Taco- Toppers- Flakie, and Holo Taco- Toppers- Scattered. 

Nail art tools- Makeup sponge for gradients, and Holo Taco Protective Peel Liquid Latex. 


Blue Holo Gradient

Blue Holo Gradient

Blue Holo Gradient

First when it comes to gradient we need to polish all of our nails with our lights color. (KB Shimmer- Lilac It Or Not), then let that dry. 

Then for creating a gradient from lightest on the tip of the nails to darkest near the cuticle, first take make up sponge and polish your lightest blue polish (I used KB Shimmer- Lilac It Or Not) then polish your darkest blue color (I used Zoya Jen). Then with your lightest color on the tip of the nails, dab the sponge on the nails to make a gradient. 

You will need to do this step few time so your gradient will be opaque. I went over each nail twice. 

For an added holo touch, take a Flakie Holo topper and polish on the darkest part of your gradient and then a Scattered Holo topper right under that, but not all the way down the nail on the lightest part just a little on the lightest part. (you will be able to see this better on the other colors I did on my right hand.)

Now for the second version on my right hand.

Blue Holo Gradient

Blue Holo Gradient

Blue Holo Gradient

Blue Holo Gradient

For this color scheme we will still use the same dark blue Zoya Jen, this time the gradient will go from darkest on the tip of the nails to lightest near the cuticle. For the lightest color I used a more light periwinkle blue Zoya Saint. For the gradient follow the same steps as before just darkest on the tip and lightest near the cuticle. 

Then once again for the glitter take a Flakie Holo polish on the tip of the nails and polish it on the darkest part then, take scattered holo and polish that on the lightest part but just a little bit not all the way on the lightest part. 

Blue Holo Gradient

Blue Holo Gradient

Once you are all finished apply a top coat to seal in your design to help it to last.

Which on of these gradients is your favorite? My favorite is the first on on my left hand, the one I used KBShimmer Lilac It Or Not this gradient I feel has an ocean look to it, which in the summer time I might do again for a nice tropical design. 

Hope all of you enjoyed this gradient design!

See you next time for more nail fun! 

Tuesday, February 13, 2024

Happy Valentine's Day 2024 Nail Design

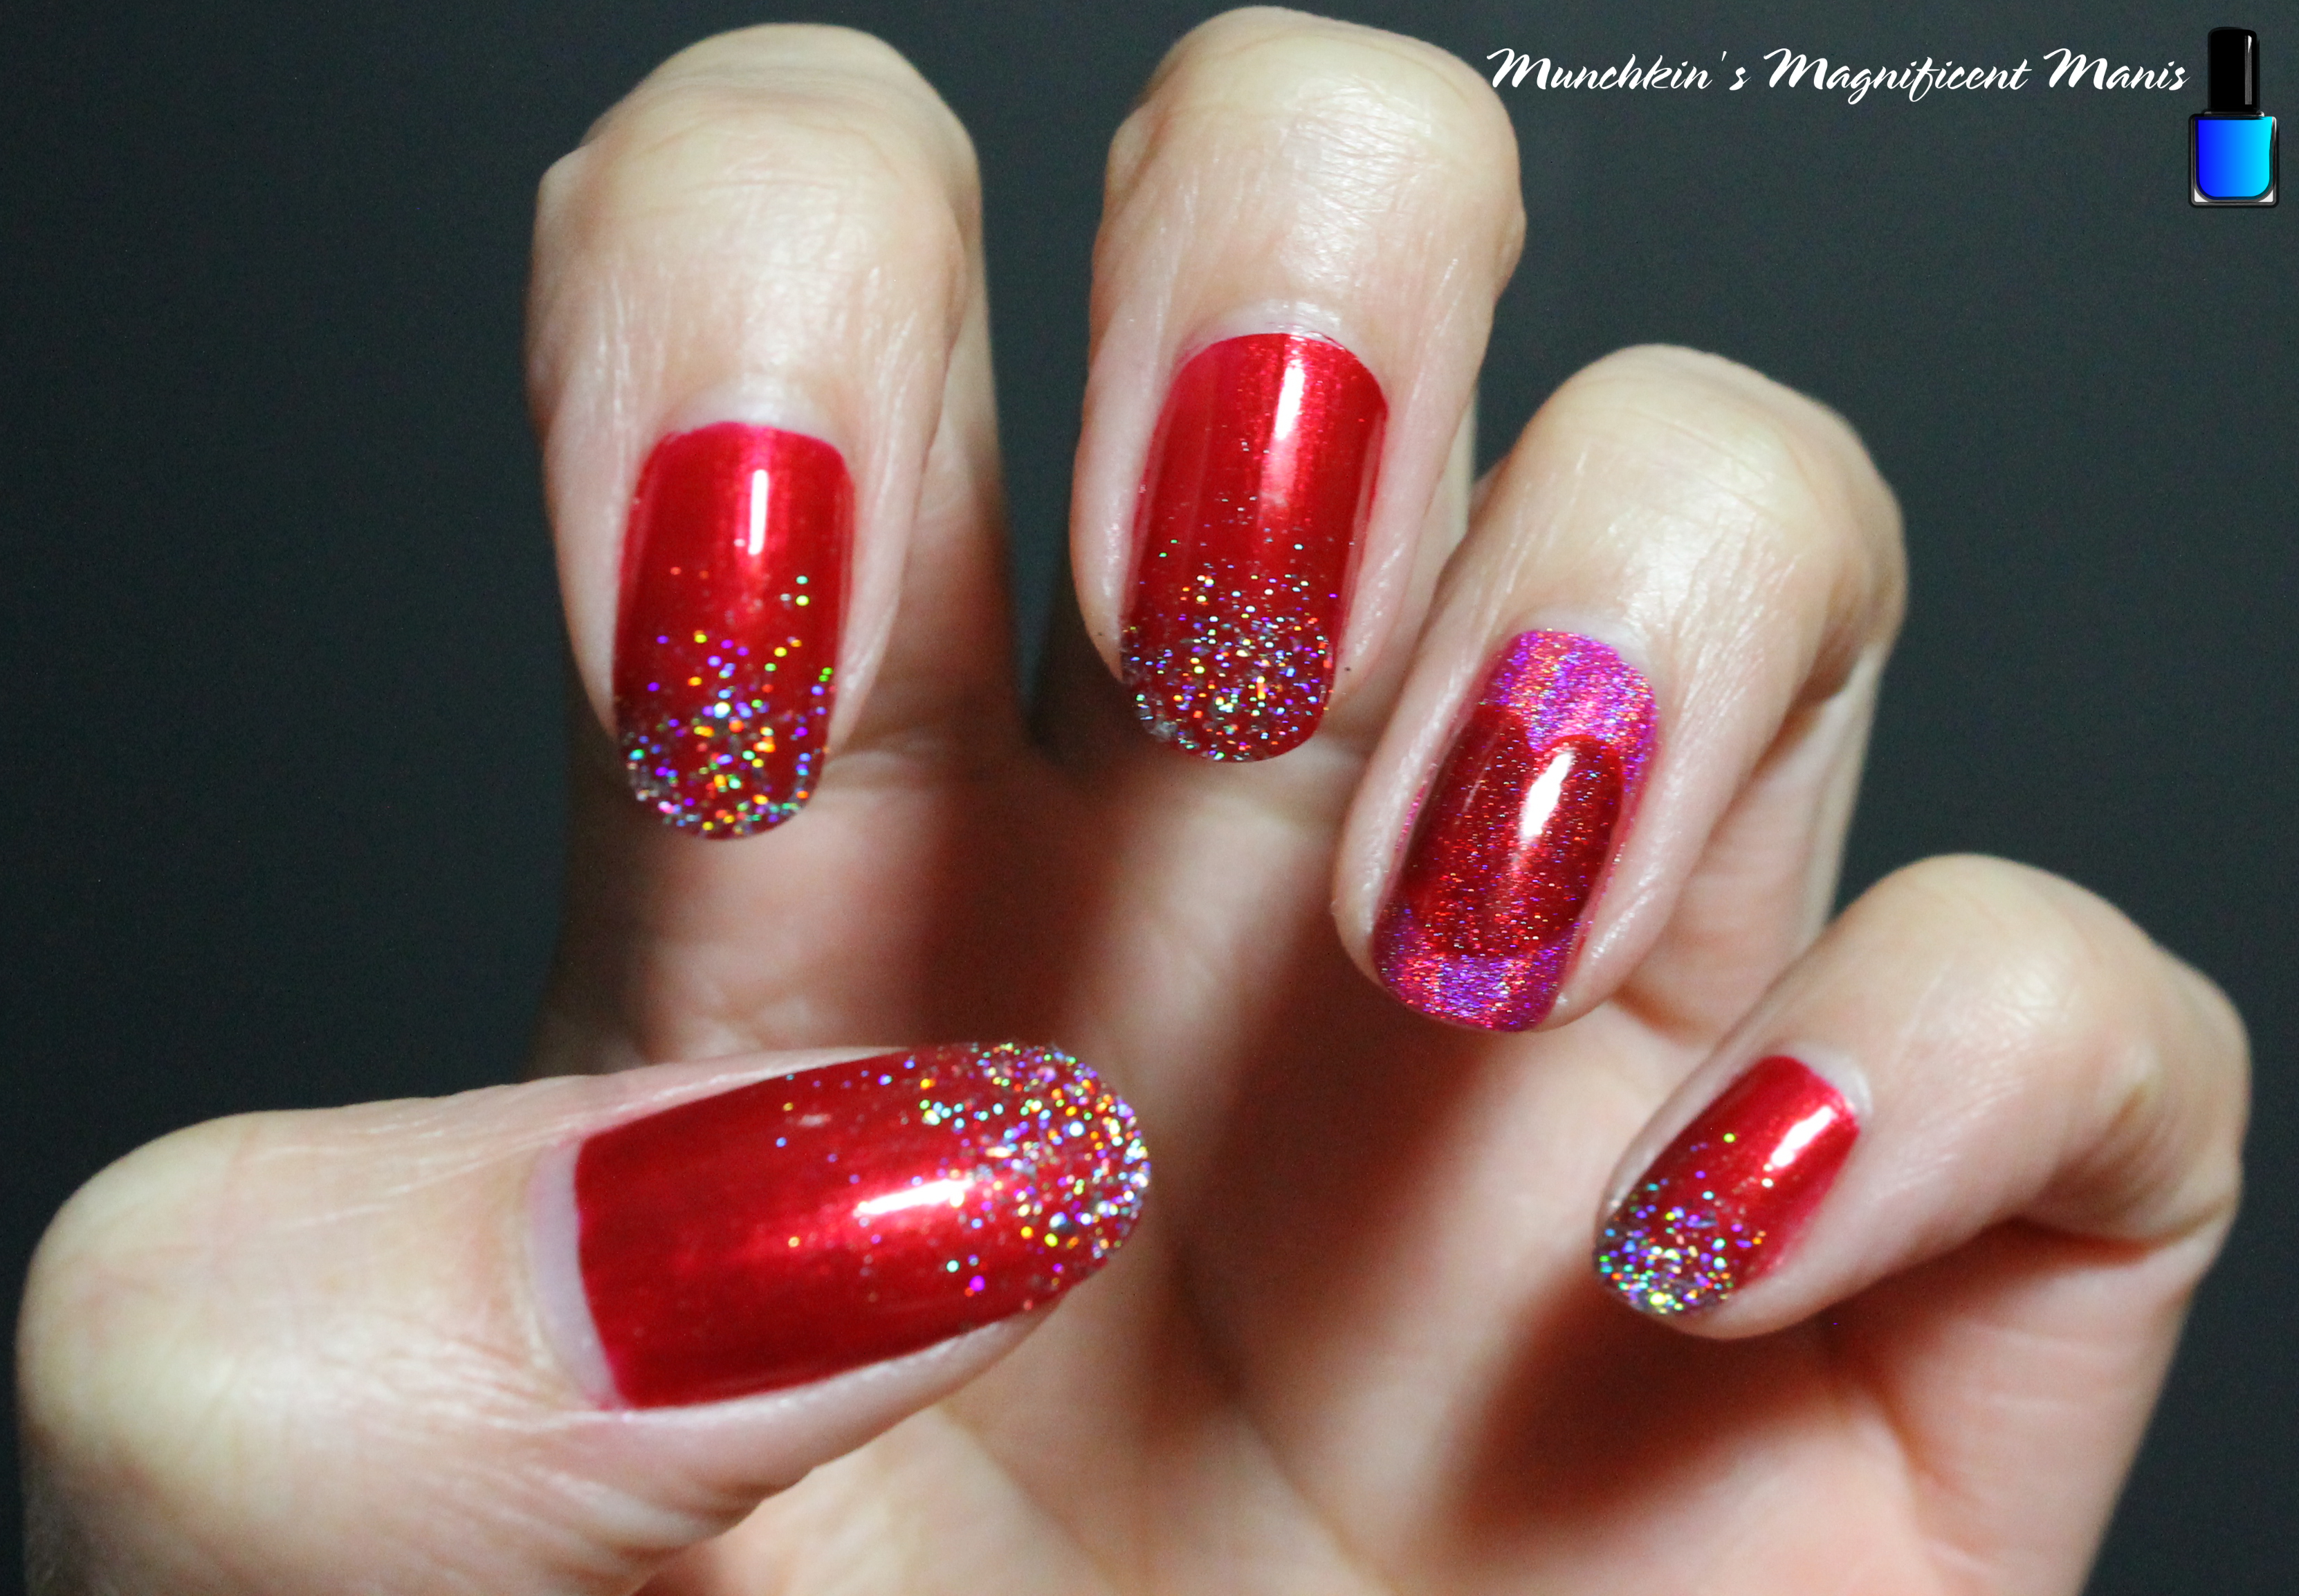
Hello everyone! Happy Valentine's Day! Today on the blog we will be creating a simple and pretty glitter gradient with a heart accent nail. This year I decided to keep the Valentines Day design simple and I was actually inspired to do a glitter gradient from the new years glitter gradients that I always do, I just thought it would look pretty to do a glitter gradient with a red polish. 

Valentine's Day Nail Design

Here are the polishes and nail art tool used to create this V-day nail design: 


Base and top coat- CND Stickey Base Coat and CND Super Shiney Top Coat.

Polishes- Zoya- Renee- Redbook trio, Finger paints- Cubism Crimson, Holo Taco- Hot - Wire Pink- Electric Holo Collection, Cirque- Madder, Holo Taco- Flakie Taco, and Holo Taco- Scattered. 

Nail art tools- Thin detail brush and a makeup sponge for glitter gradients.

Other- Water to clean off nail art brush. 

Valentine's Day Nail Design

Apply a top coat, let that dry.

Polishes- 

Thumb, index, middle, pinky- A shimmer red (Finger paints- Cubism Crimson, I used on the left hand.) or a cream red ( Zoya- Renee, I used on the right hand.)

Ring finger- Holographic hot pink (Holo Taco- Hot - Wire Pink.)

Let that dry.

Valentine's Day Nail Design

Valentine's Day Nail Design

Glitter Gradient on the Thumb, Index, Middle and Pinky Nails- 

First take your silver flakie holo polish and polish that a little bit on the tip of the nail. Then take a makeup sponge, polish that same flakie polish on that sponge and dab that on the tips of the nail, focusing most of the glitter on the tip of the nail.

Repeat this for all four nails.

Then take your silver scattered polish and polish over the flakie and going a little past the glitter that you dabbed on to give a gradient effect. Basically larger glitter more at the tip and small glitter near the middle of the nail, for that gradient look. 

Valentine's Day Nail Design


Heart Design on the Ring Finger Nail- 

For the accent nail or the ring finger nail, take a detail brush with red paint on it and make a heart shape, I always do this first even if I am going to go in with polish later. Then go over that heart shape that you just made with a red holo polish (Cirque- Madder). I make my heart upside down for photo purpose, if this is a little heart to do you can alway make the heart facing you.

Valentine's Day Nail Design

Once your nails are Valentine's Day ready, apply a top coat to seal in your design and to help it to last. 

If you would like an even simpler option, below is just a glitter gradient and the accent nail/ ring finger nail just has a the pink holo polish with no heart. 

Valentine's Day Nail Design

Valentine's Day Nail Design

Valentine's Day Nail Design

Valentine's Day Nail Design

Valentine's Day Nail Design


Lastly here the practice version, where I tried different reds, and even some heart glitters. 

Hope everyone has a good Valentine's Day and I hope all of you enjoy this Valentine's Day nail design!

See you next time for more nail fun! 

Monday, January 16, 2023

Let it Snow- Winter Nail Design

Hello everyone! Hope everyone is having a good start to the new year, unfortunately I was sick for the first start of the year, but now I am feeling much better. Anyways today we will be creating a pretty winter themed nail design, using one of the Holo Taco magnetic polishes, two of the holo toppers and a glitter polish. 

Winter Nail Design

Here are the polishes and nail art tools used to create this winter nail design:


Base and top coat- CND Stickey Base Coat and CND Super Shiney Top Coat. 

Polishes- Holo Taco- Twice in a Blue Moon- Magnetic Magic Collection, LA Colors- Diamond Crush- Cloud 9, Holo Taco- Flakie, and Holo Taco- Scattered.

Acrylic paint- White.

Other- makeup sponge. 

Nail art tools- Small dotting tool and a thin stripper brush. 

Winter Nail Design

Apply a base coat to clean dry nails.

Let that dry.

Polish- 

Thumb, middle, and ring finger nail- Shimmer Blue Polish (Holo Taco- Twice in a Blue Moon)

Index and pinky finger nail- A light blue glitter polish, with a scatter holo topper (LA Colors- Diamond Crush- Cloud 9, and Hold Taco scattered.) 

For the Holo Taco Polish Twice in a Blue Moon, this is a magnetic polish and I did do the magnetic part, it is just hard to tell, I still couldn't get it to show up as well. 

On our index and pinky nails, we will just leave this with just the light blue glitter and a scatter holo topper to add more or a shine to this design.

Let that dry.

Winter Nail Design

First we will make a simple snowflake design on our middle and ring finger nails, with a glitter gradient. 

First we will do the glitter gradient, this will also include the thumb nail. I first polish just a little on the tip of the nail, then I take a makeup sponge, polish a little on the sponge, then dab the sponge on to the tip of the nails, lastly I polish a little more on the tip of the nails where I want just a little more glitter. 

Let that dry.

Winter Nail Design

Winter Nail Design

Now on to the snowflake. Take a thin stripper brush with white paint on it and make a cross shape, then an X shape through that. Do this two time on the nail for your snowflake shapes.

For smaller snowflake, we will just make a few small dots with a small dotting tool. 

Winter Nail Design

Lastly we will create the larger snowflake on the thumb nail, once again take your large stripper brush with white paint on and make a cross shape, then an X shape over that, then make two lines/ arrow shape on each line on the cross shape, then make two lines/ arrow shape on the X shape. Lastly on the space between the snowflake make some small lines. 

Also once again for the small snowflakes take a small dotting tool with white paint on it and make small dots around the nail.

Winter Nail Design
Once you nails are ready for the winter weather, apply a top coat to seal in your design and to help it to last.

Hope all of you enjoyed this winter nail design!

See you next time for more nail fun!

Tuesday, November 16, 2021

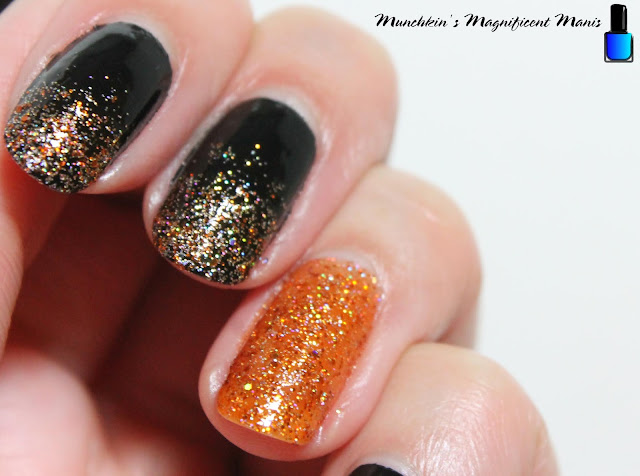
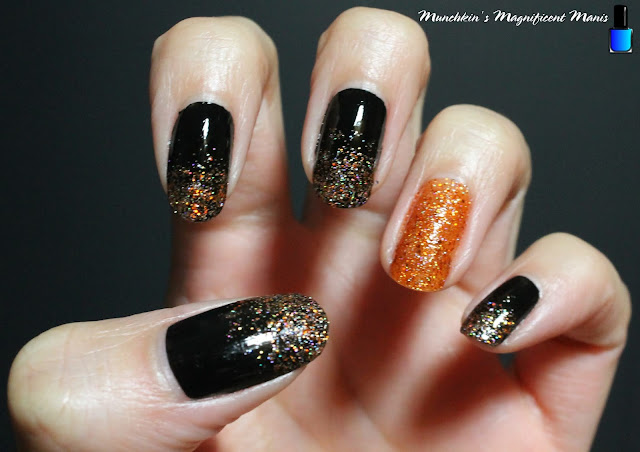
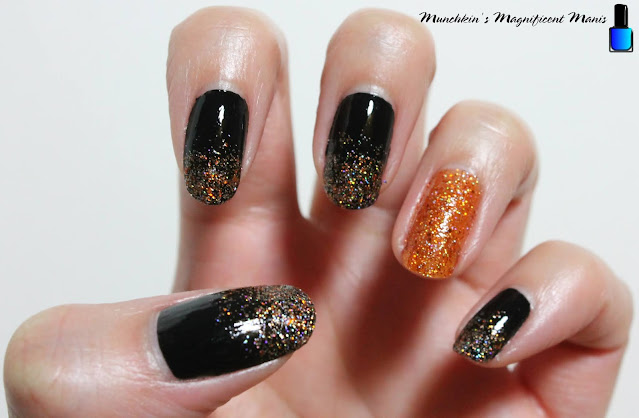
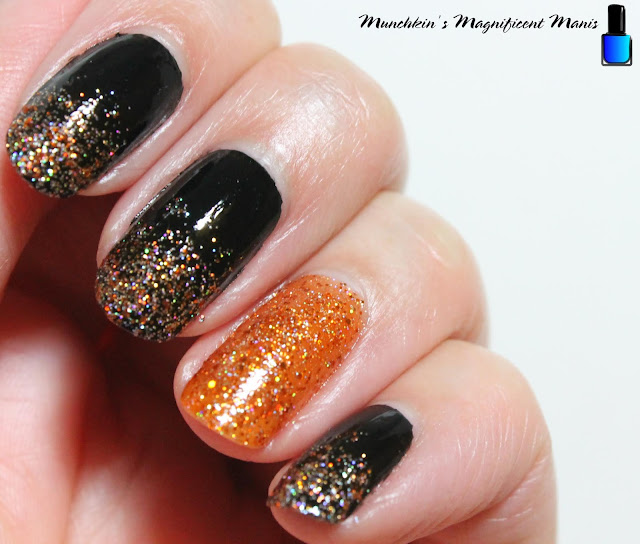
Fall Glitter Gradient

Hello everyone! Today we will be creating another glitter gradient, for the fall. For this gradient we will be using a Holo Taco's Zyler the cat. I remember in one of Simply Nailogical's video's, Cristine had said that Zyler's polish doesn't get much love, so I wanted to show this polish some love by creating a glitter gradient with it. Also this orange glitter polish is perfect for a fall glitter gradient or a Halloween design even though Halloween is over with. 

Fall Glitter Gradient

Here are the polishes and nail art tools used to create this fall glitter gradient:


Base and top coat- CND Stickey Base Coat and Revlon Extra Life No Chip top coat.

Polishes- Sally Hansen- Hard as Nails- Black Heart and Holo Taco- Zyler the cat.

Nail art tools- Just a makeup sponge. 

Fall Glitter Gradient

Fall Glitter Gradient

Apply a base coat to clean dry nails. 

Let that dry.

Polish- 

Thumb, index, middle, and pinky- a black creme polish.

Ring finger- Orange glitter polish (Holo Taco- Zyler the cat) 

Let that dry.

Fall Glitter Gradient

Fall Glitter Gradient

Once your base polish has dried. Take your orange glitter polish and polish a very thin layer on the tip of your nails, focusing most of the polish on the tip of the nail and a little going up the nail.

Do this on all the nails except the ring finger nail, unless you decided to create this gradient on all the nails.

Fall Glitter Gradient

Fall Glitter Gradient

Now take a makeup sponge and polish some of the orange glitter polish on the sponge, then dab the sponge on to just the tip of the nails.

Do this on all of the nails again.

For this polish I did take the polish brush and went over the glitter part one more time, just to add a little more in the middle of the nails, that way it looks like a gradient. 

Fall Glitter Gradient

Fall Glitter Gradient

Now that your fall glitter gradient is done apply a top coat to seal in your design and to help it to last. 

Fall Glitter Gradient

There you go a simple and fun fall nail design, that you can create anytime of the year or just change up the colors of glitters. I have done quite a few glitter gradients on this blog and they are always a fun and simple way to jazz up your nails.  

Hope all of you are enjoying the fall season here in the US. Also hope you enjoy this fall glitter nail design!

See you next time for more nail fun!