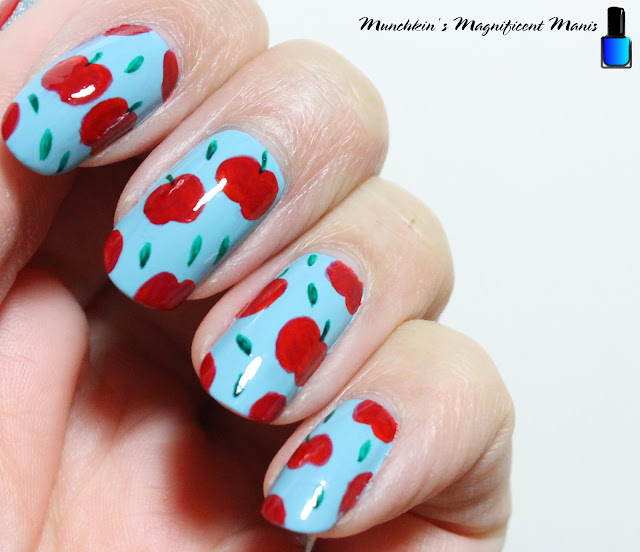
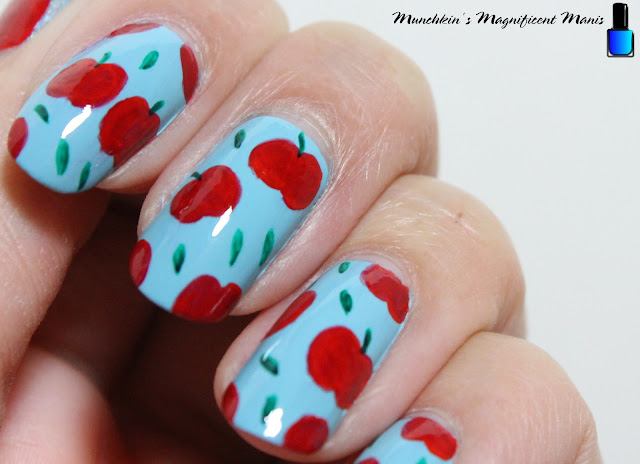
Hello everyone! Happy Fall, if you like this time of year. I personally just like pumpkin everything and the chaining of the leaves, not that it is starting to get colder, at least where I live. Today we will be creating a fall themed nail design, a red apple nail design, that is actually quite simple to create.
Here are the polishes and nail art tools used to create this apple nail design:
Polishes- Finger paints- Tiffany Imposter, Colors by llarowe- Arturo, and Zoya- Renee- Redbook trio.
Acrylic Paint- Red and green.
Nail art brushes- Thin detail and stripper brush.
Other- water to clean off your nail art brushes, also some acetone to also clean off your nail brushes.
Apply a base coat, let that dry.
Polish-
Thumb nail- Light blue holographic polish (Colors by llarowe- Arturo)
Index, middle, ring, and pinky finger nails- Light blue polish (Finger paints- Tiffany Imposter)
Let that dry.
On all of the nails for the apple shape, start off by making a half circle than another half circle right next to each other to make an apple shape. I first stared off using red acrylic paint to get the shape just right then once that dried I went over that with red polish.
On each nail you can make just a few whole apples, then a few on the sides for half an apple. Depending on the size of your nails will most likely determine the amount of apples that can fit on the nails.
For final touch to all of the apples that you made, make a thin small green line at the top of your apples, then lastly make some small leaves on the blank areas of the nails.
For the thumb nail, we will make a larger apple that will cover most of the nail. Once again I did the shape with acrylic paint then went over it with red polish. Take your small detail brush with red paint then make a two half ovals that come together and then fill that in. Also if you want you can just go straight in with red polish.
Lastly for the final touch, with green paint make a small thin line from the top of the apple than two curved lines for your leaves.
Once you have your apple nails ready for picking, apply a top coat to seal in your design and to help it to last.
This design is actually simple to create with you a basic shape, also you can make this even more simple by just making some apples on a few nails and just leaving a few nails with just polish/ blank. Also if you want you can make different colored apples as well; green and yellow, whatever colored apples you would like.
Hope all of you enjoyed this apple nail design. Next time we will be creating another fall nail design, pumpkins.
See you next time for more fall fun nails!


No comments:
Post a Comment