Star Nail Design
Here are the polishes and tool used to crate this starry night nail design:
Top and base coat- CND Stickey Base Coat and Revlon Extra Life No Chip top coat.
Polishes- Color Club- Black Magic- holo, Color Club- Mini- Silver Glitter, Cover Girl- Boundless color- Disco dazzle (very old polish).
Other option for base color- Zoya Dream.
Arcylic paint- white.
Nail art tools- thin stripper brush, small and medium dotting tools.
Cup of water to clean off you nail art brushes.
Star Nail Design
Apply base coat, let dry.
Polish all of your nail with a black holographic polish, or a creme black polish if for some reason you don't have a holo polish.
Thumb nail- add a silver glitter near the tip of the nail.
Index nail- make a thick line of glitter going across the nail.
Middle finger nail- no glitter.
Ring and pink nail- add a larger glitter polish near the tips of the nails.
Another option that I will show later on is to use a blue scattered holo polish as your base color.
Let that dry.
Star Nail Design
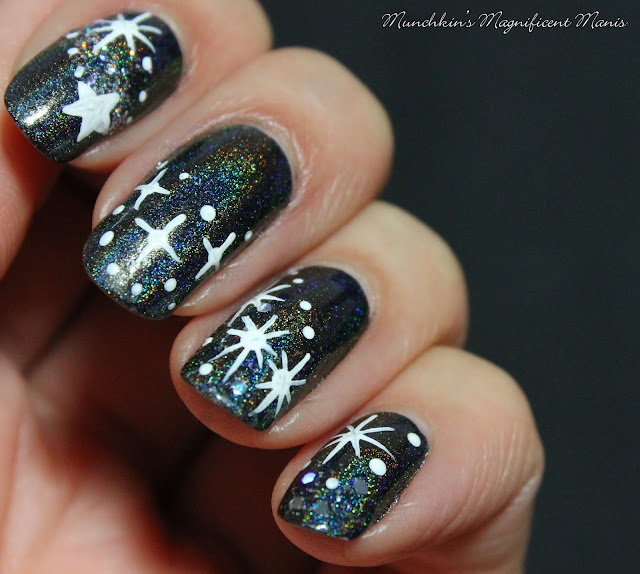
For this star nail design it is very similar to making snowflakes, just less lines depending on what kind of snowflakes you make.
For making the stars on all the nails-
Just take a dotting tool with white paint
on it and place a dot on the nail. Then with a thin stripper brush with
white paint on it as well make four or two long lines from the circle. (depending on how you want to make your stars)
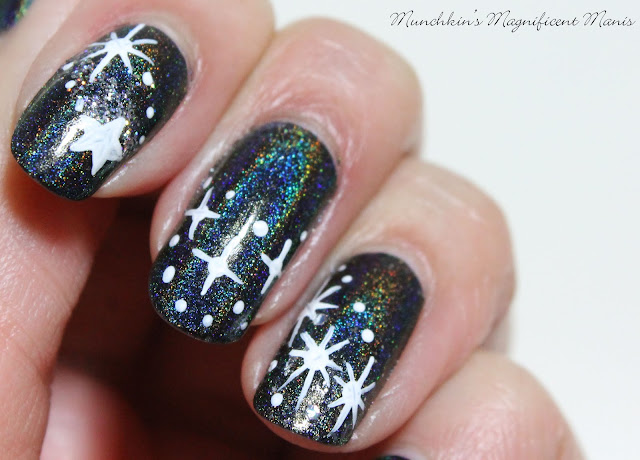
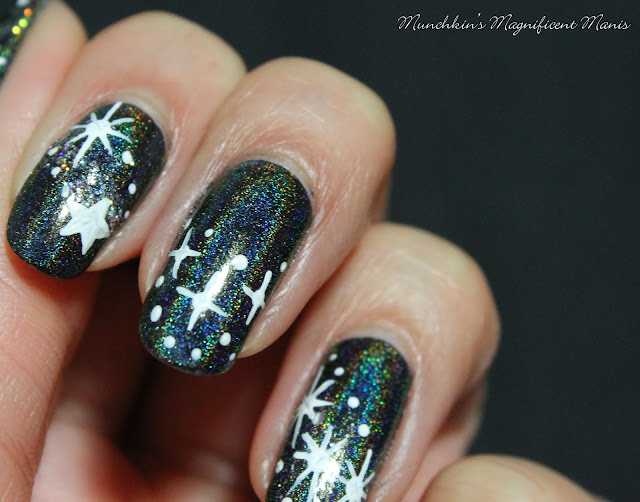
On the index nail we will make a large star and a actual star shape, then make different size dots with a dotting tool.
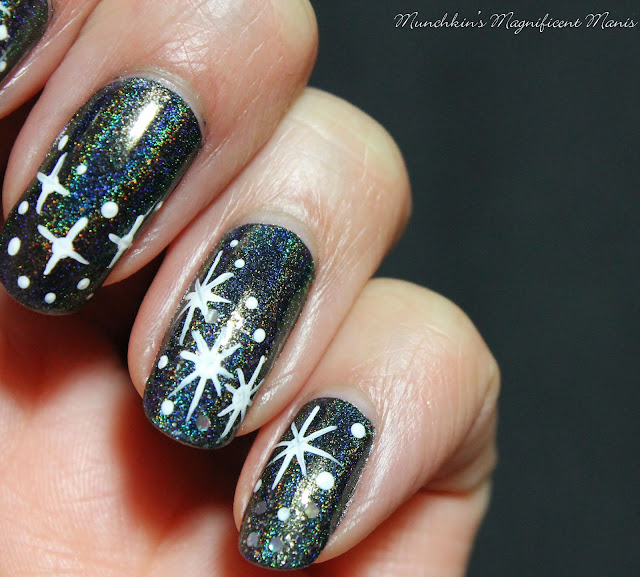
On the middle finger nail, make three stars that only have two lines, and then place random dots around your big stars. Also focus this near the tip of the nail.
Star Nail Design
On the ring finger nail make three large stars going down the nail, kind of near the tip of the nail, once again add random small dots with a dotting tool. Also on these stars make the line in the center longer then the other lines.
On the pinky finger nail make one large star and a few dots near the large star.
Star Nail Design
Lastly on the thumb nail, make your star just like the one on the ring finger with a longer line down the middle, and only two stars, and then add a few dots near the tip of the nail.
Star Nail Design
Once you have your starry night sky looking just right, apply a top coat to seal in your design and to help it to last.
Star Nail Design, Blue Polish
Above is another option, using blue polish as your base color and just doing the design on two nails. Lately on my right hand,(If I do nail art on that hand) I have just been doing a design on two nails.
Practice version of My Star Nail Design
I originally was going to polish all of my nails with Zoya's Dream (as you can see from the practice version), but then when I showed my hubby, he said maybe I should use a black polish for the sky because this look to similar to a design that I have done before. So that is why I went with Color Club's Black Magic.
Hope all of you enjoyed this starry night sky nail design!
See you next time for more nail fun!


No comments:
Post a Comment