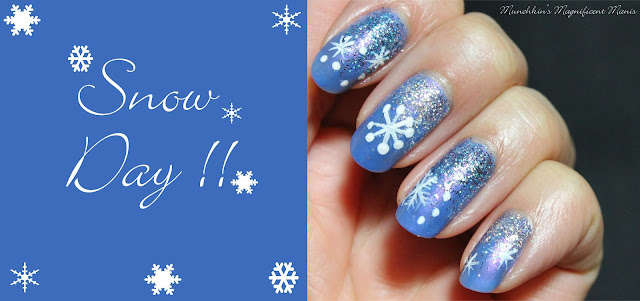
Snow day! Winter nail design
Here are the polishes and nail art tools used to create this winter nail design:
Base and top coat- CND Stickey Base Coat and Revlon Extra Life No Chip top coat.
Nail polishes- Your base color Zoya Enchanted- Saint, for the glitter gradient Color Club- Mini- Silver Glitter and blue and purple glitter.
Acrylic paint- white
Nail art tools- Thin stripper brush and small dotting tool.
Other- Makeup sponge for glitter gradient, and a small cup of water to clean off nail art brushes.
Winter nail design
Start off with clean nails and then apply a thin coat of base coat to make your polish last.
Let that dry.
Then on all of your nails, polish them with a periwinkle blue (I used Zoya - Saint.)
Let that dry as well.
Then on to the glitter gradient, for this you will need a makeup sponge. For me I found it easier to first take the polish and the brush it came in, and polish the gradient on first and then sponge on more of the glitter.
For this gradient we will start from the cuticle and then go down the nail. For the glitter gradient most of the glitter will be focused/ mainly be near the cuticle and then faded in to less glitter as we go down the nail.
As stated above I first took the brush and polished the glitter on and then I took a makeup sponge putting some of the glitter polish on to the sponge and dabbed it on to the nail.
Winter nail design
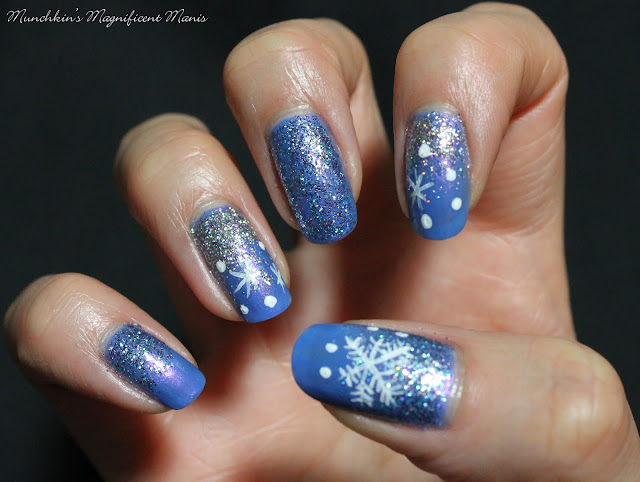
Once you have your glitter gradient the way you like on to the snowflakes, to make this more of a winter design. On my left hand I did put snowflakes on all of the nails and on my right hand I only put snowflakes on three nails.
For each nail you can make each snowflake different. Some nails I put one snowflake the other nails two with some small dots.
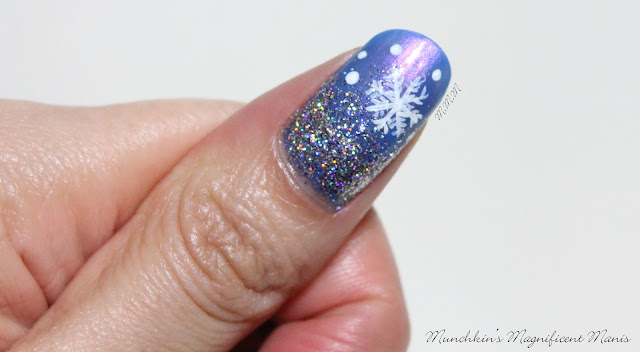
For each snowflake they all start off with a X and then look kind of star shaped, some of the flakes you can leave as is or add more lines to make them different. Then once you have the larger flakes you can take a dotting tool and make small dots for very small snowflakes.
Winter nail design, on thumb nail
Winter nail design
Once you have your winter nail design the way you like apply a top coat to seal in your design and to help it last thought your next snow day, or just a regular day. I don't know about you but I am fine with a mild winter with little snow, it was much better when we where kids and had actually snow days, now we don't get snow days we still have to go to work no matter what.
Winter nail design, on my right hand
Winter nail design, on my right hand
Here is the practice version that I did a well.
Hope all of you enjoined this winter glitter gradient nail design, and I hope all of you are having a great start to the new year and stay warm if it is cold where you are at.
See you next time for more nail fun !


No comments:
Post a Comment