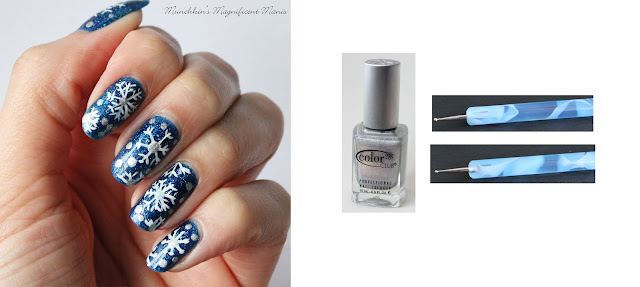
The nail polish and tools used for this snowflake design will be right next to the images as we go.
The skill level for this snowflake nail design is:
Beginner Basic
This design is great for beginners. It is simple and easy to create, all you really need to do is try to keep a steady hand when drawing the snowflakes.
Let's start this winter snowflake nail design!
Base coat used Nicole OPI- 3in1- base, top, & strengthener.
1. Start off with a base coat to protect your nails.
Polish used Zoya's Dream
2. Then paint all of your nails with a shimmer blue polish. I used the very beautiful Dream by Zoya, this color is so amazing and shinny, and I that it went very well with this design.
White acrylic paint and a small thin nail art brush.
3. Next we will be making the snowflakes, we will make a large one and a small one. Depending on the size of your nails, you can make more or less snowflakes. Start off with a thin nail art brush dipped into white paint and make a star shape, like the photo above.
4. Now we will start to make the snowflake look like a snowflake. For this snowflake we will make two arrows on each line of the star shape.
5. Once you have finished your first snowflake it should like the photo above. Next we will make half of a snowflake near the tip of the nail. With your thin nail art bush dipped into white make three lines, then two arrow shapes on top of the lines.
Final nail design. Polish used for dots Color Club Halo's- Harp on,
and medium and regular size dotting tool
6. For the final touch on your snowflake nails, we will add dots for the small snowflakes. Take a medium dotting tool dipped into a silver holographic polish and make dots on some of the empty space around your snowflake. Then with the regular or small doting tool repeat this step again.
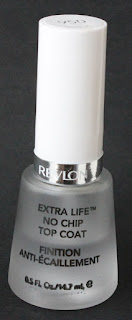
Top coat used, - Revlon Extra Life No Chip top coat
Once your snowflake nail design has dried apply a top coat, to seal in your pretty design.
Final snowflake nail design
With all snowflakes they all look different, so for this design on each nail you can change up how you make your snowflakes, some of them I kept the same and just changed the size,and other I changed how they looked. It's all up to you on how you want your snowflakes to look.
Hope all of you enjoyed this pretty snowflake nail design!


No comments:
Post a Comment