Hello everyone! Sorry for the lack of a post last Friday, we had some power issues last weekend when I usually work on the M.M.M blog, so I could not work on a blog post. Now everything is good! For this Friday, Easter is coming Sunday April 5, and what better way to dress up for Easter than to dress up your nails with a cute Easter design.
Happy Easter! Final left hand nail design.
Here are the polishes and tools used in this Easter nail design:
Base coat and top coat - Revlon Extra Life No Chip top coat and - Nicole OPI- 3in1- base, top, & strengthener.
Nail polishes- OPI mini- Hawaii- Suzi shops & island hops, NYC- Water street blue, Sally Hansen- Hard as Nails - No hard feelings, Sinful Color- Cinderella, Sinful Color- Mint Apple, Sinful Color- HD Nails, NYC- Brownstone, Milani- Quick Teal, Sally Hansen- xtreme wear- White on. Optional polish- Revlon- Rebel graffiti.
Nail art stripper polishes- Kiss nail art- White and Black.
Nail tools- Glass jar with nail polish remover to clean nail art brushes, extra large dotting tool, large dotting tool, thin nail art brush, and a small nail art brush.
The skill level for this Easter nail design is:
Beginner
This nail design is in between beginner and intermediate. Most of the design is simple with dots, simple lines for the eggs, and the flowers and glass for the most part is simple to create. The only part that might be considered intermediate is the chocolate bunny in the basket and the bunny on the other hand.
Let's begin this cute Easter theme nail design!
1. Start off by applying a thin layer of base coat to all of your nails.
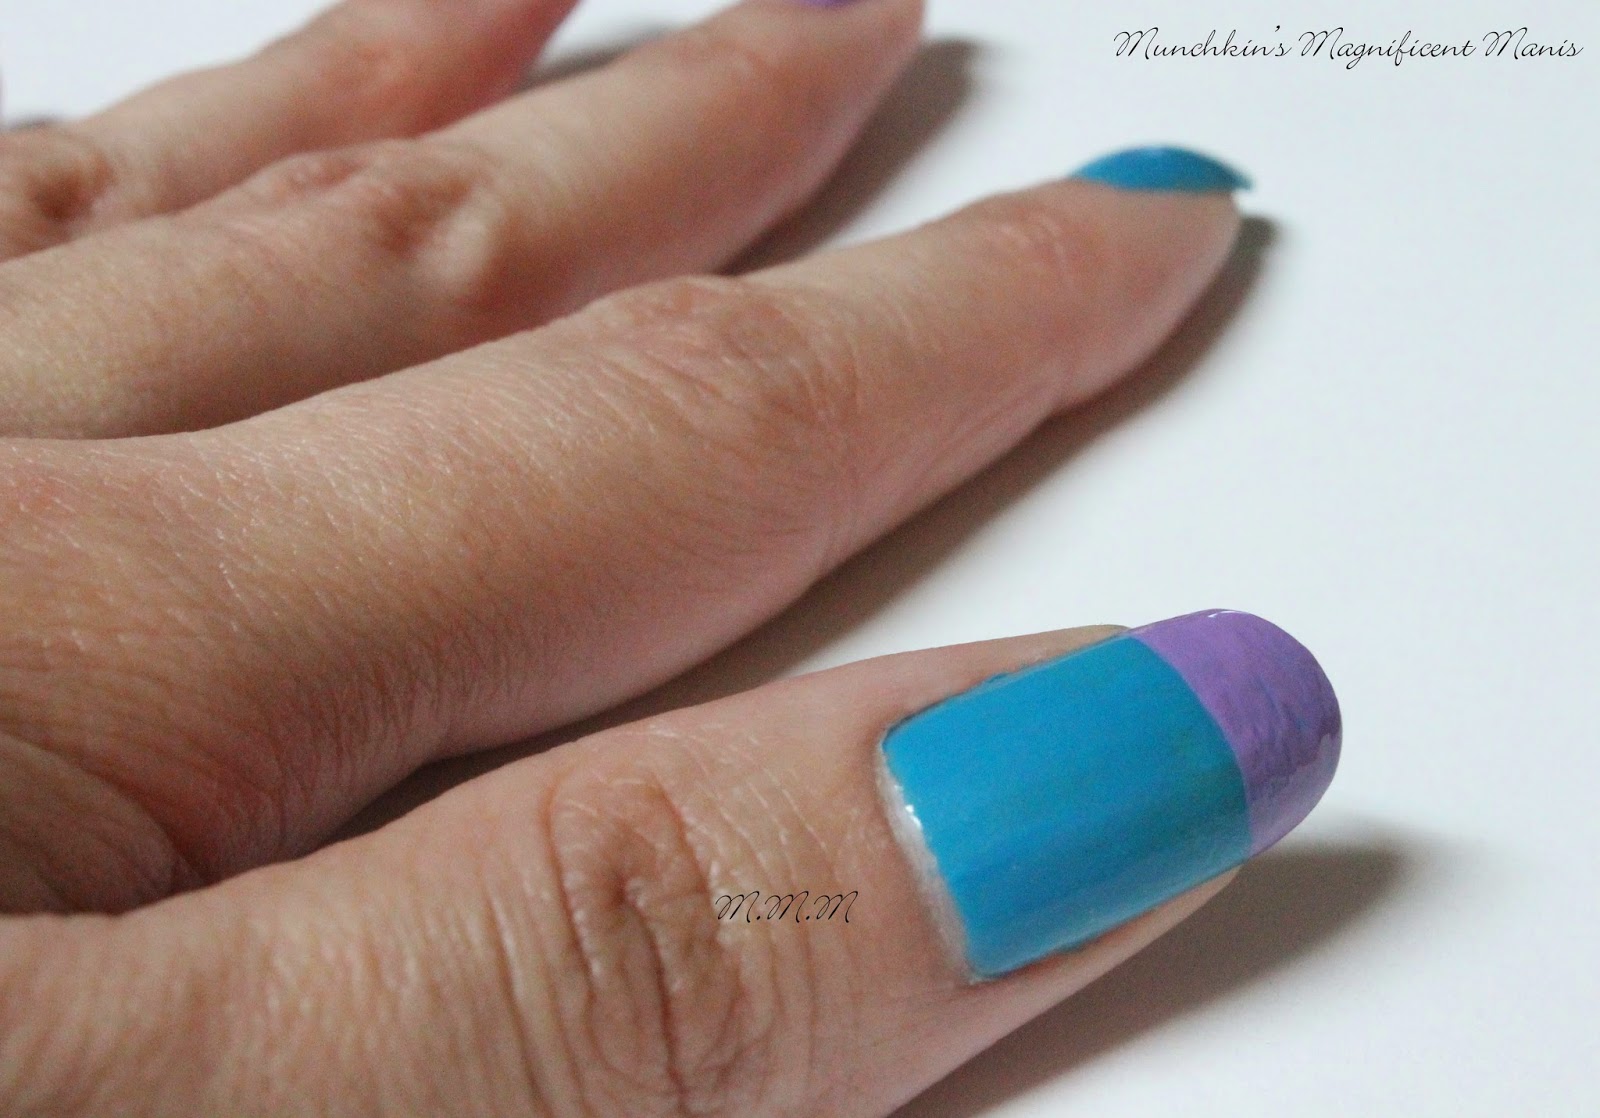
2.Once your base coat has dried, paint your thumb and index nail a light blue, your middle finger nail a light purple, your ring finger a lighter blue, and your pinky nail a light pink.
* If you are wondering why the position of my hand/ nails has changed in the photos. I have been trying to improve my photos since I started this blog. The way I would position my hand when I take the step by step photos was unconformable and would hurt my wrist after a while, so I thought this way would be more better.
3. On the thumb nail we will be making a chocolate bunny in a basket. Start off by taking your purple polish and paint a wide french tip, by just swiping the polish from one end to the other.
4. Next we will make the handle for the basket. Take your white nail art stripper polish, and kind of outline the nail to make a handle, by drawing a line on both sides and near the cuticle, you can always go over the lines a few times to make the lines thicker.
5. Now we will start the chocolate bunny. Take your small nail art brush dipped in brown polish and make a circle right in the middle of the basket. Then take your large dotting tool dipped in brown and make two dots under the bunny's head for paws.
6. Now for the bunny's ears. Take your large dotting tool dipped in brown polish, start at the top of the bunny's head and drag the dotting tool down until the ears connect to the head.
7. To finish the small detail for the basket, we will add some lines to the basket. Take your white nail art stripper polish, staring on the sides make three horizontal lines across the basket, then five vertical lines going down the basket.
8. As we let the bunny dry, we will go on to the index nail. We will be making dots on this nail for an Easter egg. Take your large dotting tool dipped in purple, pink, teal or green, then dot the colors on the nail. Make sure to clean off your dotting tool in between colors.
9. For the middle finger nail we will be making a Easter egg. Take your thin nail art brush dipped in a teal polish, draw a thin line near the tip of the nail and the cuticle.
10. Then under the thin line, make a thicker line, then a squiggly line under that line.
11. Then under the squiggly line, make a zig- zag line under that line by makeing small triangles. For the pinky nail repeat step 10 and 11, just use a purple polish to make the lines.
12. Next we will make flowers and grass. Take your thin nail art brush dipped in light green polish and make different size lines on the tip of the nail, for grass.
13. Then clean your brush off and dip it into a darker green polish, and add more lines next to the light green lines. Make sure three of the lines are taller for the stems of the flowers. Then add two lines on the sides for the leaves. To make the flowers, dip your thin nail art brush in purple then make a curved shape, and three points to make a flower. Do this two more times with pink and teal polish to make two more flowers.
14. Now your bunny should be dry, so it's time to finish it. Take your extra large dotting tool dipped in black polish and dot two eyes.
15. Then take your large dotting tool dipped in a light pink polish and make a nose. Then to add a small detail to the ears, take your large dotting tool dipped in light pink and go over the ears, with out covering the brown part of the ears. Also the bunny's whiskers (shown in the photo below) take your black nail art stripper and draw two slanted lines next to the nose.
Right hand Easter design
Once your Easter design has dried fully, (yes make sure it has dried fully) before applying a top coat. I actually top coated too soon on the other hand and smudged the bunny a little bit.
Left hand Easter design
For the right hand I changed the design just a little for a different look. On the thumb nail I just painted a large white bunny. This is done the same way as the chocolate bunny just larger. To create the bunny refer to steps 5-7 and steps 14 and 15. Then on the middle and pinky nail for a different kind of egg, I went for the speckled egg look by taking a black and white glitter like polish ( I used Revlon's Rebel graffiti.)
For this design you can always do the same design for both hands or change it up just a little, like I did.
Hope all of you have a wonderful Easter and as always hope all of you enjoyed this cute Easter nail design.
See you next time for my next design tutorial!


No comments:
Post a Comment