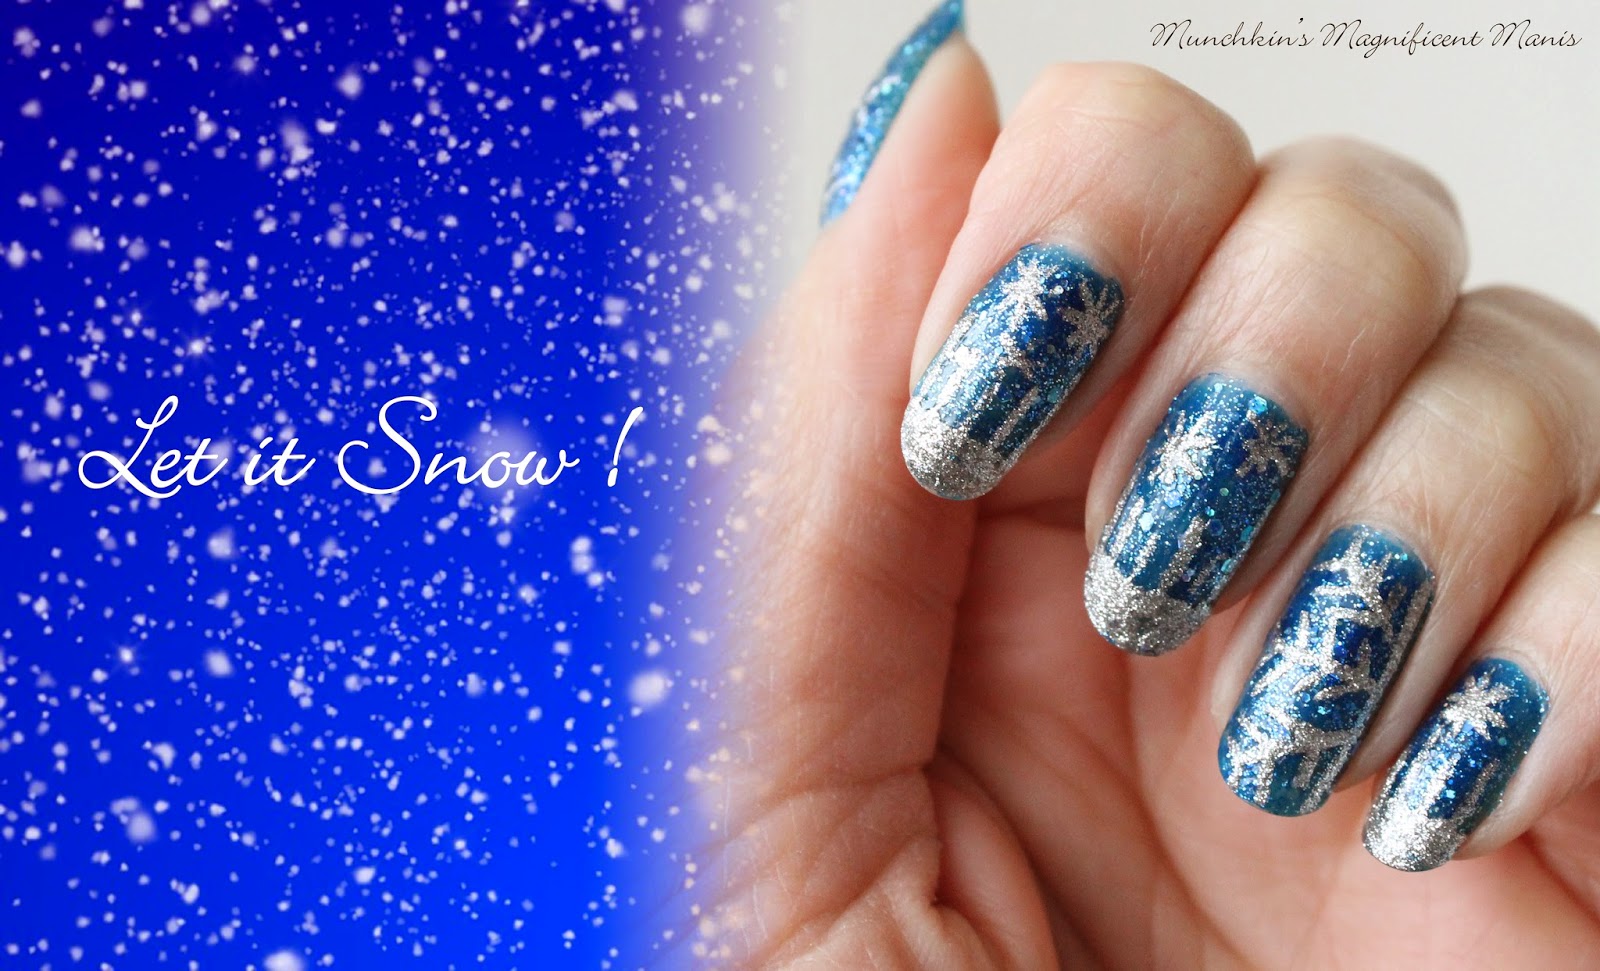
Snowy Winter design
If you have been following my blog this design might look somewhat familiar, this design is kind of a re-creation of design that I did around Christmas time, without the penguin and snowman (here is the link for that design Winter Wonderland .) No this is not a Christmas design (it could be, I guess? But Christmas is over with.) I just thought I would give this design another try with the Zoya Nori polish, for a winter loo. (Here is the link for the Zoya post Zoya Dream Box .)
The Nail Polish I used: (There are No tools used for this design!)
Top coat and base coat- Revlon Extra Life No Chip top coat and - Nicole OPI- 3in1- base, top, & strengthener.
Nail Polish- Zoya- Pixie Dust- Nori and Kiss nail art- Silver.
The Skill level for the Winter nail design is:
Beginner/ Basic
This design is very simple! Their are only two polishes used for this design, a base color and a nail art polish/ stripper. The design itself is a lot of lines, simple snowflakes, and a french manicure to start off the icicles.
For this design even though this is a recreation with some changes, I will still put the steps again for all of you right here in this post.
1. Start off with a thin layer of base coat.
2. Paint all of your nails with a blue glitter texture polish. I used the beautiful Zoya Nori polish from the pixie dust collection. It did take three thin coats to get opaque enough, this was kind of a sheer color.
3. We will start with the thumb nail design, a large snowflake. Take
your silver nail art polish and draw a vertical line on the side of the
nail, then a line in the middle, and two slanted lines one at the top
and one on the bottom.
4. To finish off your snowflake, draw arrow like lines on the three larger lines all the way down the larger lines.
5. Do step 3 and 4 again for the ring finger nail.
6. Next we will be creating the icicles and snowflakes on the index, middle, and pinky nail. Start off by create a silver french manicure with the silver nail art polish/ stripper. Do this by slowing dragging your nail art polish across the nail and then fill in that part.
7. Let's make the icicles.We already have part of it started with the french manicure part, now
we just need to add the dripping ice, take your silver nail art polish
and draw two lines on the side under the french manicure. Make these two lines kind of long. You can start anywhere on the nail, it does not have to start on the corners, this is just how I did this.
8. Then
draw different size lines all the way across the nail,
while leaving a little bit of space in between each line/ icicle. Each line should be different sizes, some long some short.
9. The last step is to make the small snowflakes under the icicles. Take your silver nail art stripper and draw as many star like shapes as you would like, most of the nails I put one to two snowflake/ stars.
For textured polish you really are not suppose to add a topcoat because this could mess up the texture effect. I found if you put a thin layer of top coat this does not take away the texture effect. So if you want to have extra protection for your manicure, just add a thin layer of top coat.
Here's a side of side view of Winter Wonderland and Let is Snow. As you can see the designs of the snowflakes is a little bit different. Due to the Zoya Nori having glitter in it I did not add the small dots for snowflakes like the original.
Hope all of you enjoyed this recreation!
See you next time for my next design tutorial!


No comments:
Post a Comment