Showing posts with label OPI nail envy. Show all posts

Friday, November 14, 2014

The search continues- For a good base coat

Hello everyone! As you may know if you have been reading my post for a while now, I have been trying for a while to find a good base coat with no luck. Then, after a doing some research online and seeing a lot of good reviews about all the formals for this strengthener, I thought I would give OPI nail envy- nail strengthener for sensitive and peeling nails a try. 


  OPI nail envy- nail strengthener for sensitive and peeling nails

At Ulta for $17.95 with tax $19.03! 

I have been using this strengthener and base coat for about three to four weeks. I have the problem with my nails peeling way too much on the tips of my nails and I thought this would be a good base coat to try and help this problem. Unfortunately after using this for a few weeks I notice when trying to apply nail color over this base coat, it made my nail color 
thick and streaky. At first I was not sure if I just did not let it dry enough, so I tried applying it overnight knowing that it would be dry, but once again it did the same thing. Once this kept happening I decided to return it back to Ulta. 

    
I had really high hope for this strengthener/ base coat because of all the good review I had read. As for the strengthener part I am unsure if it really did anything do to the fact that I didn't us this product for very long. For the strengthener part it might work well if you don't wear nail polish all the time and are able to reapply the strengthener every day like it says in the instructions. 

  Here are the different OPI nail treatments for each nail type.  

With any product just because it didn't work for me doesn't mean it would be the same for everyone. If you are willing to spend a little more money on nail products, OPI does have a few nail treatments for many different nail types that might fit your needs.

Nicole OPI-  3in1- base, top, & strengthener

Once again my search continues for a good base coat. After I returned the OPI nail envy, I went to CVS and found the Nicole OPI-  3in1- base, top, & strengthener, that I tough I would give a try. This all in one would probably be good for some one that does not want to buy separate top coat and base coat that just want it all in one bottle. For me I will be using it as a base coat  and see how the strengthener works out. Also this all in one is a much better price then the OPI nail envy. The Nicole OPI-  3in1- base, top, & strengthener cost $8.29 at CVS and I think you can find it cheaper at Target for around $5. So far I have only used this two times, but once again I will keep you all posted about how well this works out.


See you next time for more nail fun!


Friday, October 17, 2014

Trick or Treat- Halloween Design


Hello everyone, Happy Halloween! I know that it's a little bit early (well about two weeks) for Halloween, but I decided to do a Halloween design early because I will be going on a trip when it's actually Halloween. Anyways, for this Halloween design I decided to go with a cute themed design of a black cat, pumpkin, Frankenstein, candy corn, and a ghost. I based it on a photo that I found on Pinterest of Halloween cake poppers. 


     Here is the picture of the cake poppers that I based my design on.


The Polishes and tools I used for this cute Trick or Treat design-

 
Polishes- Revlon Extra Life No Chip top coat, - OPI nail envy- nail strengthener- base coat,
Sally Hansen- xterme wear- Sun kisses, Sinful Color- Cinderella, Wet n wild- wild shine black, Sally Hansen- xtreme wear- White on, Sinful Color- HD Nails, NYC- SoHo, and Sinful Color-Let's Meet. 

Nail art polish used: Kiss nail art- White and Color Club nail art- Black. 

Tools-  small nail art brush, dotting tool, and a glass jar with nail polish remover in it to clean off your dotting tool. 


The skill level for this Halloween design is:

Intermediate

For this Halloween nail design their are some parts that are simple and other steps that can be tricky especially on your non dominant hand. Also, due to their being a lot of steps in this design, I gave this an Intermediate rating. 


Start off with a base coat. As I have stated in my other posts I am going to give the OPI nail envy- nail strengthener- base coat a try. I have used it for about four weeks, but this time when I used this strengthener/base coat it seemed to have made my nail polish go on very thick and streaky, I'm not sure if this happened because I didn't wait long enough for the base coat to dry. Due to this happening, I did not use a base coat. I will still give this another try, but if it still seems to be doing this I will return it and try another base coat.


1. Paint you thumb and middle finger orange, your index finger a light blue, and your pinky finger black. Leave your ringer finger blank for now. These colors will be the backgrounds for your characters. 

2. Next we will be working on the candy corn on the ring finger. I did this design freehand, but if you would like you can cut small pieces of tape as a guide to keep your lines straight. If you choose to do this design freehand, take your white polish, start off at one corner of your nail and swipe the polish to the other side, also make sure just to go half way up your nail with each color. Then repeat this step for the orange part. 

* For each nail I went back and forth with each nail design, in order to let each step dry before I started the next step.That's why some steps it may seem like I was going back and forth with each nail design. 

3. The next design will be the ghost on the pinky finger. Take your nail art polish and draw an arch shape for the ghost. Found this helpful to create the ghost shape.  

4. Then take your regular white nail polish and swipe the polish from the top of the arch shape to the tip of the nail. 

5. This step you can include with step 2, After you paint the orange part once again repeat the same steps that you did for the white and orange polish. (If needed refer to step 2.)


6. The next design we will be working on is the black cat. Take your black nail polish and about in the middle of the nail create a curved shape, then fill in the bottom half of the nail all the way to the tip of the nail.

7. After we finish the cat's head we need to make the ears. This will be done by taking your  black nail art polish and on the side of the head create two triangles, then fill them in. 

8. Next are the eyes and nose. Take your dotting tool dipped in yellow nail polish, dot two eyes on the face, clean your dotting tool off with nail polish remover, then dip your dotting tool in a light pink polish, then place the dotting tool in the center of the two eyes for the nose. 

 
9. Now we will create the cat's mouth. Take your white nail art polish, starting from the cat's nose, drag the stripper down just a little, then starting in the middle of the line that we just created, draw one line on each side. 

10. The final step for your cute black cat is the whiskers. Once again take your white nail art polish, on the side of the nail draw two slanted line on both sides of the cat's face.

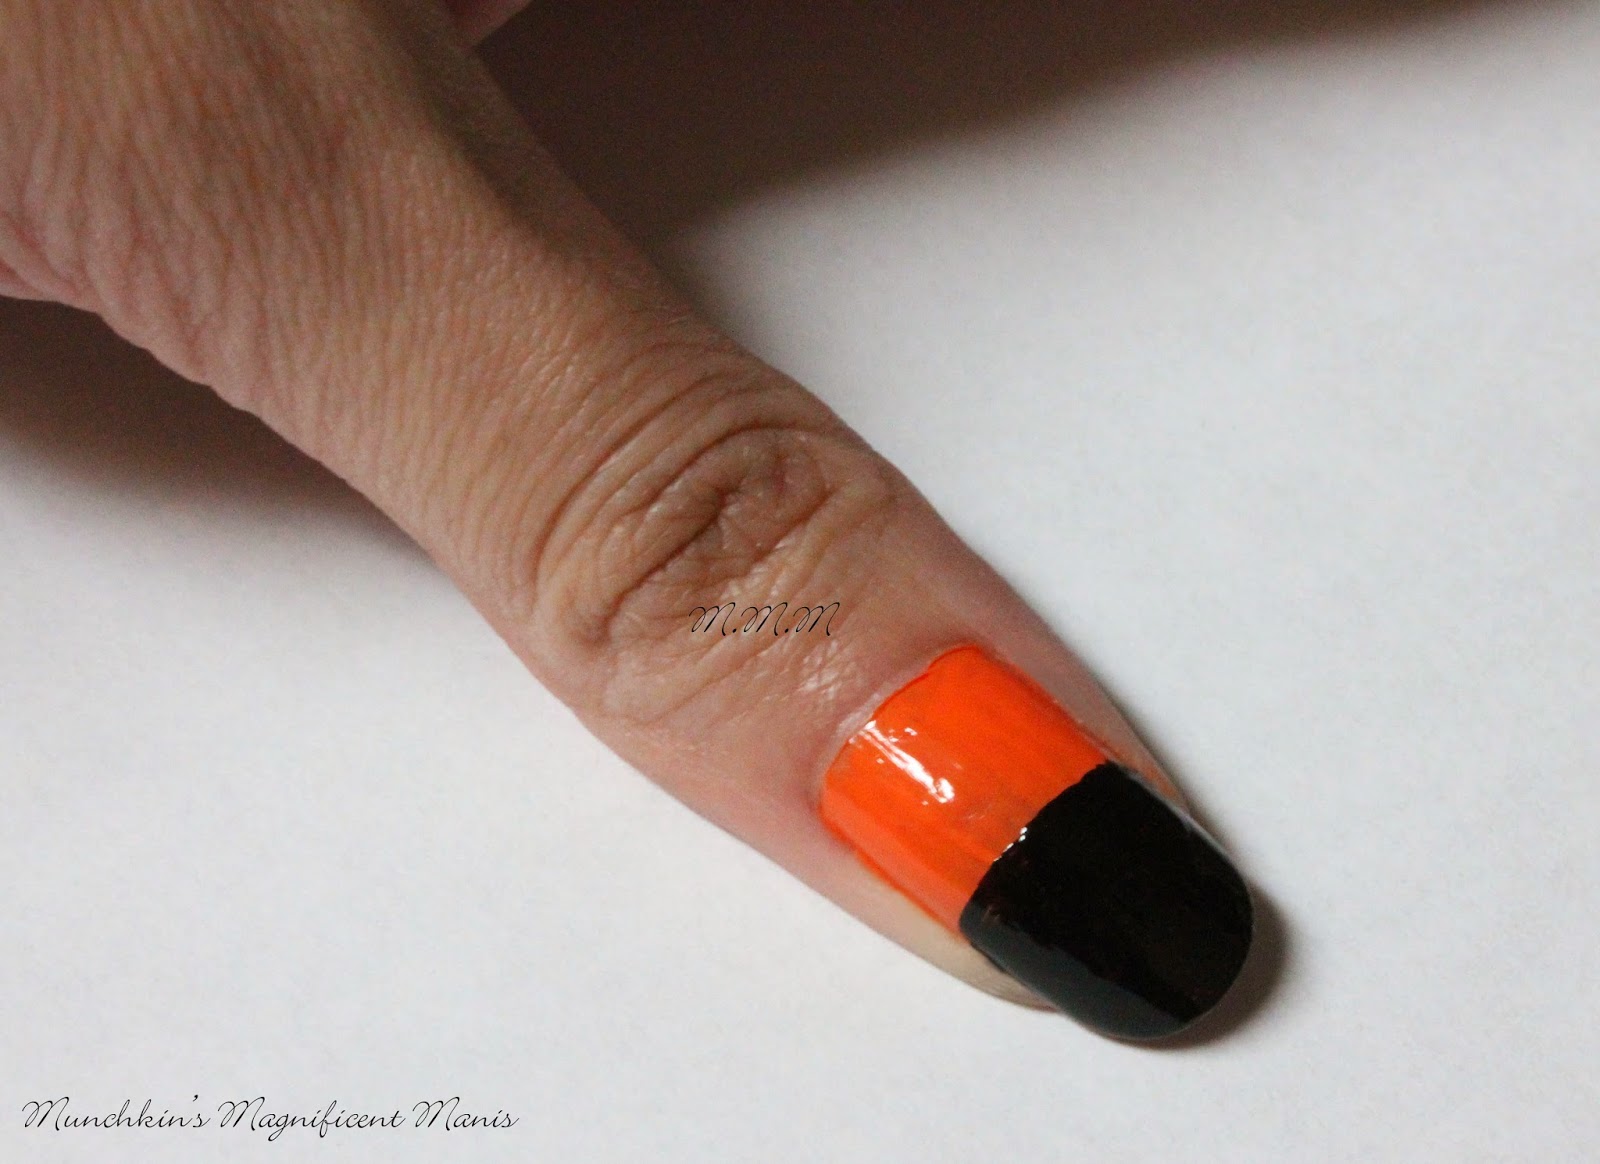
11. The next character we will be making is the pumpkin. Take your orange nail polish, starting half way down the cuticle draw a curve, then at the bottom draw another curve, and then fill in the pumpkin shape.

12. Next is the stem of the pumpkin. Dip your small nail art brush into your green polish, draw a small line on the center top part of the pumpkin, then in the center of that line draw a curved line.  

13. Now that the pumpkin shape is done the next and final character we will create is Frankenstein. First take your green polish, staring half way up your nail, paint down to the tip of your nails for Frankenstein face, you may need to go over his face a few times. (I painted over it three times to get the green to be opaque.). Next we will create his hair, take your nail art polish and draw a rectangle above his head.   

* You may have noticed that the candy corn has a face in this step, I will be going over that once we finish Frankenstein. 

14. For a little bit of detail we will create the bolt that is on the side of Frankenstein's head. Take your white nail art polish and draw a small square on the side of his head.  

15. To finish off Frankenstein's hair once again take your black nail art polish and draw three triangles and fill them in.

16. For the final touch on your cute Halloween design we need to add all the characters eyes and smiles. Take your dotting tool dipped in black polish and on all your characters dot two eyes on the center of their face. After you finish all the eyes take your black nail art polish and draw a small curved line under all of their eyes, except for Frankenstein, for him just draw a small straight line.     


For an added touch I added a black dot over the yellow part of the cats eye. 


 Left hand nail design

Once your trick or treat Halloween design has dried apply a top coat.


 Right hand nail design

For when you are doing your nail design on your non dominant hand (for me I am right handed) it can be tricky. All you have to do is be extra careful and take your time and try to keep your hand and arm firmly placed on the table. Of course practice makes perfect!


Here is a picture of my practice wheel, I was trying out 
different colors to see which looked the best 


As always hope all of you enjoyed this cute Halloween design as much as I enjoy creating these designs and sharing them all with you. Also have a safe and Happy Halloween!

See you next time for my next design tutorial!  


Friday, October 10, 2014

Pumpkin Patch

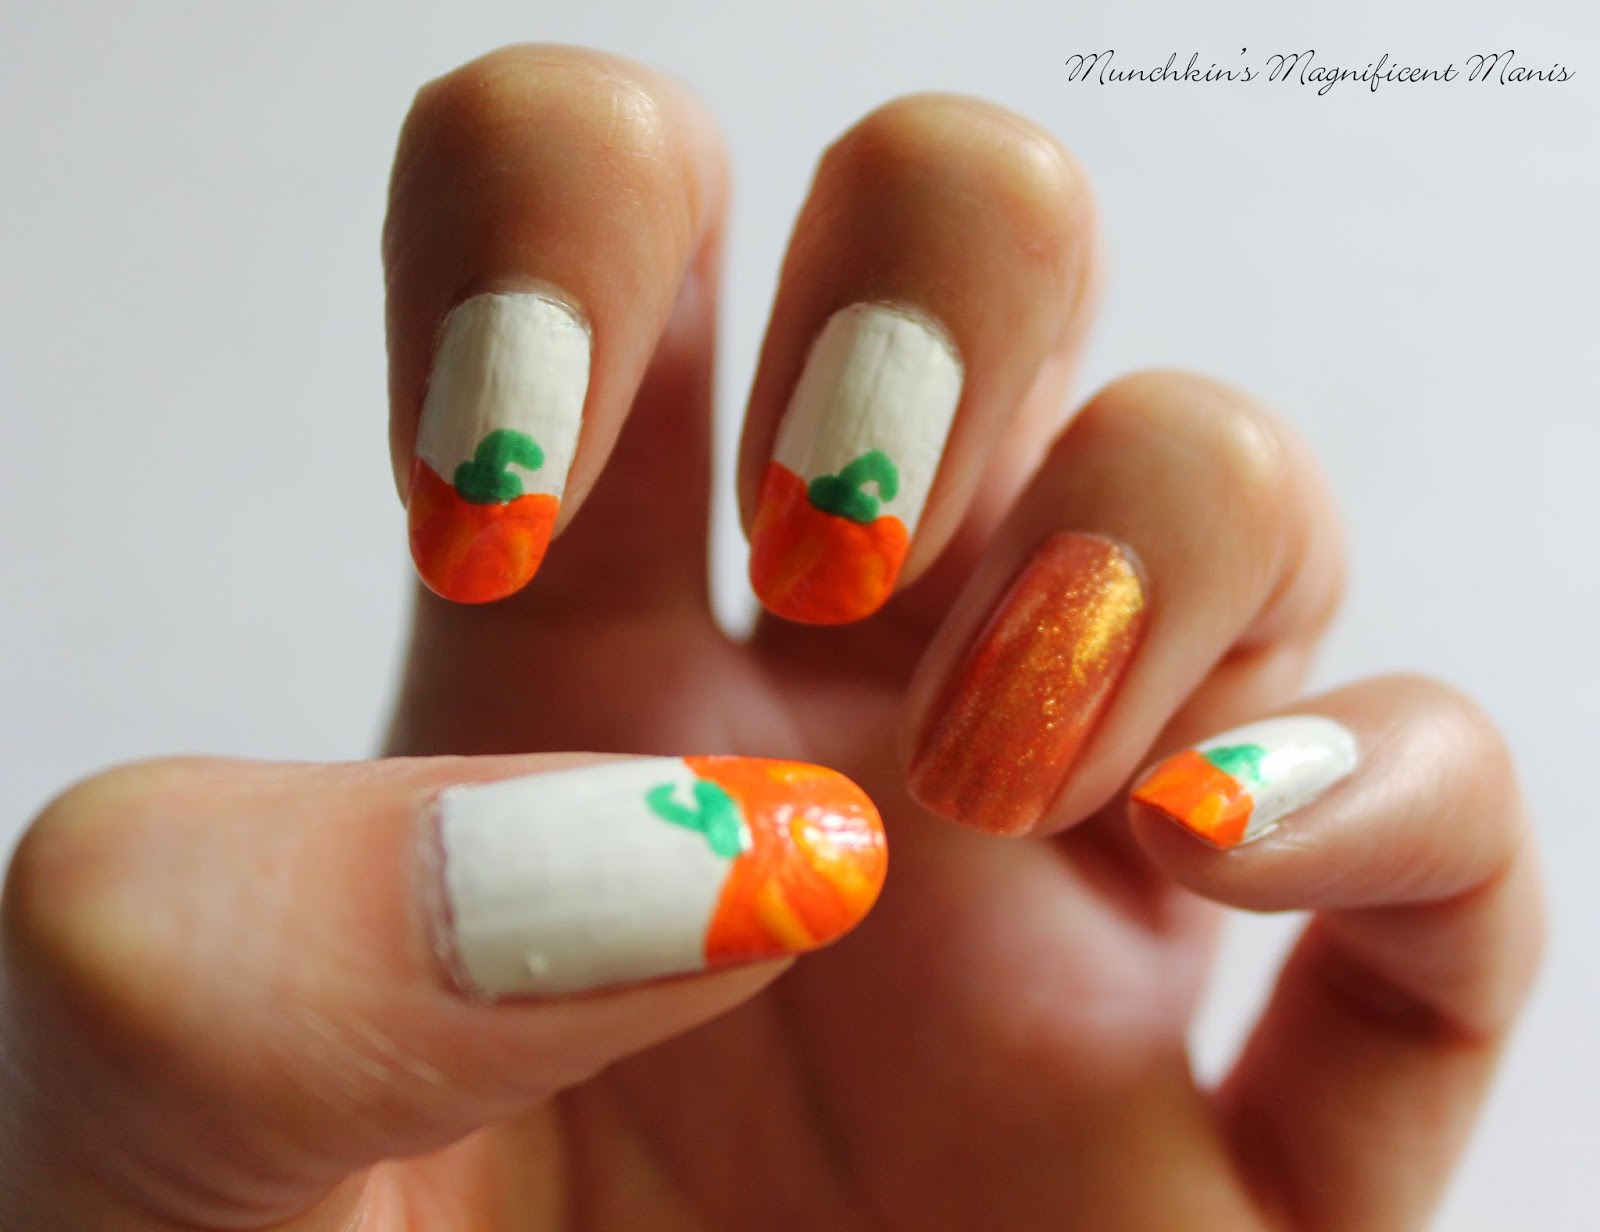
Hello Everyone! It's that time of year again when the leaves change color, the weather begins to get cooler, and one of my favorite things about this time of the year: Pumpkin pie and other pumpkin favorite treats! Well, everything seems to be pumpkin flavored this time of year. Now that it is officially fall/ pumpkin season, I thought it would be better by also having pumpkins on your nails too.


The polishes and tools used for this Pumpkin patch design:

Polishes used-  Revlon Extra Life No Chip top coat, - OPI nail envy- nail strengthener/ base coat, Sally Hansen- xtreme wear- White on, Wet n wild- Glitter orange, Sally Hansen- xterme wear- Sun kisses, Sinful Color- HD Nails, and Sinful Color-Let's Meet. 

Tools- A small thin nail art brush (The DL professional 10pc nail art brush from Sally Beauty, I numbered them from 1 largest - 10 smallest, this one I've numbered brush 10.), and a glass jar with nail polish remover in it to clean the nail art brush. 


The skill level for this pumpkin nail design is:

Beginner
  
For this pumpkin nail design their about 5 basic steps. First, start off painting all of the nails a solid white and the ring finger a glitter orange, then a basic shape on the tips of the nails for the pumpkins, then adding a curved line at the top of the pumpkin for the stem.

1. Start of with a base coat, I used one coat of OPI Nail Envy- nail strengthener


2. After your base coat has dried. Paint all of your nails except the ring finger white, this will be the background for the pumpkins. The white polish will help the orange of the pumpkin to pop. Then, for an optional look, paint your ring finger a glitter orange for the accent nail. Or you can paint all of your nails white and paint pumpkins on all of the nails. I just thought I would go with this look, having an orange accent nail.  

3. After the white polish has dried, take your orange polish and create a small square like shape at the tips, but at the top give the pumpkin a little bit of shape to it, by making it slightly curved.

4. Next we will be creating the stem of the pumpkin. First, start off by dipping your nail art brush into green polish, then draw a small line at the top of the pumpkin. 

5. You may also need to clean off your brush between this step and step 4. Now we will finish of the stem, by once again dipping your nail art brush into green polish, then start on the middle of the small line and go up a little bit to create a curved line.


To add a little more detail to the pumpkins you can add three curved lines. You do this by once again cleaning off the green from your nail art brush with nail polish remover. Then dip your nail art brush in yellow polish, and slowly from the tip of your nails drag the nail art brush up to create a cured line, do this two more times to make more detail in your pumpkins. 
 
Once your design has dried apply a top coat. For the pumpkins I did end up trying to go over the tops again to try and give them more of a pumpkin shape. I did that by dipping the same nail art brush in orange polish, and tried to make the tops a little more curved on the sides. 

As always hope everyone enjoyed this pumpkin patch nail design and also enjoy all of the
yummy pumpkin treats this fall.


See you next time for my next design tutorial!