Hello Everyone! It's that time of year again when the leaves change color, the weather begins to get cooler, and one of my favorite things about this time of the year: Pumpkin pie and other pumpkin favorite treats! Well, everything seems to be pumpkin flavored this time of year. Now that it is officially fall/ pumpkin season, I thought it would be better by also having pumpkins on your nails too.
The polishes and tools used for this Pumpkin patch design:
Polishes used- Revlon Extra Life No Chip top coat, - OPI nail envy- nail strengthener/ base coat, Sally Hansen- xtreme wear- White on, Wet n wild- Glitter orange, Sally Hansen- xterme wear- Sun kisses, Sinful Color- HD Nails, and Sinful Color-Let's Meet.
Tools- A small thin nail art brush (The
DL professional 10pc nail art brush from Sally Beauty, I numbered them
from 1 largest - 10 smallest, this one I've numbered brush 10.), and a glass jar with nail polish remover in it to clean the nail art brush.
The skill level for this pumpkin nail design is:
Beginner
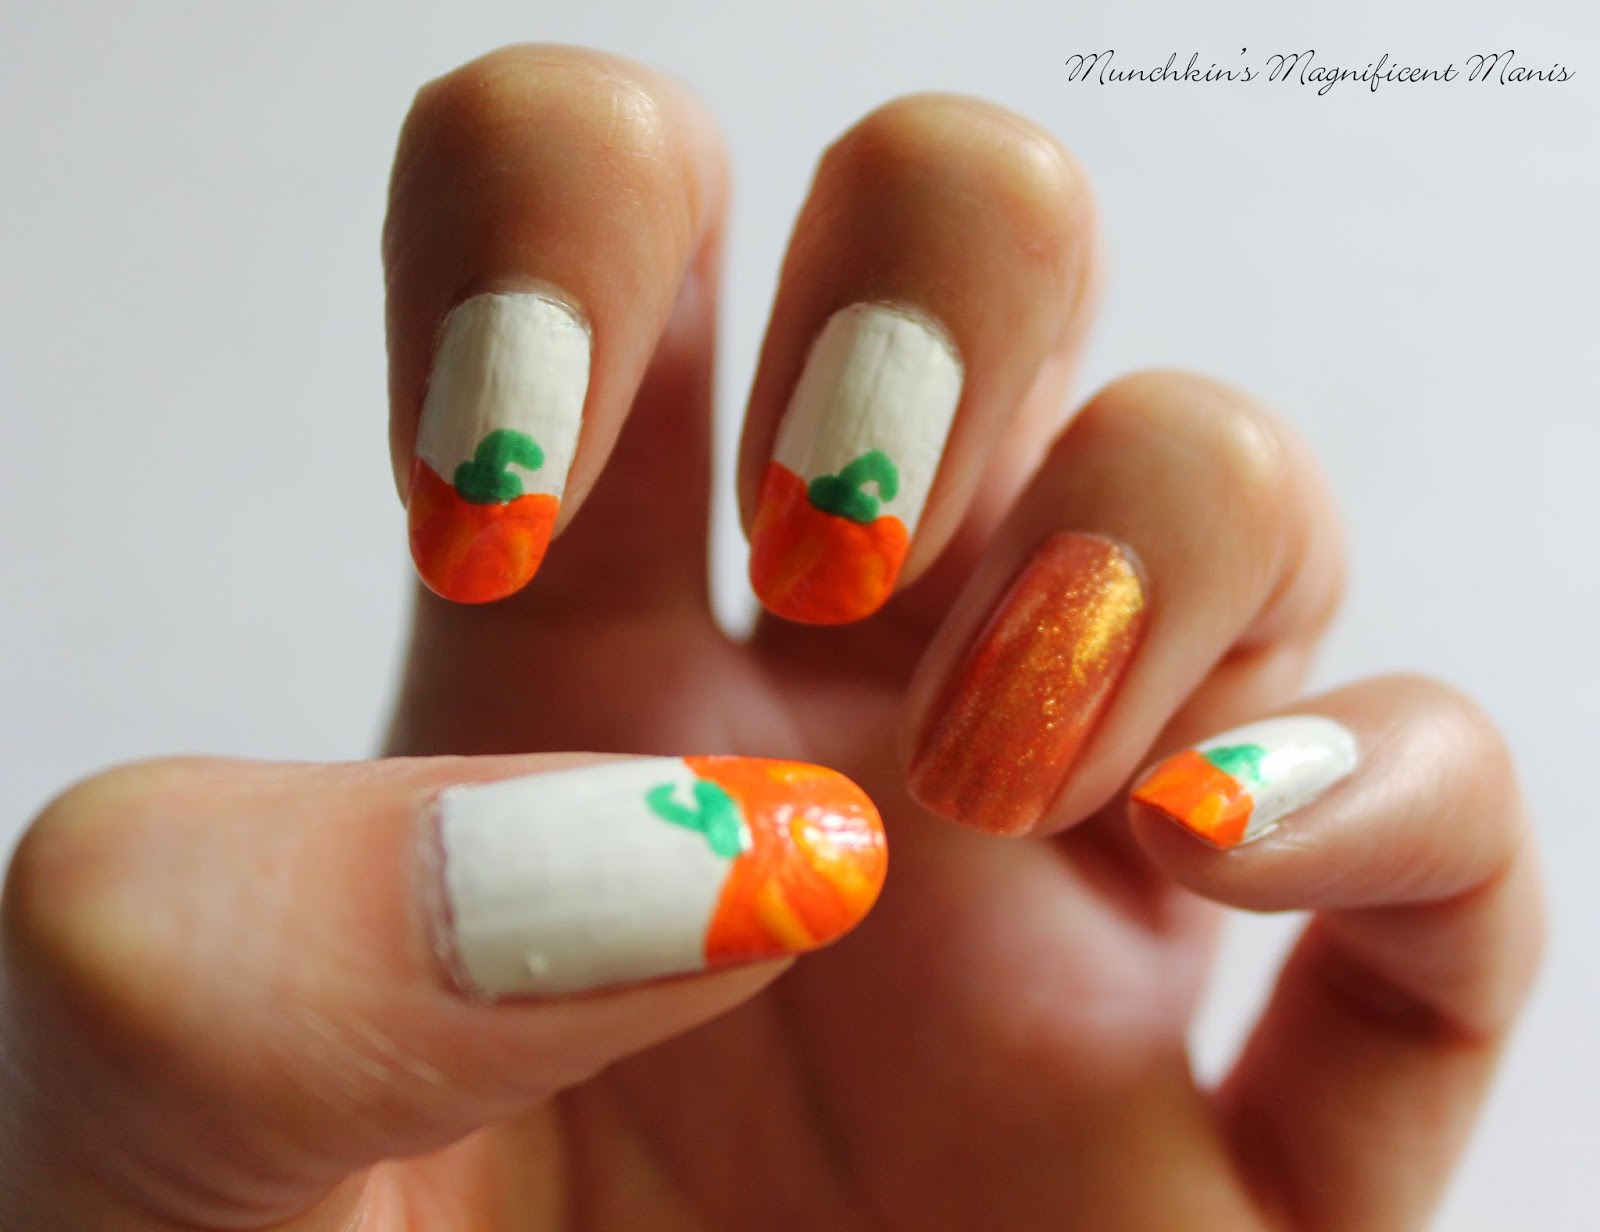
For this pumpkin nail design their about 5 basic steps. First, start off painting all of the nails a solid white and the ring finger a glitter orange, then a basic shape on the tips of the nails for the pumpkins, then adding a curved line at the top of the pumpkin for the stem.
1. Start of with a base coat, I used one coat of OPI Nail Envy- nail strengthener.
2. After your base coat has dried. Paint all of your nails except the ring finger white, this will be the background for the pumpkins. The white polish will help the orange of the pumpkin to pop. Then, for an optional look, paint your ring finger a glitter orange for the accent nail. Or you can paint all of your nails white and paint pumpkins on all of the nails. I just thought I would go with this look, having an orange accent nail.
3. After the white polish has dried, take your orange polish and create a small square like shape at the tips, but at the top give the pumpkin a little bit of shape to it, by making it slightly curved.
4. Next we will be creating the stem of the pumpkin. First, start off by dipping your nail art brush into green polish, then draw a small line at the top of the pumpkin.
5. You may also need to clean off your brush between this step and step 4. Now we will finish of the stem, by once again dipping your nail art brush into green polish, then start on the middle of the small line and go up a little bit to create a curved line.
To add a little more detail to the pumpkins you can add three curved lines. You do this by once again cleaning off the green from your nail art brush with nail polish remover. Then dip your nail art brush in yellow polish, and slowly from the tip of your nails drag the nail art brush up to create a cured line, do this two more times to make more detail in your pumpkins.
Once your design has dried apply a top coat. For the pumpkins I did end up trying to go over the tops again to try and give them more of a pumpkin shape. I did that by dipping the same nail art brush in orange polish, and tried to make the tops a little more curved on the sides.
As always hope everyone enjoyed this pumpkin patch nail design and also enjoy all of the
yummy pumpkin treats this fall.
See you next time for my next design tutorial!


No comments:
Post a Comment