Hello Everyone! For today's design I wanted to keep it very simple. I know that some people like to keep it simple and not always do a really wild design (like I often do). So for those people, today I just did a solid color, with a textured polish on one finger nail, and then sponge on a glitter polish over the solid color to create a gradient glitter design.
Polishes and tools used for this design:
Polishes: Revlon Extra Life No Chip top coat, - OPI nail envy- nail strengthener/ base coat,
Sally Hansen- No hard feelings, L'Oreal- textured polish, Too dimensional, and Sinful Color- Frenzy.
Nail tools- Make-up sponge (or cosmetic wedge.)
The Skill Level for this Glitter gradient design is:
Beginner/ Basic
This glitter gradient design is very simple, all that is required for this design are just two very simple steps of painting all of your nails a solid color an adding glitter to the tips with a sponge.
Just a side note:
As you may have notice on the polishes I use, I added a nail strengthener/ base coat to the list. If you have been following the M.M.M blog I have stated that I don't use a base coat. So after a few months of doing research
I decided to give Opi Nail envy for sensitive and peeling nails a try. My nails have the problem of peeling way
to much at the tips of my nails (they have different formulas for different nail issues.), I heard a lot of good reviews about this, so
I thought I would give this a try. The only thing that was holding me
back is the price: It costs $17.95 with tax $19.03! (you know how I feel about spending a lot of money on polishes) Hopefully this works
well, I will keep all of you posted on how this product works out for me.
Here is the Opi nail envy, nail strengthener in the box.
I bought this at Ulta for $17.95
Anyways, now to the fun part the nail tutorial.
1. Apply your base coat.
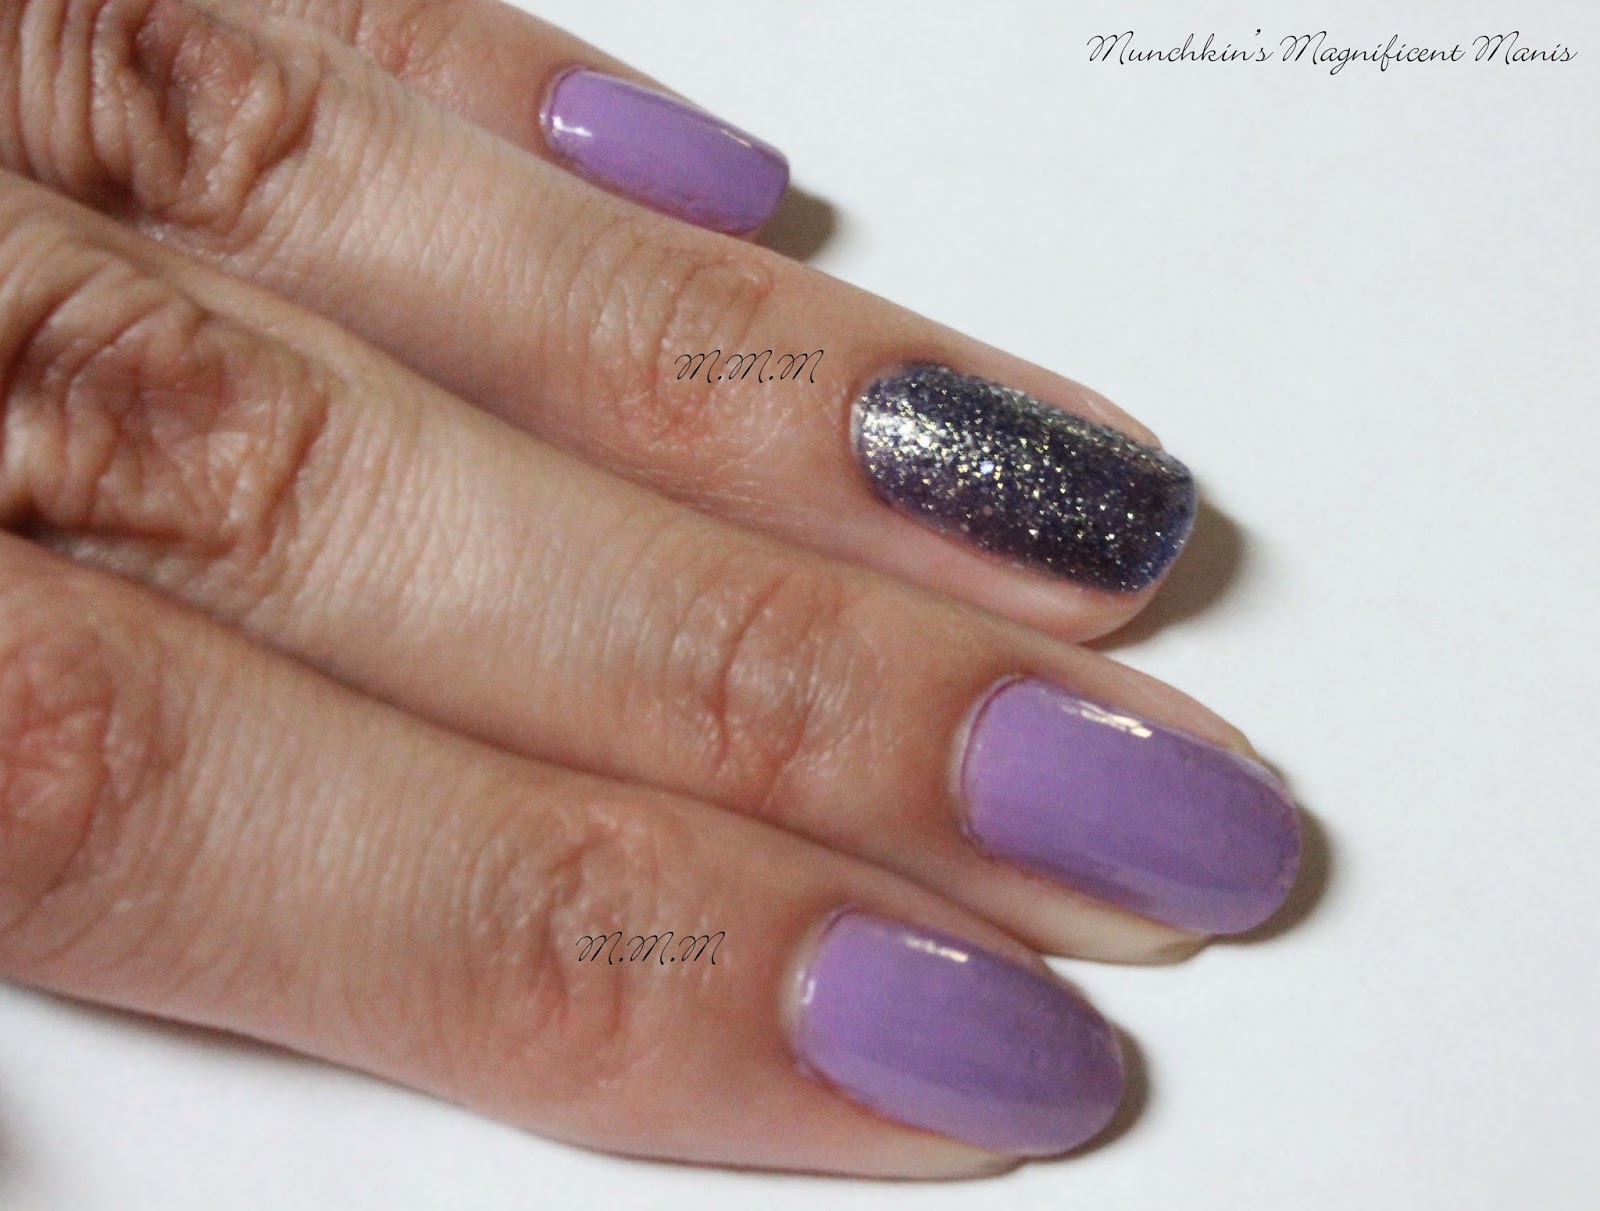
2. Paint all of your nails a light purple except your ring finger.
3. For an optional different look paint your ring finger with a darker purple textured polish. Another method is that you can paint your all your nails light purple for a gradient glitter look.
4. For the last and final step. Take a make-up sponge and cut it in half, then take your glitter polish and paint the sponge with a liberal amount of glitter polish (if needed to you can repaint your sponge and dab the nails as much as needed.) Then dab the tips of your nails with the sponge (make sure their is more glitter near the tips of the nails), then keep dabbing the glitter until you get half way down the nail (when you get the this point dab only a little bit of glitter polish.) When you are finished the bottom of your nail should have no glitter on it, and their should be a lot of glitter at the top of the nail that almost fades into less amount of glitter.

Once your nails have dried, finish this glitter gradient look with a top coat. When it comes to textured polish you are not suppose to add a top coat, but I normally do anyways. I just make sure not to put to much top coat on because if you do decided to put top coat on a textured polish and you put too much it can smooth-in out your texture polish.
Purple Frenzy, Gradient glitter design.
As with any design you can always change the look. Like with this look you can use what ever color you want with any glitter or textured polish. So have fun mixing and matching colors to create any cool color gradient glitter design.
See you next time for my next design tutorial!


No comments:
Post a Comment