
As usual here the the polishes and nail tools I used for this design:

Polishes: - Revlon Extra Life No Chip top coat, optional, Kiss nail art- White, Sinful Color-Let's Meet, Orange polish, Sinful Color- Mint Apple, and Sinful Color- HD Nails.
Tools- Glass jar with nail polish remover in it (for cleaning nail art brush), the nail art stripper from the Kiss nail art brush (clean this off for the orange polish, or use a nail art polish in orange.), and a small nail art brush.
The skill level for this Pineapple design is:
Beginner
Due to their only being a few steps and the design itself being very simple, other then maybe the lines that you have to draw for the pineapple maybe being a little hard, (you just need to slowly draw your lines) I give this design a beginner rating.

For this tutorial I first took the nail stripper from the Kiss nail art in white and cleaned off the brush with nail polish remover (I thought white would be the best to clean from color to color). I tried using a nail art brush but I felt that I could not get the lines thin enough, so the next best thing would be to use the brush that came with the nail art polish. The only Issue with this is it can be very messy. Going from white to orange was not a big issue, it was just going back to the white polish that was the messiest, you really have to make sure you clean off the stripper very good before you put it back in the white polish, other wise your polish will have orange in it. The best thing to do if you want to avoid the mess is to get an orange nail art polish or maybe use an old brush from a nail art polish that you will not be putting back in a polish. Anyways, now we will start the Pineapple tutorial!

1. Start off with painting all of your nails yellow. I used three coats to get the color to be opaque enough.
 2. Next take your nail art stripper brush from the nail art polish (or a nail art polish in orange). Dip the stripper in orange polish and draw four lines across your nails (depending on how long or short your nails are you can draw more lines of less lines.) The best way to do this is to slowly drag your nail stripper across your nails.
 3. With the same nail art stripper, dip it in more orange polish. On the opposite side of the nail do the same thing, draw four lines across your nail to create a cris- cross pattern.
 4. Now that we have the pattern for the Pineapple itself done, we will begin creating the leaves that are on top of the Pineapple. First, take your small nail art brush and dip it in light green polish (this is a different brush from what we have been using.) Start off at the tip of your nail and drag down a little bit to create a leaf, do this until the top of your nail is filled with leaves. (for each nail I did a different amount of leaves I had no set number.)
 5. After the light green polish has dried, take your dark green polish and go over the light green polish (try to leave a small bit of light green polish showing on the sides of the leaves.) You may wondering why I did this. I did this because I thought adding a light and dark green would help to make the colors pop more.

Now you are pretty much finished. You can always leave the leaves as is or to add an extra detail to them. You can add small white lines to the leaves by taking your white stripper polish and slowly drawing small white lines on each individual leaf. After your yummy Pineapple design has dried add a top coat to protect your nails.

Hope everyone enjoyed this yummy Pineapple nail design! See you next time for my next design tutorial!
Left hand
Now you are pretty much finished. You can always leave the leaves as is or to add an extra detail to them. You can add small white lines to the leaves by taking your white stripper polish and slowly drawing small white lines on each individual leaf. After your yummy Pineapple design has dried add a top coat to protect your nails.
Right hand
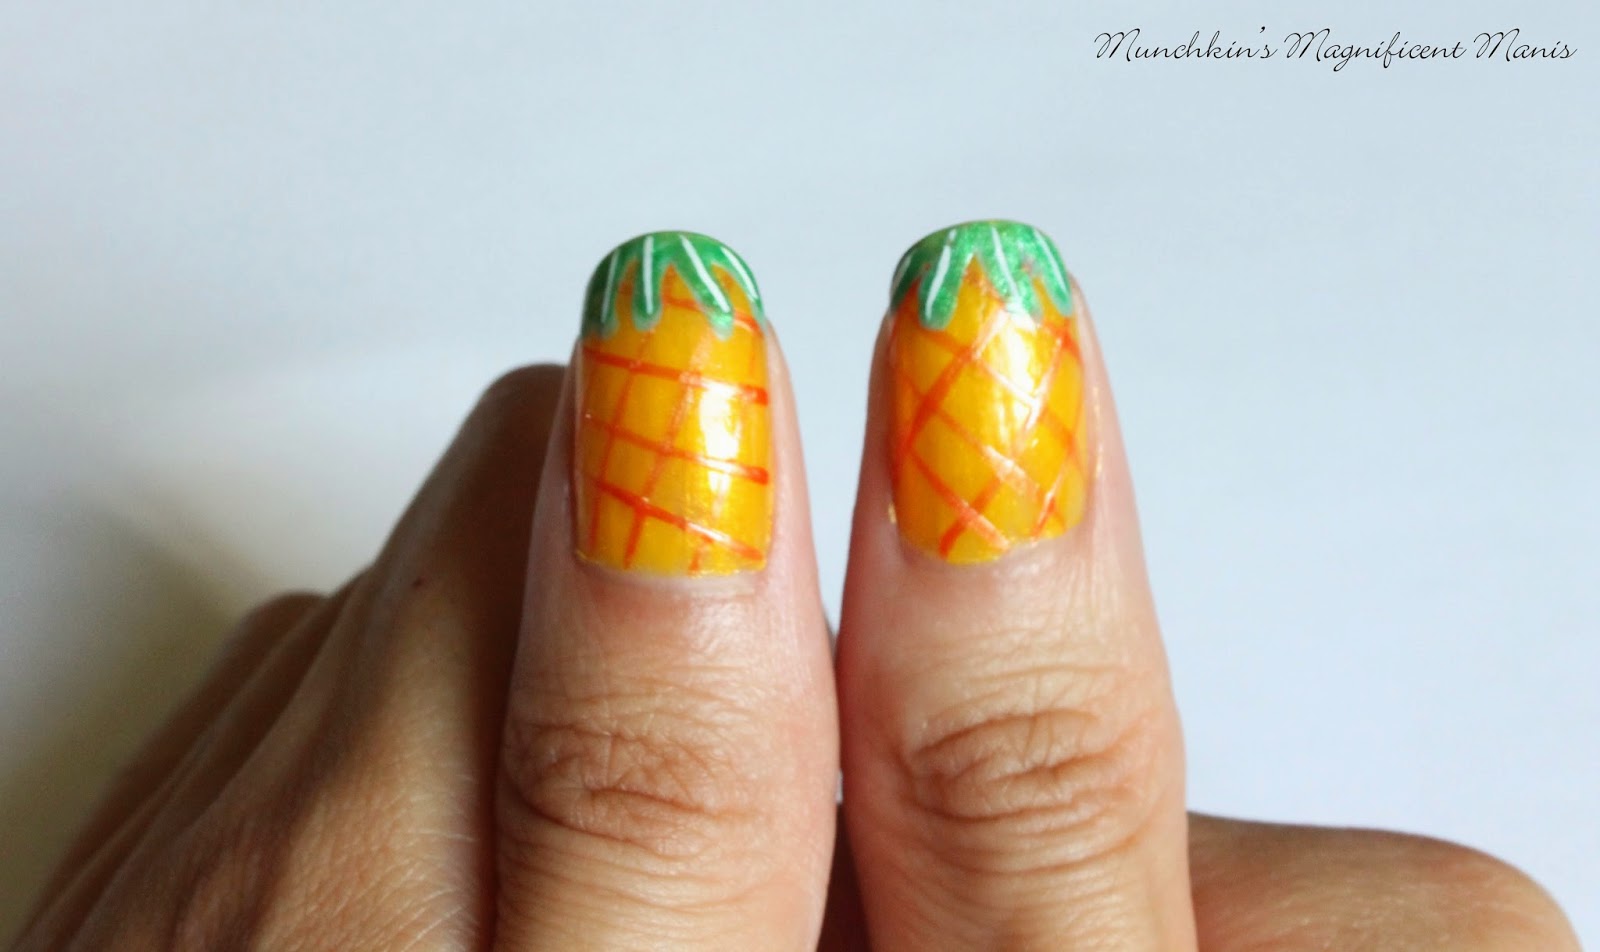
For this design I ended up liking the way I drew the lines on right hand better, as I just felt that the pattern looked more like a Pineapple. This doesn't often happen because I am right handed and most of the time I feel that my left hand turns out better because I am using my dominant hand.
Here is just a side my side comparison of my left and right hand design.
No comments:
Post a Comment