Friday, November 14, 2014

The search continues- For a good base coat

Hello everyone! As you may know if you have been reading my post for a while now, I have been trying for a while to find a good base coat with no luck. Then, after a doing some research online and seeing a lot of good reviews about all the formals for this strengthener, I thought I would give OPI nail envy- nail strengthener for sensitive and peeling nails a try. 


  OPI nail envy- nail strengthener for sensitive and peeling nails

At Ulta for $17.95 with tax $19.03! 

I have been using this strengthener and base coat for about three to four weeks. I have the problem with my nails peeling way too much on the tips of my nails and I thought this would be a good base coat to try and help this problem. Unfortunately after using this for a few weeks I notice when trying to apply nail color over this base coat, it made my nail color 
thick and streaky. At first I was not sure if I just did not let it dry enough, so I tried applying it overnight knowing that it would be dry, but once again it did the same thing. Once this kept happening I decided to return it back to Ulta. 

    
I had really high hope for this strengthener/ base coat because of all the good review I had read. As for the strengthener part I am unsure if it really did anything do to the fact that I didn't us this product for very long. For the strengthener part it might work well if you don't wear nail polish all the time and are able to reapply the strengthener every day like it says in the instructions. 

  Here are the different OPI nail treatments for each nail type.  

With any product just because it didn't work for me doesn't mean it would be the same for everyone. If you are willing to spend a little more money on nail products, OPI does have a few nail treatments for many different nail types that might fit your needs.

Nicole OPI-  3in1- base, top, & strengthener

Once again my search continues for a good base coat. After I returned the OPI nail envy, I went to CVS and found the Nicole OPI-  3in1- base, top, & strengthener, that I tough I would give a try. This all in one would probably be good for some one that does not want to buy separate top coat and base coat that just want it all in one bottle. For me I will be using it as a base coat  and see how the strengthener works out. Also this all in one is a much better price then the OPI nail envy. The Nicole OPI-  3in1- base, top, & strengthener cost $8.29 at CVS and I think you can find it cheaper at Target for around $5. So far I have only used this two times, but once again I will keep you all posted about how well this works out.


See you next time for more nail fun!


Munchkin's Favorites- Blueberry texture

Hello everyone! Sorry it has been a few weeks since I last did a post. As stated in my last post, Autumn Harvest, I was on vacation (went on a Caribbean cruise) for about a week. I got back late last weekend and was feeling a little sea lagged. That is why I have not posted any nail designs for two weeks. I was just trying to get back into the swing of things and get back use to being on land. 
Well now that I am back from vacation, I will continue with all the fun and bright nail designs I like to show all of you.

For this weeks post I will be doing a Munchkin's favorites. Their are many nail polish trends out their from holograph, matte, glitter, shatter, texture, the list goes on. The polish that I will be going over/ reviewing is one of my favorite finishes, textured polish. 
 
When it comes to textured polish unlike regular polish that is smooth and shinny, textured polish has a gritty sand like feel to it, but still can be shinny (depending on what kind of textured polish you get, their is some with glitter and with out.) I think that textured polish is a little similar to glitter polish other then it is more gritter to the tough.      

This polish is from the Julie G collection it actually has been out since last year 2013 (but it is still available at Rite Aid), it was part of the Frosted Gumdrops collection. I had just bought this polish this summer and had been waiting for a good time to give this polish a try. I thought what better time to give this polish a try then when I went on vacation for a week, to test the wear. 

As you can see from the picture above the color looks kind of purple, but it is actually suppose to be a light blue with some silver in it. For some reason when I put this polish on in different light, sometimes it would seem to look purple then other times it would look like it 's true color of light blue.When I looked up other peoples switches of this same polish it looked like a very bright blue, so I am unsure why this polish seem to change colors for me. 

  Here it the Julie G Blueberry Fizz in the bottle, where it clearly looks blue.


In shade this polish looks purple in sunlight it looks light blue.

As for wear, I did use a base coat and topcoat even though on the bottle it says          
for full effect do not use top coat. For textured polish I found if you use a thin layer of top coat you can still have the full effect of the textured polish. As for the textured polish it self I used three thin layers to have the color be opaque. The wear of this polish was excellent, all thought I did not have the normal wear and tear that I get from work. This polish lasted about ten days with very little chipping (mainly just a little chipping on my index finger on the right hand.) I normally touch up my nails every other day to every day, but due to me being on vacation I did no touch ups.  

When it comes to textured polish I have found the wear of any of these polishes to be very good. As for the Julie G blueberry fizz, I really like this polish and would recommend it. This polish was great for vacation, where you might not have time or the polish to touch up your nails. 

The Julie G polish can be found at Rite Aid for a good price of $3.99.   

See you next time for my next design tutorial!

Once again sorry for the lack of posts, but for this week I will make it up to all of you with some extra post! 
 

Wednesday, November 12, 2014

Nail art tools

Hello everyone! For this week I will have three post, to make up for the two weeks that I didn't post due to me being on vacation. Their is this post about nail art tools, then a review on the OPI nail envy nail strengthener, and my usual Friday post. 


Now for the nail art tool post. This post was actually meant to go with the post I did back in August for the hand and cuticle care, and the nail care. In the end I thought it would be best to make this a separate post.
 
The I heart nail art kit in the box

  Nail art stripper, small nail art brush, and dotting tool

The first product that I use is the Sally Hansen I heart nail art tool kit (I also did a magnificent find post on this a well, click the link to check it out I heart nail art kit ). This kit I would say is more for beginners, due the quality of the brushes, because after using these for a while the brushes seem to be worn out. Though on the other hand, the dotting tool still seems to be working well. I have also used toothpicks to make dots, but I find the dotting tool to work out better because it seems to make better looking dots than toothpicks (at least the times I have tried it.) 

 - The Sally Hansen I heart nail art kit cost $5.99.


DL professional by Debra Lynn 10 piece nail art brush set


That's when I decided to go to Sally Beauty and pick up the DL professional by Debra Lynn 10 piece nail art brush set. I have been using these brushes for a few months now and they see to be working out well. I would say they are much better quality then the Sally Hansen kit. As for the brushes, I've mostly been using the smaller brushes. The two lager brushes I am unsure about ( they look more like they are for doing canvas paintings, not nail art but who knows, maybe I could find a use for them while doing my nails.)

- The DL 10 piece nail art kit cost $4.49 at Sally beauty.


 Up & Up cosmetic wedges for gradient/ ombre nails

Another item I use for doing nail art is the UP & UP cosmetic wedges/ sponges. These makeup wedges are used to create a gradient effect on your nails, by painting lines of color like 3 or 4 colors side by side on the sponge then dabbing the sponge on your nails.

   
Here is a photo of just one of the cosmetic wedges. When doing the gradient effect on your nails, you just need to paint you colors on the bottom half. Then you can cut that part off when you are finished, that way you don't waste the rest of the sponge. You can also start off by cutting smaller pieces of the sponge that way it will fit on your nail better. 

- The Up & Up cosmetic wedges cost around $2.00 at Target.


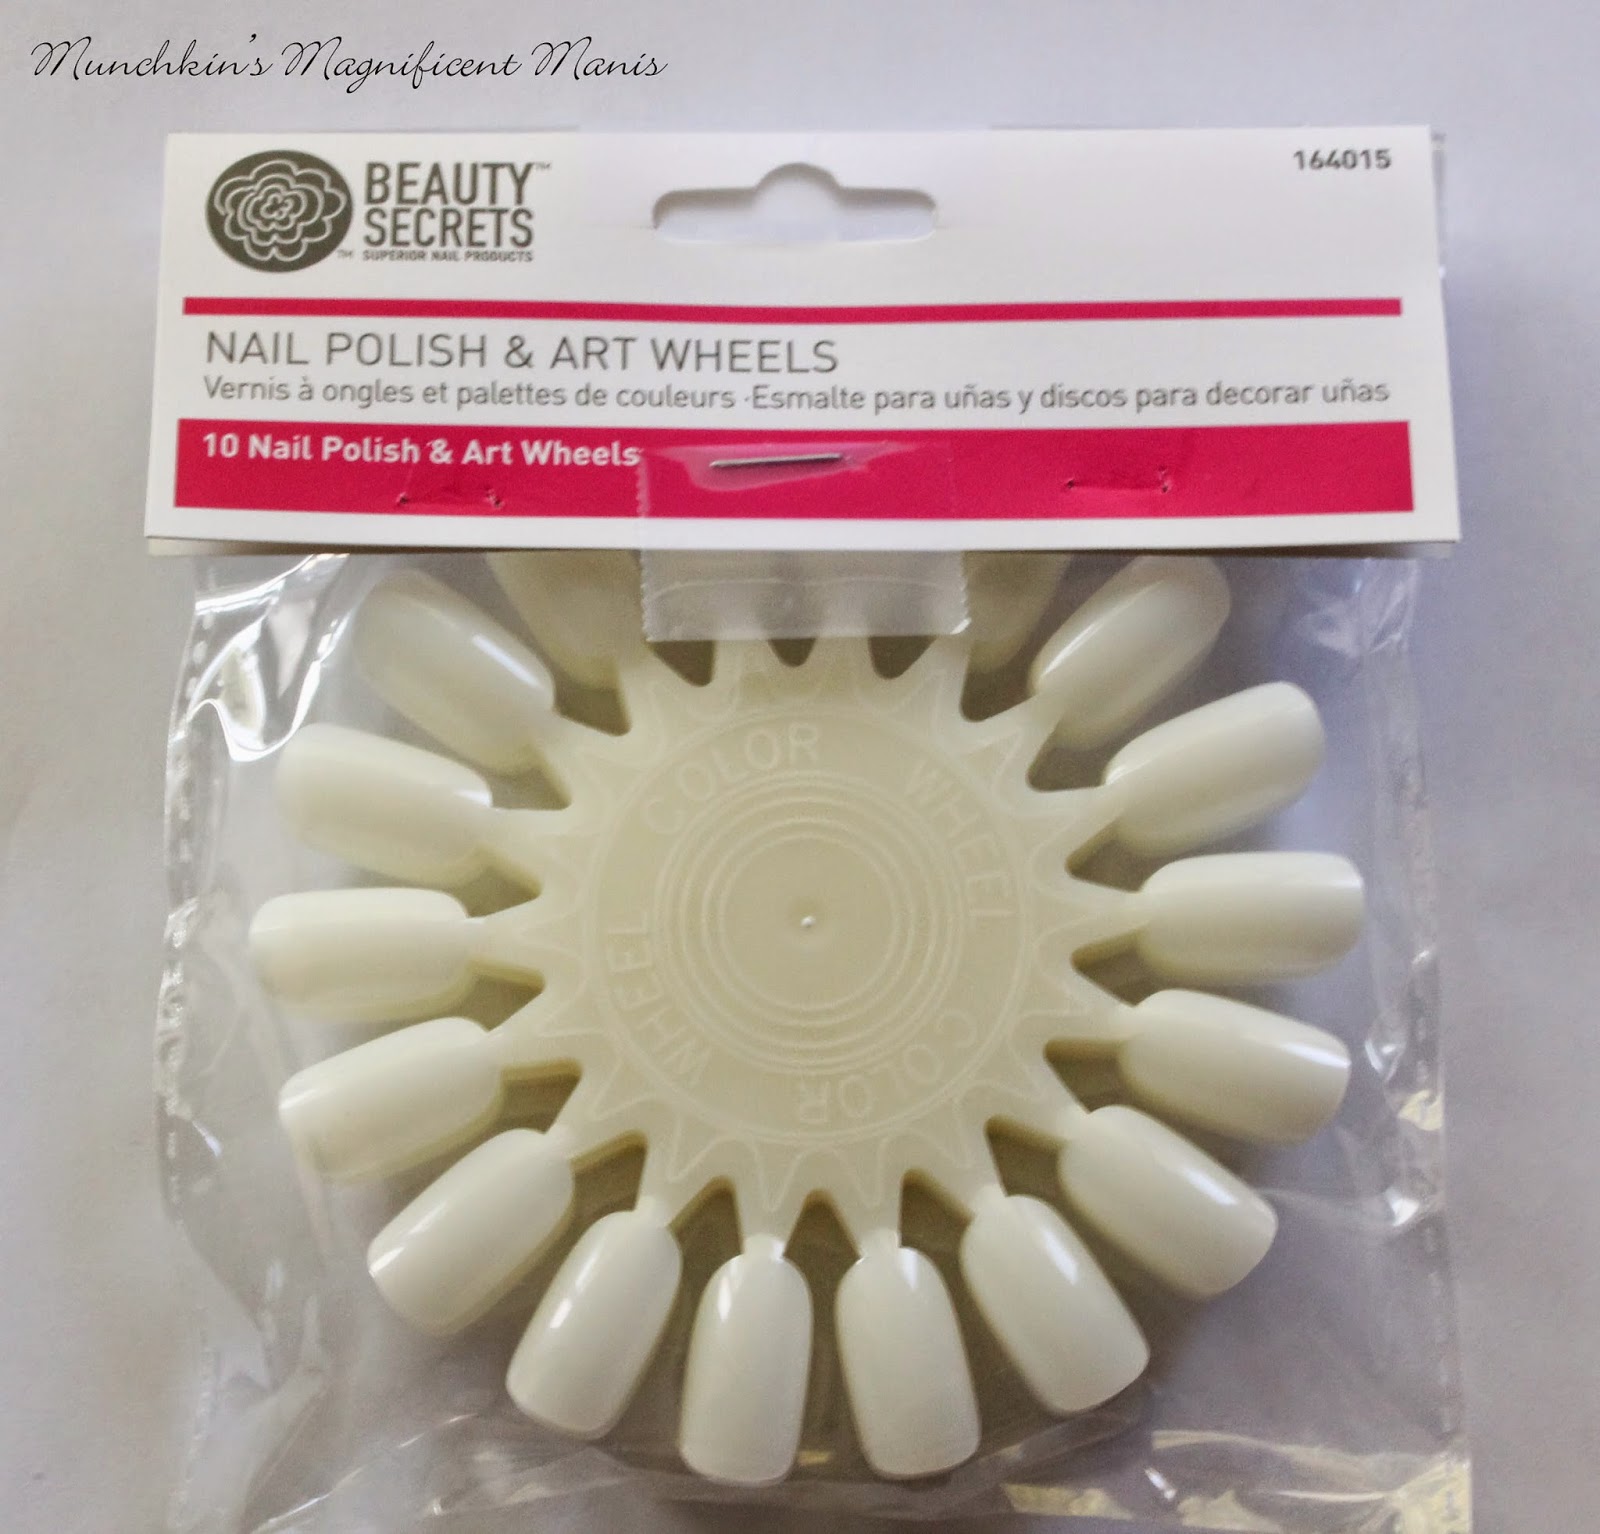
 Beauty secrets nail art wheel 

The last item I wanted to include is the beauty secrets nail art wheel. This nail art set includes ten practice wheels. Just like anything you need to practice, so I thought it would be a good idea to pick up these nail art wheels to practice my nail designs before I do them on my actual nails.     

- The beauty secrets nail polish and art wheel cost $5.99 at Sally Beauty.  

When it comes to nail art tools you don't really need much, just some brushes and a dotting tool. You can also use items that you have in your home for nail art, such as toothpicks to make lines and dots, you can also use a bobby pin to make dots as well.

Also, if you missed the hand and cuticle care, and the nail care don't forget to check them out by clicking the links. 


See you next time for more nail fun!