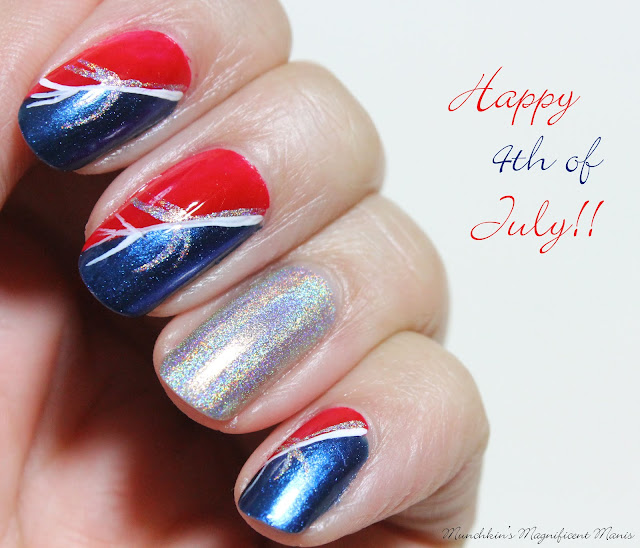
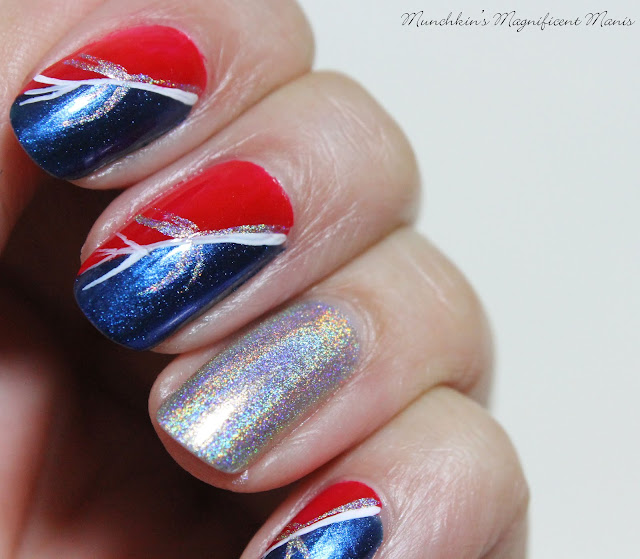
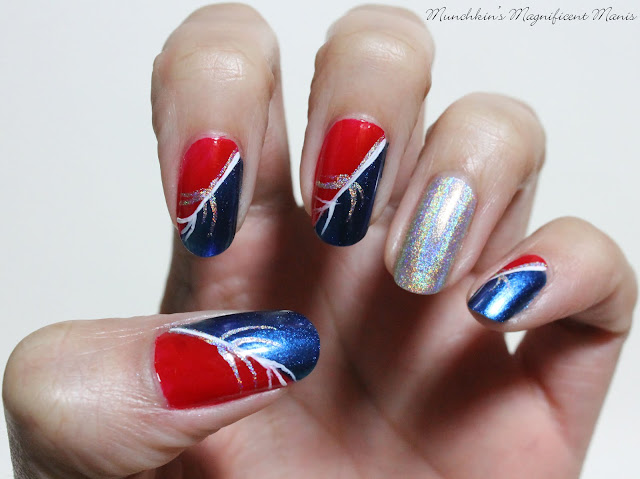
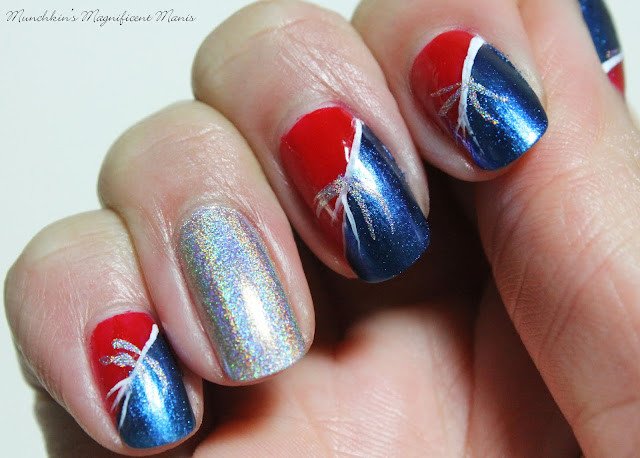
4th of July Nail Design
Here are the polishes and nail art tools for this simple 4th of July nail design:
Nail polishes- Zoya- Renee- Redbook trio, Zoya- Estelle, and Color Club Halo's- Harp on.
Acrylic paint- white.
Nail art tools- nail art tape, and a thin stripping brush.
Other- a small glass jar with acetone in it to clean off your nail art brush, and a cup of water to clean off your nail art brush as well. Twisters to pull nail art tape off the nails.
This is a very simple 4th of July design that is great for beginners!
4th of July Nail Design
As always start off with clean dry nails that are free of any old polish. Then apply a thin layer of base coat to help your design to last.
Let that dry.
Next we will be applying nail art tape to all of the nails except for the ring finger nail, that nail we will polish with a silver holographic polish. Take any color of nail art tape and cut a small amount off, then place the tape on the nails at an angle.
4th of July Nail Design
Then near the cuticle take a red polish and polish one half of the nail that we taped off. Then right away take some twisters and peel of that tape. Do this same step for all four nails.
Then once your done with that step, polish the other half of the nail with a blue polish, being careful not to over lap the red and blue polish.
4th of July Nail Design
Then for the design part, take a thin stripping brush with white paint on it, and then make a straight line going in between the nail (the same area that you placed the nail art tape), then once you get near the tip of the nail make a few smaller lines that come off of the larger line you just made.
For our final touch I wanted to add some of the silver holo to the nail as well that we polished on the ring finger nail. Once again take that same thin stripper brush with some silver holo polish on it and make a shorter line right next to the white line and then make a few shorter lines from that line on each side of that line.
In the end this design ended up looking kind of like a feather, which I was not really going for but it worked out anyways.
4th of July Nail Design
Once your design is 4th of July ready, apply a top coat to seal in your design and to help it last through all of your 4th of July celebrations.
I did end up doing this design on my right hand as well, I did not change anything keep it the same as the left hand.
4th of July Nail Design
Hope all of you enjoyed this simple 4th of July nail design and have a safe and Happy 4th of July!
See you next time for more nail fun!


No comments:
Post a Comment