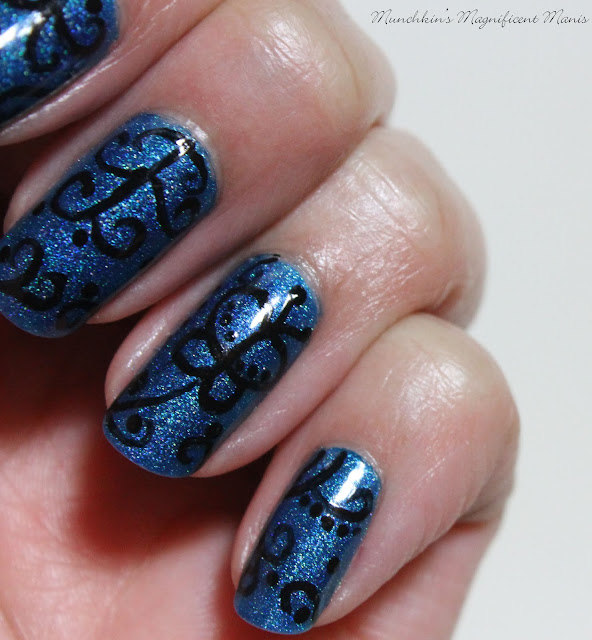
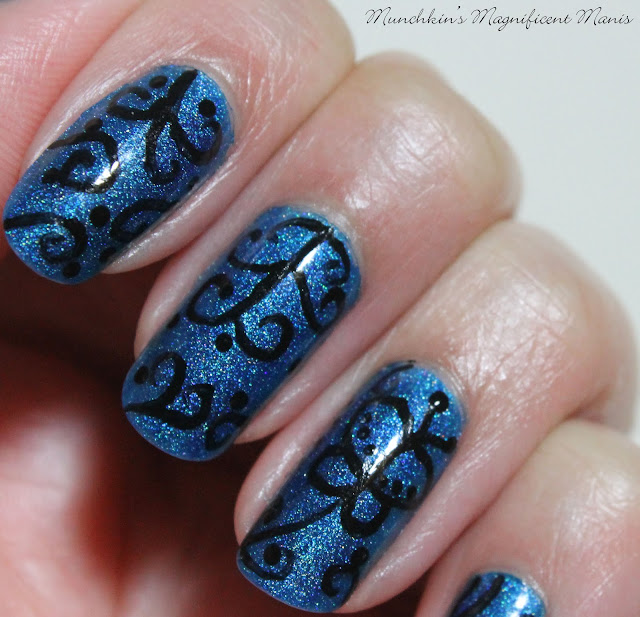
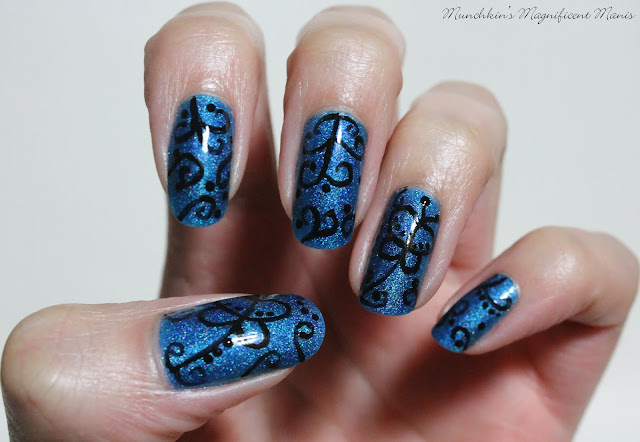
Butterfly and Swirls Nail Design
Here are the polishes and nail art tools used for this design:
Base and Top Coat - CND Stickey Base Coat and Revlon Extra Life No Chip top coat.
Polish- Pretty& Polished- Sea Spray.
Acrylic paint- Black
Nail Art tools- a small dotting tool and a thin liner brush.
Other- a glass or cup of water to clean your nail art brushes with.
Let's start this butterfly swirl nail design!
Butterfly and Swirls Nail Design
As always start off with a thin layer of base coat so your polish will stick to your nails, along with protecting them.
Once your base coat has dried polish all of your nails with a blue holographic or glitter polish, or you can use any color polish that you would like.
Then once our base color has dried we will start to create our design, the fun part about this design is you can be very random with it because this design really just has a lot of swirls with dots on it.
For all of the nails we will just be using a thin liner brush with black acrylic paint on it. For the design that I did near the cuticles I made swirls that are connected to each other, then a few random one swirls in other spots on the nail. You can fill up the nail as much as you would like with swirls, just make sure to leave some blank space as well.
Also once you have the swirls, you can add some small dots along side of the swirls or one dot near the swirl.
Butterfly and Swirls Nail Design
For something a little bit extra I decided to create a butterfly a long with some swirls on just the thumb and ring finger nail.
For the butterfly start off with a long curved line, with two small swirls near the bottom, then on top of the line make two wing shapes, under that make two smaller wing shapes, for the butterfly shape.
On top of the two larger wings make two curved lines for the butterfly's antenna.
On the butterfly you can add a few small dots on the wings as well. Then on the long curved line you can add some more small dots going up the curved line.
Practice version
Above is the practice version that I created, for the most part I tried to do the final design like this, the butterfly was just a little different for the practice and the final version.
Butterfly and Swirls Nail Design
Once your pretty butterfly and swirls nail design has dried apply a top coat to seal in your design.
Hope all of you enjoyed this some what simple nail design. With this design you can always change the colors, you could even do this design with white paint or whatever color you would like.
See you next time for more nail fun!


No comments:
Post a Comment