Wednesday, November 12, 2014

Nail art tools

Hello everyone! For this week I will have three post, to make up for the two weeks that I didn't post due to me being on vacation. Their is this post about nail art tools, then a review on the OPI nail envy nail strengthener, and my usual Friday post. 


Now for the nail art tool post. This post was actually meant to go with the post I did back in August for the hand and cuticle care, and the nail care. In the end I thought it would be best to make this a separate post.
 
The I heart nail art kit in the box

  Nail art stripper, small nail art brush, and dotting tool

The first product that I use is the Sally Hansen I heart nail art tool kit (I also did a magnificent find post on this a well, click the link to check it out I heart nail art kit ). This kit I would say is more for beginners, due the quality of the brushes, because after using these for a while the brushes seem to be worn out. Though on the other hand, the dotting tool still seems to be working well. I have also used toothpicks to make dots, but I find the dotting tool to work out better because it seems to make better looking dots than toothpicks (at least the times I have tried it.) 

 - The Sally Hansen I heart nail art kit cost $5.99.


DL professional by Debra Lynn 10 piece nail art brush set


That's when I decided to go to Sally Beauty and pick up the DL professional by Debra Lynn 10 piece nail art brush set. I have been using these brushes for a few months now and they see to be working out well. I would say they are much better quality then the Sally Hansen kit. As for the brushes, I've mostly been using the smaller brushes. The two lager brushes I am unsure about ( they look more like they are for doing canvas paintings, not nail art but who knows, maybe I could find a use for them while doing my nails.)

- The DL 10 piece nail art kit cost $4.49 at Sally beauty.


 Up & Up cosmetic wedges for gradient/ ombre nails

Another item I use for doing nail art is the UP & UP cosmetic wedges/ sponges. These makeup wedges are used to create a gradient effect on your nails, by painting lines of color like 3 or 4 colors side by side on the sponge then dabbing the sponge on your nails.

   
Here is a photo of just one of the cosmetic wedges. When doing the gradient effect on your nails, you just need to paint you colors on the bottom half. Then you can cut that part off when you are finished, that way you don't waste the rest of the sponge. You can also start off by cutting smaller pieces of the sponge that way it will fit on your nail better. 

- The Up & Up cosmetic wedges cost around $2.00 at Target.
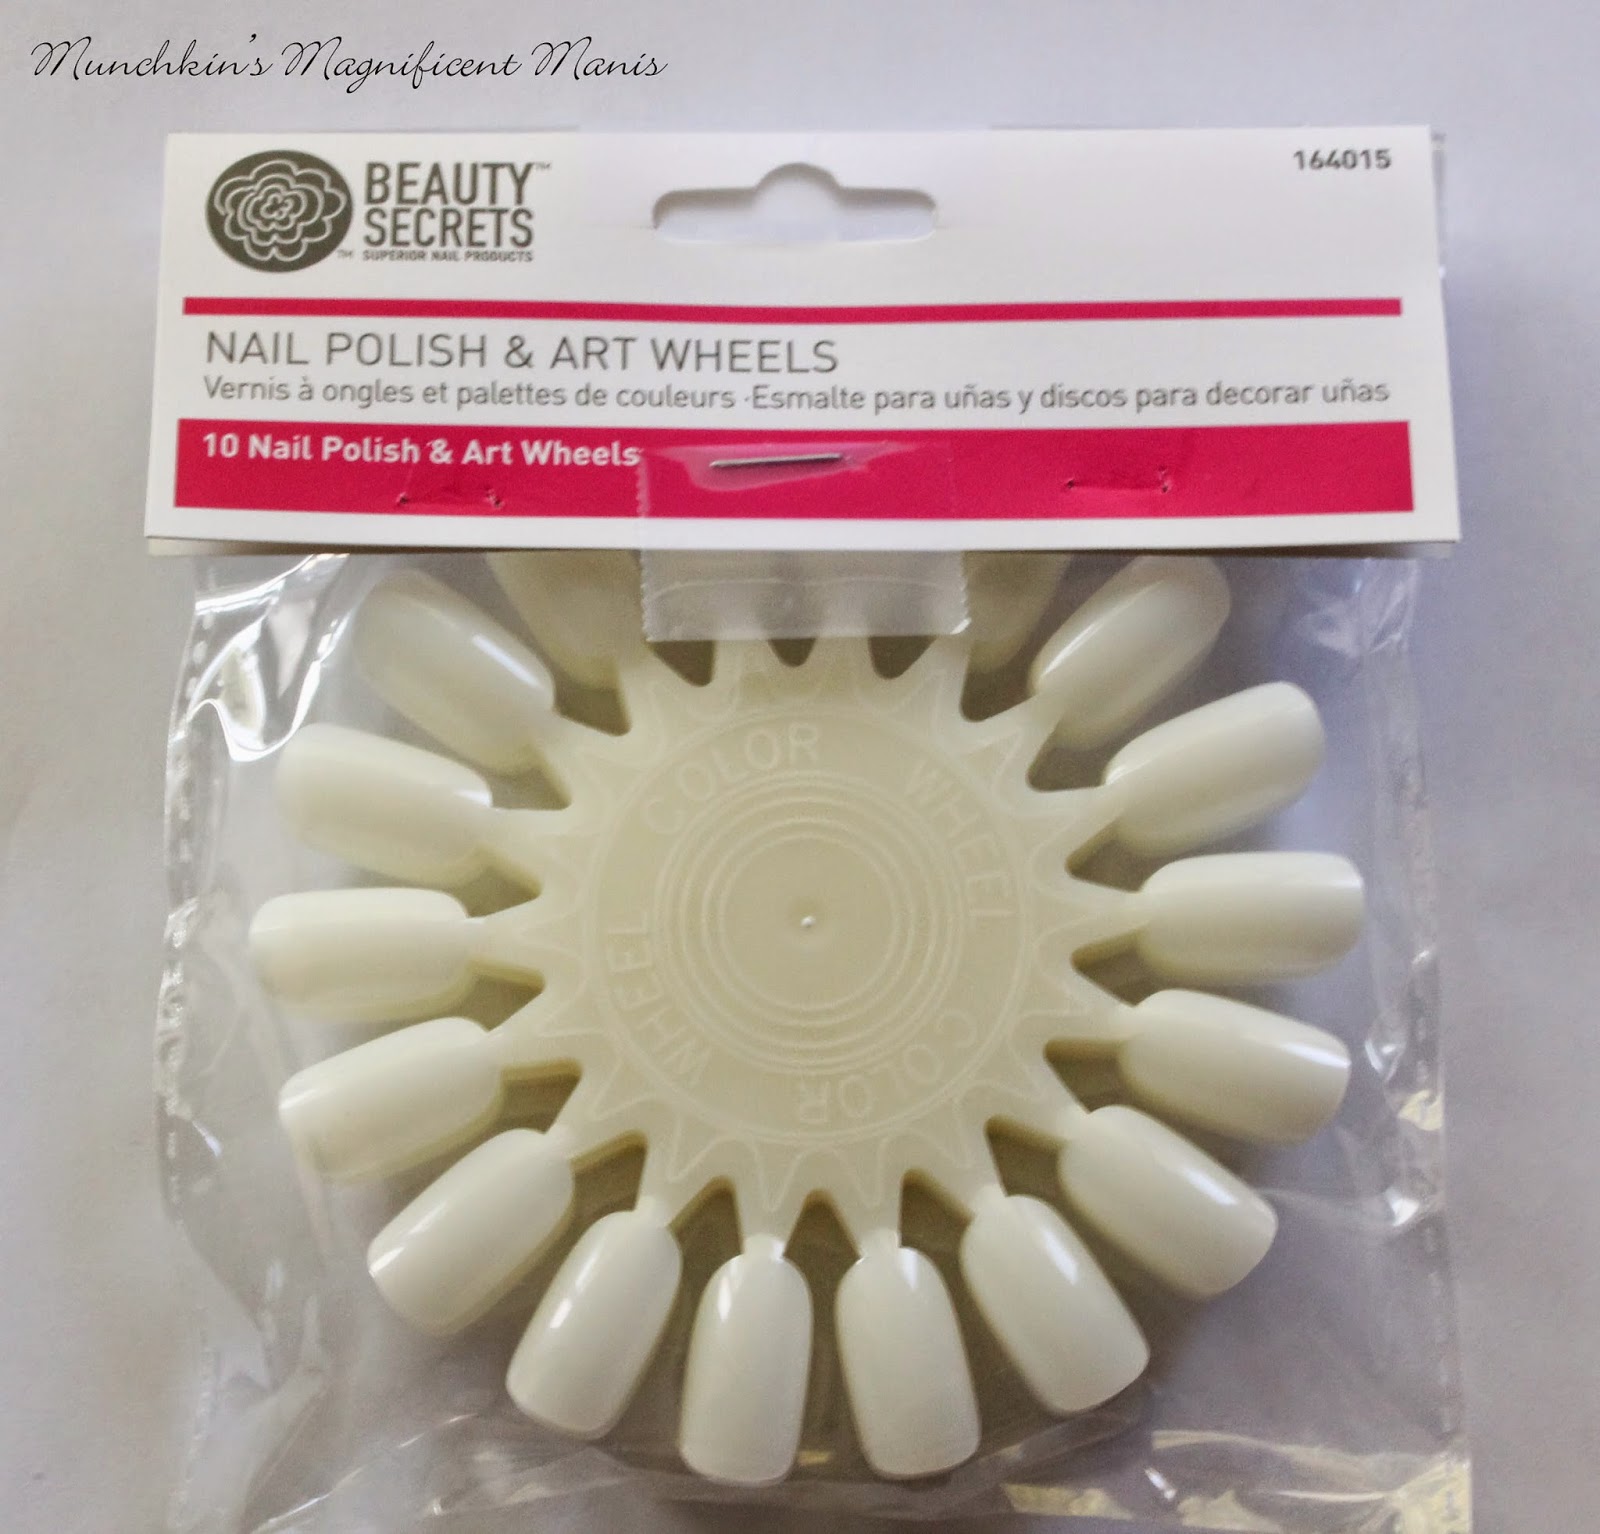

 Beauty secrets nail art wheel 

The last item I wanted to include is the beauty secrets nail art wheel. This nail art set includes ten practice wheels. Just like anything you need to practice, so I thought it would be a good idea to pick up these nail art wheels to practice my nail designs before I do them on my actual nails.     

- The beauty secrets nail polish and art wheel cost $5.99 at Sally Beauty.  

When it comes to nail art tools you don't really need much, just some brushes and a dotting tool. You can also use items that you have in your home for nail art, such as toothpicks to make lines and dots, you can also use a bobby pin to make dots as well.

Also, if you missed the hand and cuticle care, and the nail care don't forget to check them out by clicking the links. 


See you next time for more nail fun!


Friday, October 24, 2014

Autumn Harvest- Fall Design


Hello everyone! For today's post I have another fall design, a simple one. When it comes to this design I was trying to think of a color scheme that is not just boring neutrals (which is kind of popular in the fall), because here at the M.M.M blog we like wild nail colors! That's when I decided to go with an orange and burgundy french manicure over brown, then as an accent nail (or ring finger) a gold leaf. When it comes to my nail designs I do get inspiration for the internet ( Pintrest is my favorite website for nail inspiration.) Then I use that inspiration that I find as a base for my design and try to make it my own. Like today's design for a perfect example.  


As usual here are the polishes and tools that I used for this autumn harvest design:   

Polishes- Revlon Extra Life No Chip top coat, Kiss nail art- Silver, NYC- Brownstone, Revlon- Gold Coin, Wet n wild- Glitter orange, NYC- Chelsea, and an optional glitter; Del Sol- Starry Night.

Tools-  a small thin nail art brush (The DL professional 10pc nail art brush from Sally Beauty, I numbered them from 1 largest - 10 smallest, this one I number brush 10.), another  optional small nail art brush (the one in the photo with a white handle), and a glass jar with nail polish remover in it to clean off your dotting tool. 

*As for the OPI nail envy- nail strengthener- base coat that I have been using for that past few weeks, I unfortunately do not like it and will be retuning it. I will soon have a full review of the strengthener; I thought it would be best to have a separate post for that.  


The Skill level for this autumn/ fall design is: 

Beginner

For this autumn/ fall design for the most part is a simple design that consists of a basic french manicure, then for an accent nail a simple gold leaf. The only part that might be a little tricky is the optional thin line above and under the slanted design, that is above the french manicure.  


1. Start off by paint all of your nails with two coats of brown. 


2. Next we will be creating a french manicure. The thumb and middle finger nail we will be using three coats of orange polish, and the index and pinky nail we will be using two coats of a burgundy polish, and for now leave the ring finger nail brown. To create a french manicure you start off on one side of the nail then swipe the polish across until you get to the middle, then pick up the brush and go to the other side and once again swipe your polish until it meet the other part you just painted.If you have trouble doing this you can also use tape as a guide.

3. Now we will be creating the accent nail, or the leaf design. Take your nail art brush dipped in gold polish, starting at the tip of the nail draw a slanted line that goes to the side of your finger. Repeat this step four times until you get to the top of the nail.


 4. To finish off the leaf repeat the last step for the other side of the nail. For an optional look, you can also add a glitter polish on the background.


5. Next, we will adding a slanted design above it. We will do this by taking your sliver nail art polish, slowly rotating your finger while drawing a sliver line above the orange polish, then at the end of that line, draw a slanted line that goes to the other end of the nail. After that, fill in the silver part.   

6. Do the last step on the thumb nail too. If you have trouble doing this part of the design this way, you can also try it the way I did it in step 7.


7. For the burgundy nails, the ring and pinky nail. We will be doing the same design with gold polish. For this color I don't have a gold nail art polish, so this one I did a little different. Take your small thin nail art brush dipped in gold polish and draw a line above the burgundy polish. 

8. Then once again at the end of that line draw a slanted line that goes to the other end of the nail. it's okay if the line is kind of thick because once again you will fill it in with gold polish.


You can stop at the last step or for an optional look, you can add a sliver line above and under the gold slanted design, and add a gold line above and under the silver slanted line. If you choose to do this, once again take your silver nail art polish or nail art brush dipped in gold, slowly rotate your finger while drawing a line, then for the slanted part just follow the outline to create a line. 


    Once your Autumn/ Fall nail design has dried finish off this look with a top coat.

Hope all of you enjoyed this Autumn/ Fall nail design. For next Friday I will not be doing a nail post because I will be going on vacation. But as soon as I get back from vacation I will do more tutorials.  

See you next time for my next design tutorial!