 Thanksgiving Pie Nail Design
Here are the polishes and tools used for this yummy pie design:
Top an base coat- CND Stickey Base Coat and Revlon Extra Life No Chip top coat.
Polishes- OPI Lisbon- Now Museum Now You Don't and China Glaze mini- Sesame Street- 50 Shimmering Years.
Acrylic paint- Brown, peach, red, yellow (to make orange) and white.
Nail art brushes- thin detail brush and a thin stripper brush.
A small cup of water to clean off your nail art brushes.
Thanksgiving Pie Nail Design
Apply base coat.
Polishes-
Thumb, index, middle, and pinky finger nails. A reddish orange polish (I used OPI - Now Museum Now You Don't.)
Ring finger nail, a rose gold glitter polish (I used China Glaze- 50 Shimmering Years.)
Thanksgiving Pie Nail Design
Pumpkin Pie Design on the Ring Finger Nail-
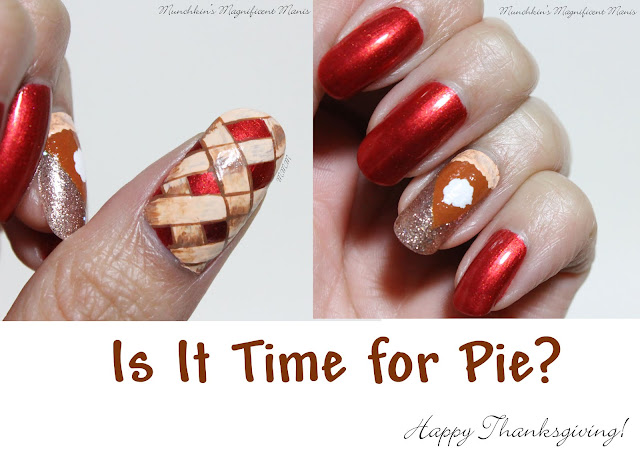
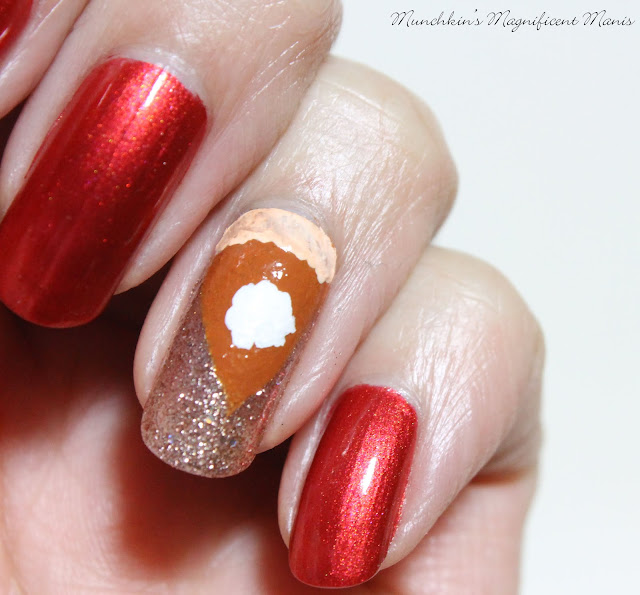
Mix a red,orange and brown paint together to make your pumpkin pie color. Then make a triangle shape near the cuticle, fill that in with the paint you just mixed. You will need to go over this a few times to be opaque.
Then to make the crust take a peach colored paint on a thin detail brush and dab the paint near the cuticle making a crust looking shape.
Now to add the whip cream, which I would add way more then what I did in this design on my actual pie, but for the purpose of this design I just put a little whip cream, so you can tell that this is pumpkin pie. Anyways take a thin detail brush with white paint on it and dab the white in the center of the triangle in a circle shape.
Thanksgiving Pie Nail Design
Cherry Pie on the Thumb Nail-
For the cherry pie design, we will be making a checkered patterned for the crust on the nail. Starting from the tip of the nail make a thick peach strips with your stripping brush, I made four going down the nail. Then staring on the side of the nail, make three more thick strips.
For added detail you can outline your crust pieces with brown, some pieces can over lap and some can not. Then for even more detail take some brown paint and place that paint on different parts of the crust, then with water smudge that paint to make it kind of blend in.
Thanksgiving Pie Nail Design
Once you have your pies looking yummy and ready to eat, apply a top coat to seal in your design and to help it last all though out your Thanksgiving day meal, unlike all the food you will be eating that will not last.
Hope all of you have a wonderful Thanksgiving and enjoy all the yummy food!
See you next time for more nail fun!


No comments:
Post a Comment