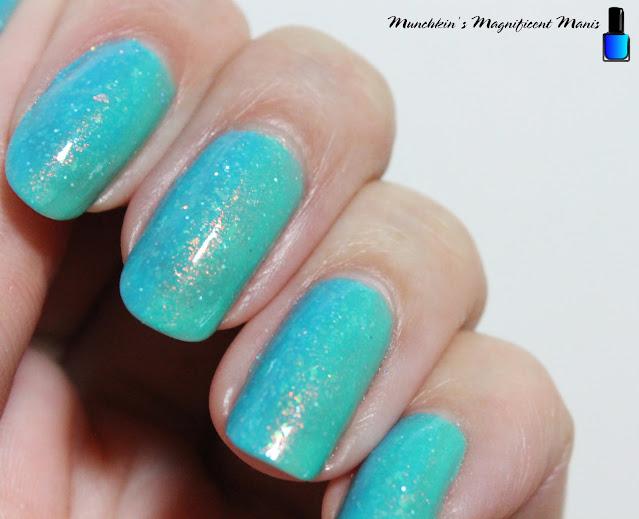
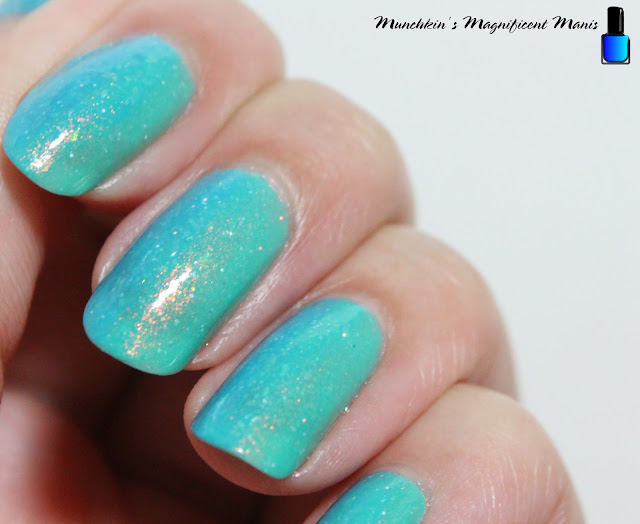
Let that dry.
Then on to the gradient.
When I polish my nails I always start with the pinky nail, then end with the thumb nail. If you do the same then starting with the pinky nail or whatever finger nail you start off with when you polish.
First open both of your polishes, take the light green polish (The Child) and polish one side and then take your light blue polish (Sandy Toes Anything Goes) polish the other side by overlapping the green polish.
Just make sure to over lap the two polishes when you are polishing the nails to blend the polishes together.
Repeat this step on all of the nails, for this light colored gradient I did have to apply three coats, each time making sure to overlap the colors so they can blend together, even if you have to slightly go over the polishes again just to bend them.
Once you have your gradient nail design just right apply a top coat top seal in your design and to help it to last.
That is all that is to this easy nail design. For this gradient I did try it with the make up sponge but I could not get it to work, so I found this way to work best with the two light colored polishes. I am not sure how well this will work with darker colored polishes, it works great with light colored polishes. I actually learned this method from Simply Nailogical Cristine, she did a gradient with her recent Holo Taco collection this way, she just called it a lazy gradient.
If you have trouble with gradients maybe this might be an easier method on creating a gradient.
Hope all of you enjoyed this easy spring/ summer gradient!
See you next time for more nail fun!


No comments:
Post a Comment