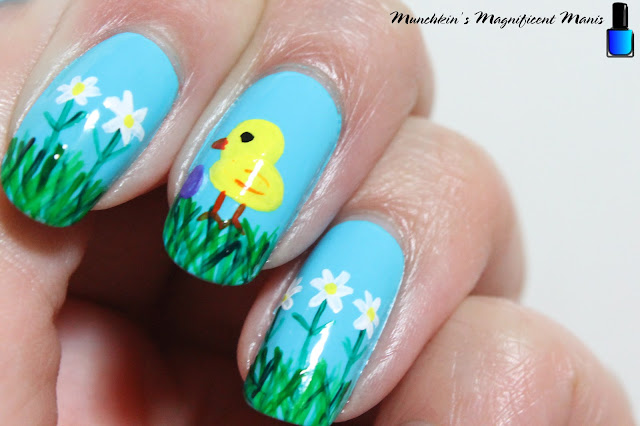
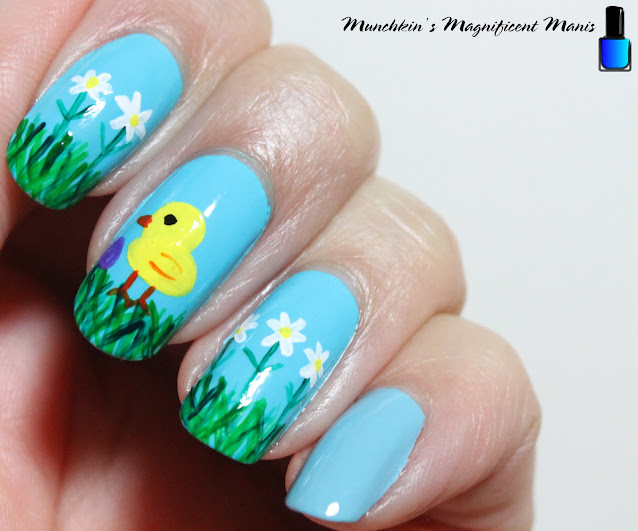
Polish- Finger paints- Tiffany Imposter, and Sally Hansen- Insta Dri- Peeps Blue.
Acrylic Paint- White, yellow, red, green, black, and purple. Mixed white and yellow to make a more opaque yellow, mixed yellow and green for a lighter green, and mixed yellow and red to make orange.
Nail art tools- Thin dealt and stripper brush.
Other- water to clean off nail art brushes.
Let that dry.
Polish, I used two kinds of light blue polish, which is not necessary but I just like to use more than one polish.
Thumb and pinky nails- Finger paints- Tiffany Imposter.
Index, middles and ring finger nails- Sally Hansen- Insta Dri- Peeps Blue
Let that dry.
On all three nails we will be making the grass first. Take a thin stripper brush with a darker green paint on it, starting on the tip of the nails make some over lapping lines, then with a lighter green do the same thing for some contrast in the grass.
Next we will make the steams for the flowers. With that same stripper brush with some green paint on it, on the index nail make two long lines, on the ring finger make three longs, then two short lines for the leaves.
On the index and ring finger nail we will make some daisies. On the steams that we just made, take a thin detail brush with white paint on it, staring right on the steam make two lines, then two more on the sides, lastly make two lines on top to make your very simple daisy. Repeat this step for all of your flowers. For the final touch add a small yellow circle in the middle of the flower.
For the other small details; legs, beak, and wing. Take you thin stripper brush with orange on it make two lines coming from the bottom of the body and two small ones form the sides for the feet.
For the beak make a small triangle on the side of the small circle. Then for the wing make two small curved lines right beside each other on the body.
For out final touch we will make a small Easter egg, with purple paint just make a small oval, egg shape on the ground near the chick.
Once your nails are Easter ready apply a top coat to seal in your nail design and to help it to last.
Hope all of you enjoyed this Easter nail design and have a Happy Easter!
See you next time for more nail fun!


No comments:
Post a Comment