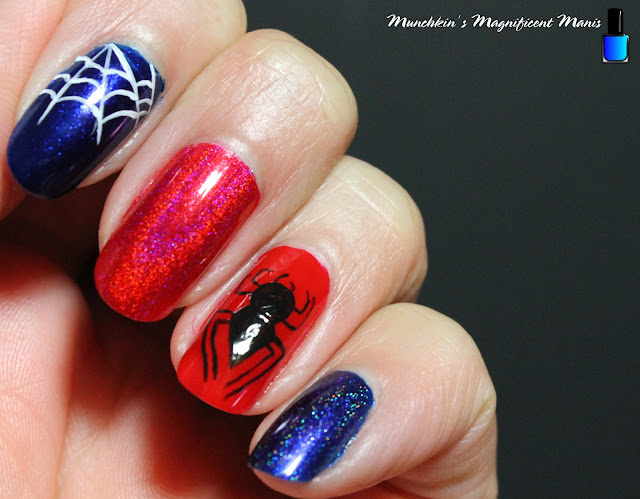
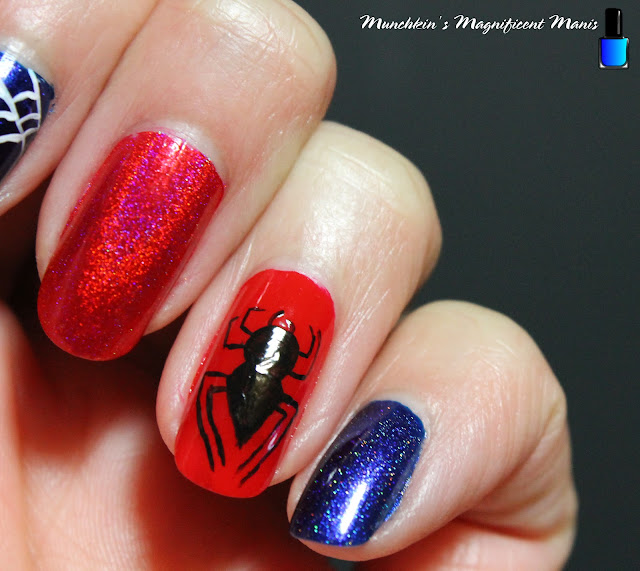
Hello everyone! Today on the blog we will be create a nerdy nail design, Spiderman. Not to long ago their was a new Spiderman movie that came out in December, Spiderman No Way Home. I am not really a Spiderman fan, but I thought it would be something different to create on the nails and I guess you could say this design is for my hubby, he is a big Spiderman fan and yes I did go see the movie with him when it came out. Also I know I am a little late for this design, I figured why not still do a Spiderman design, just to make something a little bit different on the nails.
Here are the polishes and nail art tools used to create this Spiderman nail design:
Base and top coat- - CND Stickey Base Coat and CND Super Shiney Top Coat. (yes I am using another top coat, sadly Revlon discontinued my favorite topcoat😭, I will probably be doing a post about this soon.)
Polishes- Zoya- Renee, Jen, Holo Taco- Red Licorice, and Linear Holo Taco.
Acrylic paint- Black and white.
Nail art brushes- Thin detail and stripper brush.
Other- Water to clean off your nail art brushes.
Apply a base to clean dry nails.
Let that dry.
Polish-
Index and pinky nail- polish a shimmery dark blue (Zoya Jen), on the pinky nail also apply a linear holo polish on top (Holo Taco- Linear Holo Taco)
Middle finger nail- a red holographic polish (Holo Taco- Red Licorice)
Ring finger nail- a red polish (Zoya- Renee)
Thumb- red and blue shimmery polish. This we have to polish a little bit weird for Spiderman's face (so we will wait on that)
Let that dry.
Spiderman's Face on the Thumb Nail:
First we will create Spiderman on the thumb nail. First we need to create the shape. Take a red creme polish and make a oval shape near the tip of the nail. Then with a blue shimmer polish, fill in the part of the nail that is clear/ no polish as of yet with that. You will need to polish this part a little bit weird, I had to polish it from side to sides long with going up the sides of the nail.
You can do this step when you polish all of your nails.
Then let that dry.
Now on to Spiderman's features. First we will make his eyes. Take your thin detail brush with white paint on it and make a half circle shape for both of his eyes and fill that in with the white paint.
Now for the hard part making the web on his face. Take your thin stripper brush, with black paint on it, starting on the bottom part of his face make a triangle shape, then make two lines on the right side, then three on the left side. Then in each section make one or two curved lines in each section.
For the top part of his face make five vertical lines going down his face. Then once again make one to two curved lines going the other way in each section.
For the final touch you will also need to outline Spiderman's eyes with black paint.Spider web on the index nail:
Now onto the index nail, making Spiderman's web. Take your thin stripper brush with white paint on it and starting from the left hand corner of the cuticle make three to four lines, then in each section make a few curved lines. The section near the right hand corner near the cuticle I actually wish I didn't put their, I think it would have looked better with out that part.
Once you have your Spiderman design the way you like apply a top coat to seal in your design and to help it to last.
Hope all of you liked this nerdy nail design, of Spiderman!
See you next time for more nail fun!


No comments:
Post a Comment