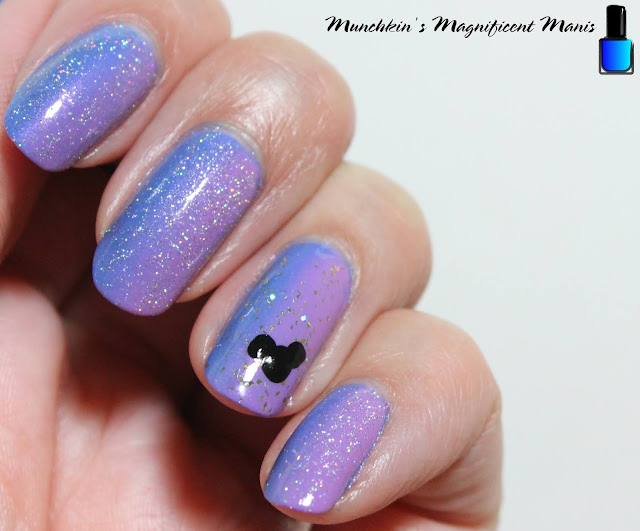
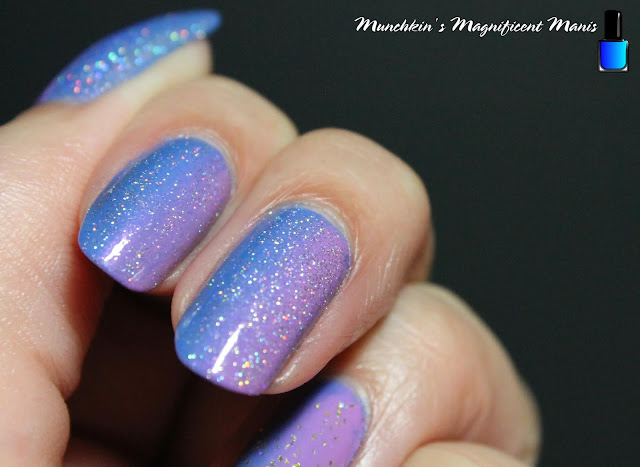
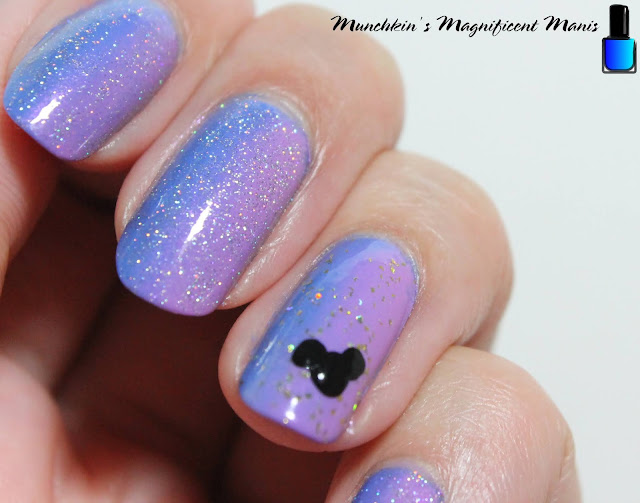
Hello everyone! Once again to celebrate the 50th anniversary of Disney World, which started October 1. I thought it would be cool to make a more subtle design, if you want a more simple design to create on your nails if you are going to the parks or just for fun. This design will have a periwinkle blue and a light purple gradient, with holo glitter over the nails and a small Mickey Mouse on the ring finger nail.
Here are the polishes and nail art tools used to create this subtle Disney nail design:
Base and top coat - CND Stickey Base Coat and Revlon Extra Life No Chip top coat.
Polishes- Zoya Enchanted- Saint, Zoya Sunshine- Delia, Revlon- Holographic Pearls- Transforming Effects, and Holo Taco- Gold Flakie- Anniversary.
Acrylic paint- Black
Nail Art tools- large dotting tool and a makeup sponge.
Apply a base coat to clean dry nails.
Let that dry.
Polish all of the nails with a periwinkle blue (Zoya Saint.)
Let that dry.

On all of the nails we will be creating a horizontal gradient this time. All of the gradients that we have made have been starting from the tip of the nail (vertical), so I thought for this design it would be better to make it horizontal and a way to change things up.
Take a makeup sponge, first polish a light purple and then the same periwinkle blue that you used on your nails, polish that right next to the purple on the sponge.
Then take your sponge and dab that on the nails in a blending motion, making sure the purple will be on the left side of the nail. I always start with the pinky nail. You will need to do this one more time for the polish to be opaque.
Then right away take a holographic glitter topper polish (Revlon- Holographic Pearls) and polish over the gradients you just made. Also do not polish the ring finger with the holo glitter just yet.
On your ring finger nail polish that with a gold flakie topper polish. (Holo Taco- Gold Flakie holo taco)
Once your nails are Disney ready, apply top coat to seal in your gradient and to help it to last though your park adventures.


No comments:
Post a Comment