Polishes- Sally Hansen- xterme wear- Sun kissed and OPI Hawaii- That's Hula- rious.
Acrylic paint- Black, red, yellow, green, and brown.
Nail art brushes- Thin detail brush and stripper brush.
Other- Small cup of water to clean off nail art brushes.
Polish-
Thumb, index, and pinky- orange creme polish.
Middle and ring finger nail- light green creme polish.
Let that dry.
Pumpkin on the Middle Finger Nail:
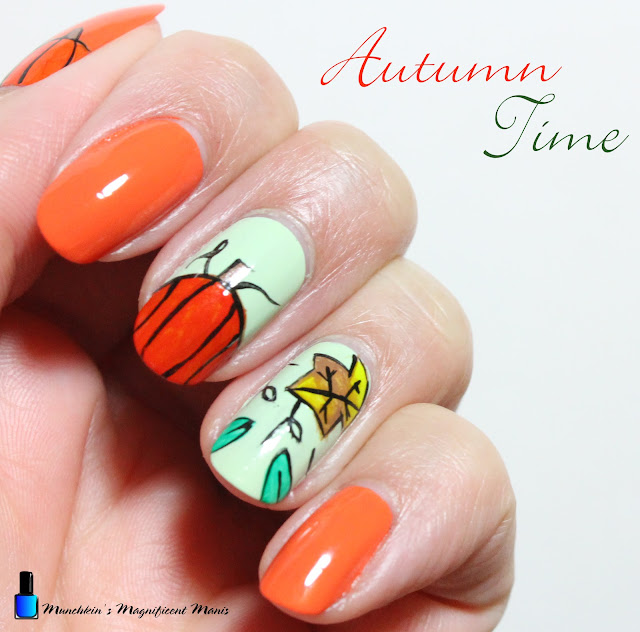
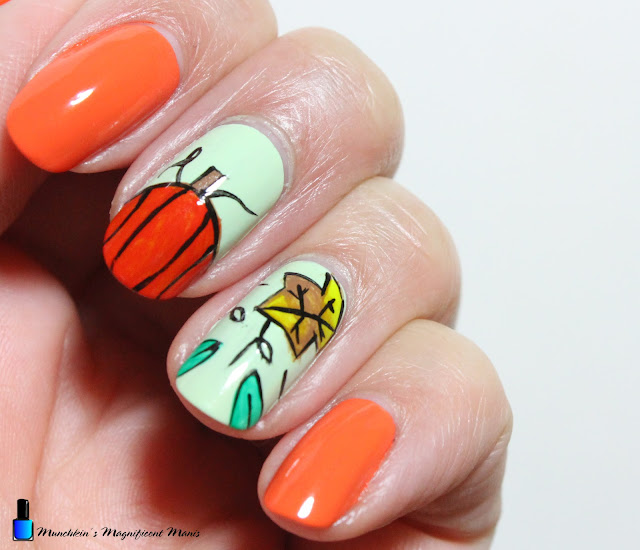
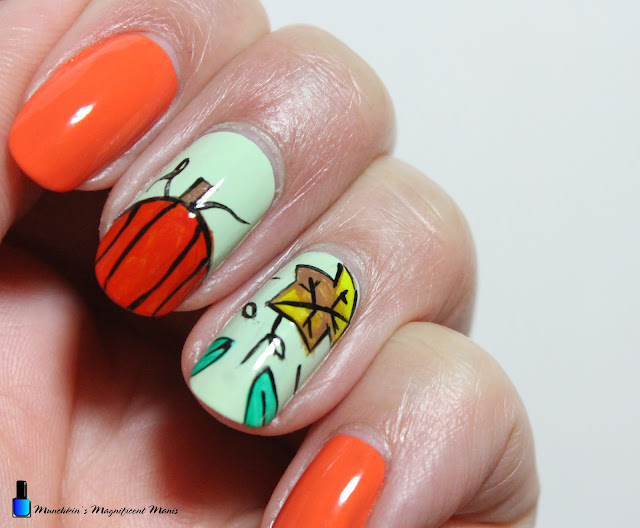
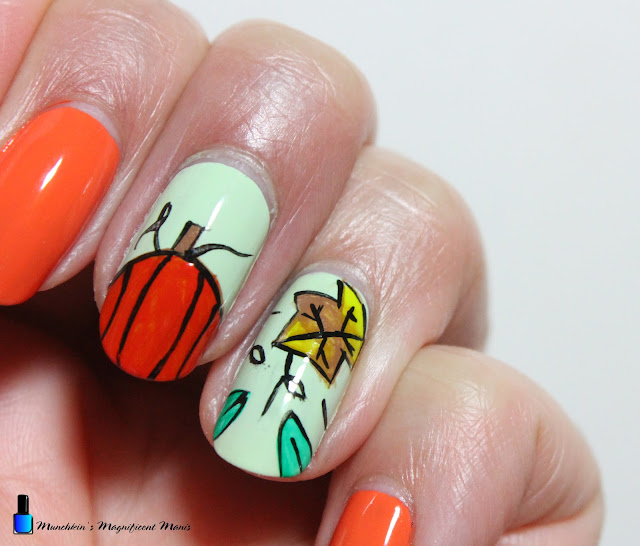
First we will start off with the pumpkin design on the middle finger nail. Take a thin stripper brush with black paint on it, starting near the tip of the nail make an oval shape. Then make a stem and fill that in with brown paint.
Then with a detail brush, mix yellow and red to make orange (unless you have orange paint) and then fill in your pumpkin.
For some small details make four line on your pumpkin, then make a curved line with a loop coming out of the top your pumpkin and another curved line on the other side.
Next we will make leaves on the ring finger nail. First we will make the lager leaf on the upper right hand corner of the nail near the cuticle. First take a thin stripper brush with black paint on it and make small triangle near the center of the nail, make two more triangles on both sides, then fill that in with yellow and brown, once you have the leaf color opaque enough make a few line in the leaf for the veins.
After that make two green leaves on the tip of the nails and then outline them.
Lastly make a few curved lines in the empty space of the nail for some vines.
Lastly on the thumb nail we will make two pumpkins, take a thin stripper brush with black paint on it and make a large oval and then a small oval right next to each other.
Fill in your pumpkins with orange paint, then make a stem with brown paint, and outline the stem.
Then on your pumpkins make two line on them.
Once your nail design is Fall/ Autumn ready apply a top coat to seal in your design and to help it to last.
Hope all of you are having a good fall and had a Happy Thanksgiving!
Hope all of you enjoyed this fall nail design!
See you next time for more nail fun!


No comments:
Post a Comment