Hello everyone! Sorry that is has been a few weeks since I did a post, I was finally able to return to my job after being temporary lay-off, so I have been trying to get back use to getting up early for work and just being back to work, with things being kind of different (like the rest of the world that has kind been able to return to some kind of normal.) Anyways today I thought it would be nice to create a simple blue flower design for spring time, seeing how it is finally staring to feel like spring, at lest where I live.
 |
| Spring Time Blue Flower Nail Design |
Here are the polishes and nail art tools used to create this spring flower nail design:
Base and top coat- CND Stickey Base Coat and Revlon Extra Life No Chip top coat.
Polish- OPI- Hello Kitty- My Pal Joey (just one polish for this design, the rest is paint.)
Acrylic paint- white, blue (mixed together to make a lighter blue), green and a light yellow.
Nail art tools- a small dotting tool, a very small detail brush, and a small detail brush.
Other- a small cup of water to clean off your nail art brushes.
Polish all of the nails with a blue polish.
Let that dry.
On the index, middle, ring, and pinky finger nails, these are the nails that we will be creating a simple dot flowers. On the thumb nail we will being creating a little of a different type of flowers.
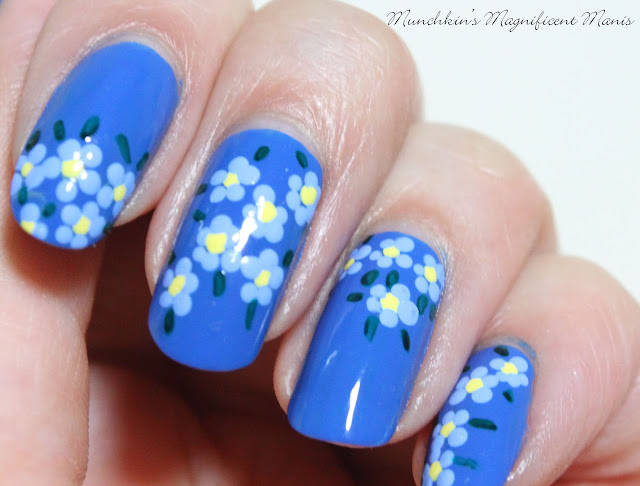
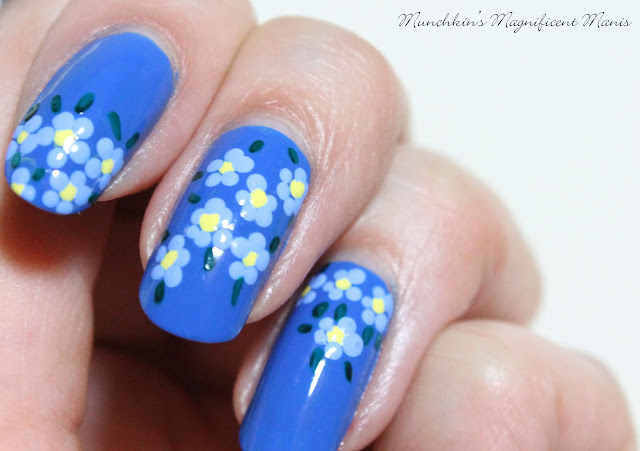
Spring Time Blue Flowers Nail Design
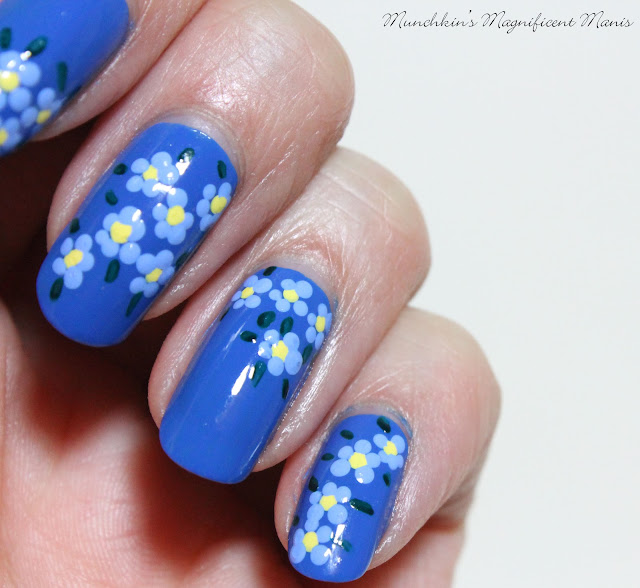
For each nail I placed the flowers on a different part of the nail, just to make the design look a little bit different.
For the dot flowers take a small dotting tool with some light yellow paint on it for the center of the flower and place that dot on the spots that you want to create flowers.
Then with that same dotting tool with some light blue paint on it (I mixed a white and a dark blue to make the light blue) make one dot on the top of the yellow dot, one on each side and then two dots on the bottom.
Then you have your simple flower shape, then repeat this step on the nail as many times as you like.
Also for an added touch take a very small brush with green paint and make some small lines around your flowers for some leaves.
For all of your nails you can always just create the simple flowers or if you would like you can also create the next flowers that we are about to create on your thumb nail. (the photo below)
Next we will be creating some flowers that are a little bit different on the thumb nail, this design is still simple as well.
Staring off with the larger flower in the center of the nail, take a thin detail brush with white paint on it make two thick lines right next to each other, then two lines beside that and then two more thick lines under that. Lastly taking a light yellow paint make a small yellow dot in the center of your flower. If you would like you can also start off by making the small yellow dot and then making your petals. I just ended up making the petals first.
For your other flowers repeat that same step, just make them smaller and some light blue.
Then just like the dot flowers we just made, take your very small brush with green paint on it and make some green lines for leaves.
Spring Time Blue Flowers Nail Design
Once you your flowers are spring time ready apply a top coat to seal in your design and to help it to last.
Hope all of you enjoyed this simple flower nail design and that all of you are stay safe and enjoying the spring weather as much as you can!
See you next time for more nail fun!


