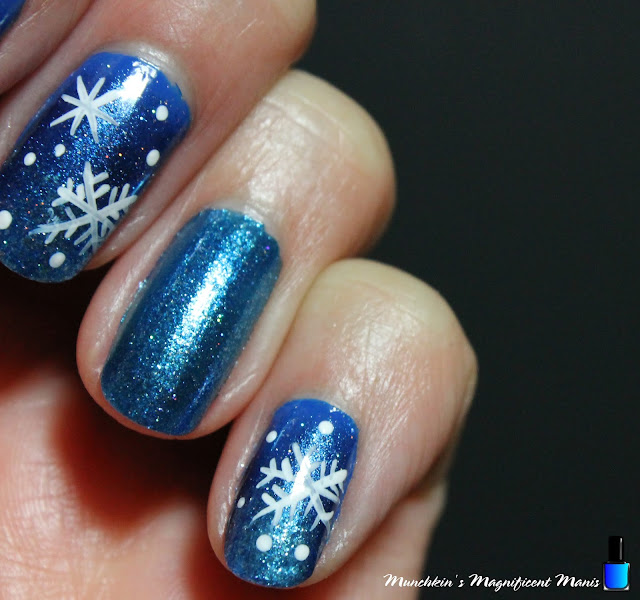
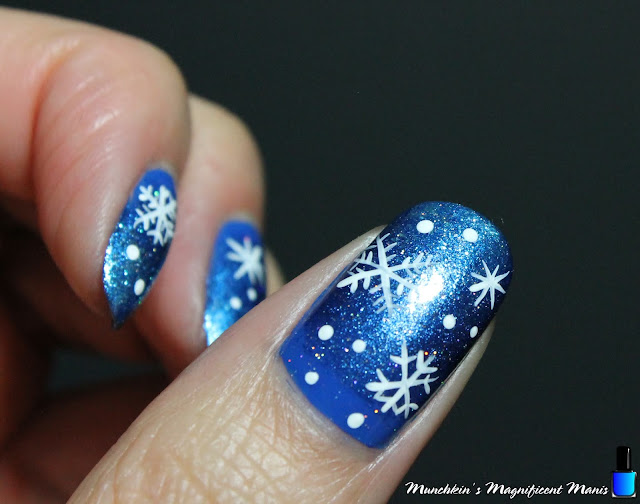
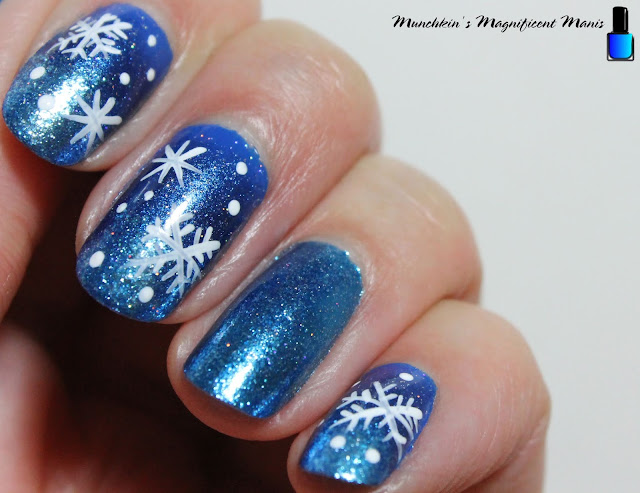
Polishes- Zoya- Splash- Maren, Zoya- Estelle, Zoya- Twinkling- Alessia, and Holo Taco- Scattered.
Acrylic paint- White.
Nail art brushes- a very small dotting tool and a thin stripper brush.
Other- a makeup sponge and water to clean off your nail art brushes.
Let that dry.
Polish-
Thumb, index, middle, and pinky- A creme blue (Zoya- Maren) This is your base color polish.
Ring finger nail- A shimmery blue (Zoya- Alessia)
Let that dry.
On almost all of the nails we will be create a gradient except for the ring finger nail, that nail will just stay as is with a shimmery blue. For this gradient I decided to go with three polishes that are very close in color that way they will blend well.
For the gradient take a makeup sponge and first polish Zoya- Alessia, (a blue with silver shimmer in it) and then polish right next to that with Zoya- Estelle (a shimmer blue.)
Then dab the sponge on to the nail, all of the nails except the ring finger nail. You will need to do this twice on each nail to be opaque.
On all of the nails except the ring finger nail, we will create a simple snowflake design, staring off with a big snowflake, then smaller star shape snowflake, and lastly small dots for snowflakes.
For all of the nails I stuck with the same looking snowflakes which I usually don't do, they are just placed different on the nail.
First take a thin stripper brush with white paint on it and make a star shape and then add small lines on each line.
For the smaller snowflake, with that same stripper brush with white paint on it, just make star shapes for that snowflake.
Then lastly take a very small dotting tool and make small dots around the larger ones, making sure to leave space around the larger snowflakes.
For the final touch apply a scattered holo topcoat to all of the nails for an even more glittery holo look!
Once your snowflake nail design is ready for the first snow fall/ many more snow falls, apply a top coat to seal in your design and to help it to last all winter long or at least until you want to change your nails.
Hope all of you enjoyed this snowflake nail design!
See you next time for more nail fun!


No comments:
Post a Comment