Hello everyone! On October 1, 2021 Disney World in Florida will be celebrating their 50th anniversary! This anniversary will be an 18 month long event at Disney World with a lot of different event, merchandiser and more. As someone that is a big Disney fan this is very exciting and maybe even next year we will be going to Disney World because my hubbies cousin will be graduating college in Florida. As a way to celebrate we will be creating a Disney 50th anniversary nail design.
Here are the polishes and nail art tools used to create this Disney 50th nail design:Base and top coat- CND Stickey Base Coat and - Revlon Extra Life No Chip top coat
Polish- Zoya Jen, Zoya Saint, Holo Taco- Circuit Breaker- Electric Holo Collection, and Holo Taco- Gold Flakie- Anniversary.
Acrylic paint- black and white.
Nail art brushes- thin stripper and detail brush.
Cup of water and acetone to clean off your nail art brushes.
Apply a base coat to clean nails. Let your base coat dry.
Polish-
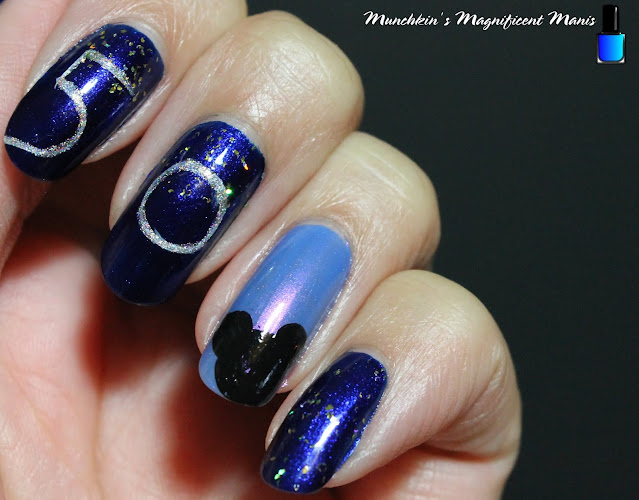
Thumb, index, middle, and pinky finger nails- A royal blue (Zoya Jen)
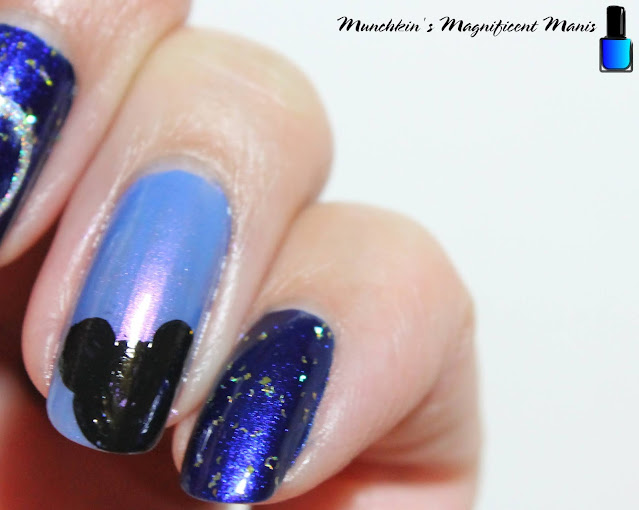
Ring finger nail- a periwinkle (Zoya Saint)
Let that dry.
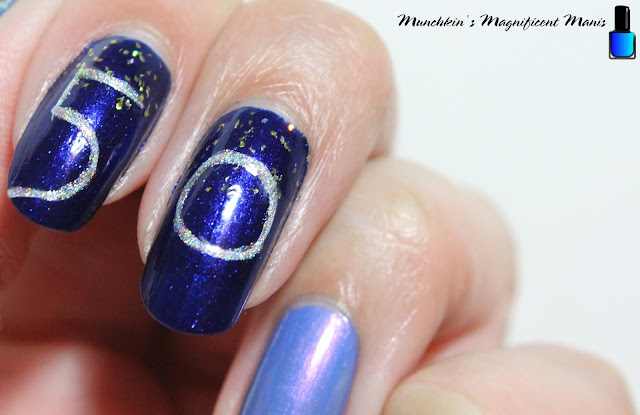
50 on the index and middle finger nail:
First we will start off with the outline of the numbers on the index and middle finger nail. On your index nail make a 5 with white paint, that has a slightly longer tail to it.
On your middle finger nail make a 0 with white paint. Let that dry.
The take a silver holographic polish on a thin stripper brush and go over your white outline, or you can go right in with the silver holo polish, but I felt better doing an outline first just in case I messed up.
*As with most of my nail design I jump around from nail to nail as I let each part dry.*
Mickey Mouse shape on the ring finger nail:
Disney World Cinderella's Castle on the thumb nail:
Lastly for the nail art, before we add the gold glitter, is the hard part, the castle. First we will make an outline with white paint, the design of the castle is really a light of long and short rectangles and some triangles.Take a thin stripper brush with white paint on it, make a long line near the cuticle. Then starting with the center, make a long rectangle and another one beside that one, they should be the same height.
Then make two small/ shorter rectangles beside/ the other side the larger ones, then beside that one make another small rectangles with a slant at the top, then lastly make one more rectangle at the very side of the nail, also make that side rounded.
Now on each rectangle make a triangle for the roof. There is six triangles that you should make.
Also on the middle tower you can make a small flag as well.
Now that we have the outline we will fill in the castle with a sliver holographic polish. Once you have your castle filled in you may need to go over some of the white outline again.
Final Touch of gold glitter:
On your pinky nail, polish some gold glitter over the royal blue, the Holo Taco gold glitter flake polish works very well for this design, or you can use a sparse gold glitter too.
On the thumb nail polish a little gold glitter near the top of the castle near the tip of the nail.
Then on the index and middle, near the top of the 5 and 0 add some gold glitter.
Once your Disney 50th anniversary nails are park ready apply a top coat to seal in your design and to help it to last through your celebration.
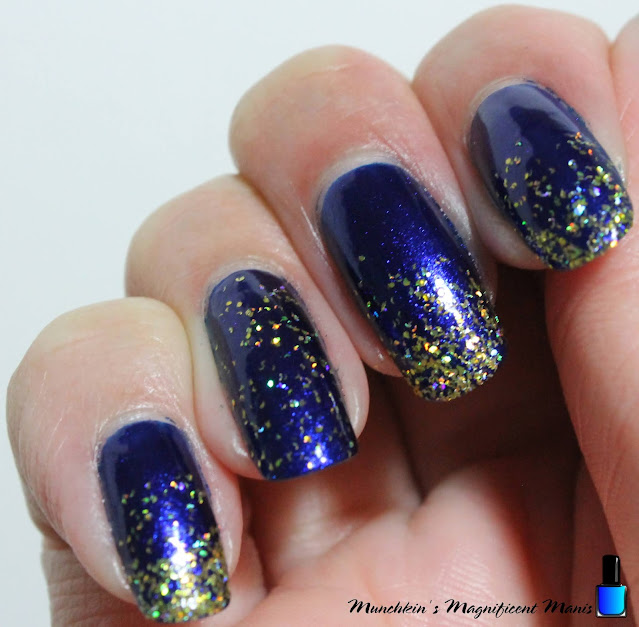
On my right hand I did a more subtle 50th anniversary design using the royal blue and gold colors, by doing a gold glitter gradient and my ring finger nail with the gold over the royal blue.
Also you can just had a Mickey Mouse shape on your ring finger as well and have the gold glitter gradient on the other nails.
Hope all of you enjoyed this Disney 50th anniversary nail design, if you are anything like me you love Disney and would really enjoy this design. Also I love the colors they used for the 50th the blues, gold, and holographic silver is awesome!
See you next time for more nail fun!


It looks amazing :-D
ReplyDeleteThank you! 😊
ReplyDelete