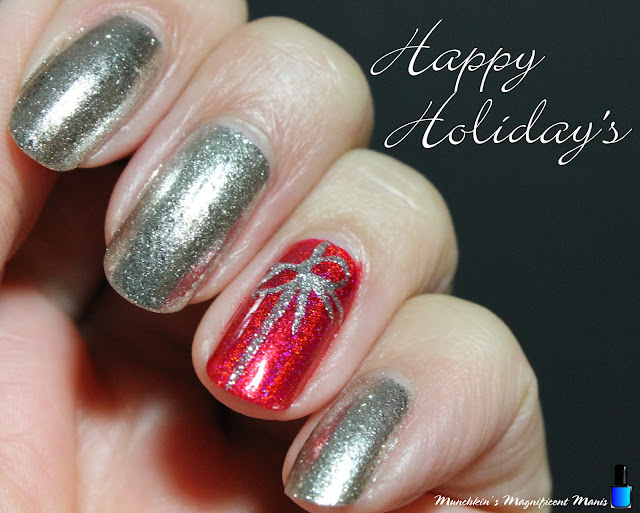
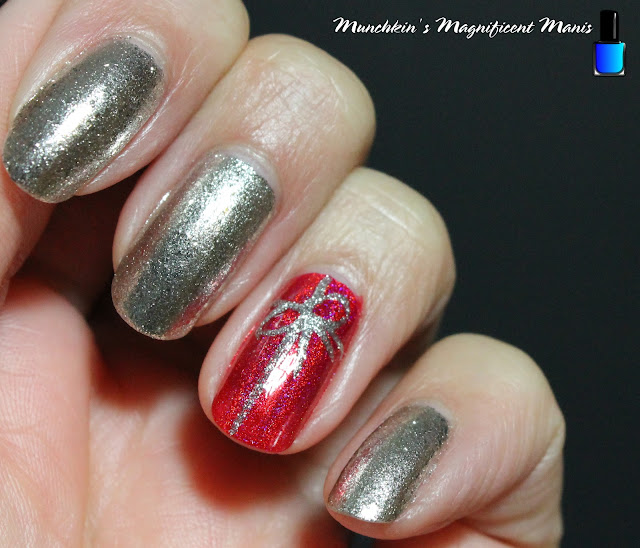
Hello everyone! Happy Holiday's to all of you! Today we will be creating a simple Holiday/ Christmas nail design, with a Christmas tress and a gift on our nails.
Here are the polishes and nail art tools used to create this simple holiday nail design-
Base and top coat - CND Stickey Base Coat, Revlon Extra Life No Chip top coat, and OPI- matte topcoat.
Polishes- Holo Taco- Gift Receipt- Metallic Foil Collection, Sally Hansen- Hard as Nails- Black Heart, Holo Taco- Red Licorice- Rainbow Collection, Holo Taco- Scattered, Color Club- Halo's- Crystal Baller, Kiss nail art striper- Silver, and Snowman rainbow glitter- frosty.
Nail art brushes- thin stripper and detail brush.
Water and acetone to clean off your nail art brushes, and a toothpick, to pick up glitter to put on the nails.
Apply a base coat.
Let that dry.
Polish-
Thumb- Black creme polish, with a matte topcoat. First apply your black polish, then a clear topcoat and then a matte topcoat.
Index, middle and pinky finger nail- A silver foil polish (Holo Taco- Gift Receipt.)
Ring finger nail- Red holographic polish (Holo Taco- Red Licorice.)
Let that dry.
On the index, middle and pinky nail, leave those nails as is with just the silver foil polish, we will not be doing nail art on those nails, just the thumb and the ring finger nail.
Gift on the ring finger nail:
For the gift, we will be making on the ring finger nail all we need to do is make a bow.
Take a silver stripper polish and make a T shape on the nail. Then make one loop on each side of the middle of the T.
Then lastly make to lines coming down from those to loops. Then you have your gift.
Glitter Christmas Tree:
On your matte black thumb nail, take a detail brush with a scattered holo polish (Holo Taco- Scattered) make a a triangle for your tree shape.
Then take a thin stripper brush with a blue holo polish on it (Color Club- Halo's- Crystal Baller) and make a zig-zag line going up the nail.
Lastly take a toothpick with some rainbow/ colorful glitter on it (Snowman rainbow glitter- frosty.) and place some on the zig-zag line, also place some at the top of the trees as well.
Once your nails are Holiday ready, apply a glossy top coat to all of the nails, except the thumb nail, to help your nail design to last.
Hope all of you enjoyed this Holiday nail design and hope all of you are having/ will have a nice Holiday (no matter what Holiday that maybe)
See you next time for more nail fun!


No comments:
Post a Comment