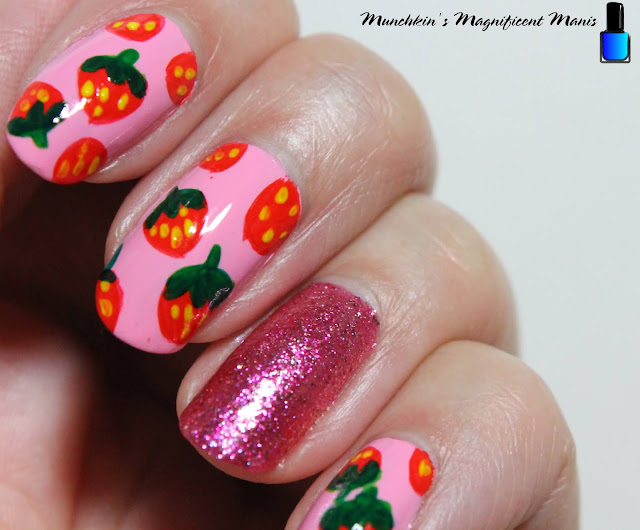
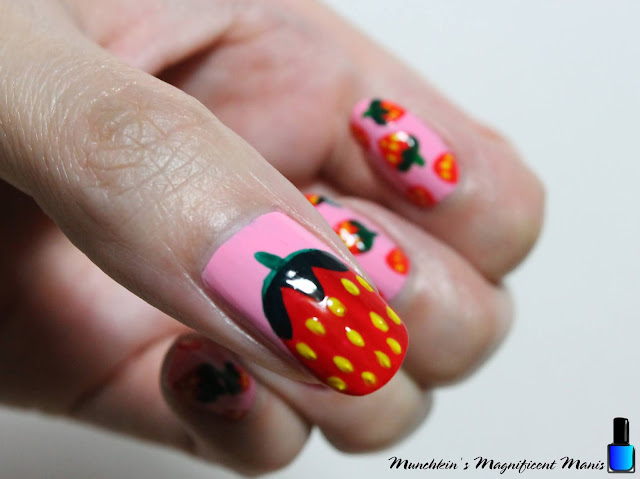
Hello everyone! Today we will be creating a strawberry nail design that I original did for spring, but can also be good for summer time too. Strawberries are one of my favorite fruit besides pineapple. What is your favorite fruit?
Here are the polish and nail art tools used to create this strawberry nail design:
Base and top coat - CND Stickey Base Coat and Revlon Extra Life No Chip top coat.
Nail polish- OPI- Hello Kitty- Look at My Bow!, OPI- Hello Kitty- Starry- Eyed for Dear Daniel, and Zoya- Renee- Redbook trio.
Acrylic paint- red, green and yellow
Nail art tools- small dotting tool, thin detail and linear brush.
Other- cup of water to clean off your nail art brushes.
Apply a base coat, then let that dry.
Nail polish-
Thumb, index, middle, and pinky- a light pink polish (OPI- Hello Kitty- Look at My Bow!)
Ring finger- a pink glitter polish (OPI- Hello Kitty- Starry- Eyed for Dear Daniel)
Let that dry.
Small Strawberries on the index, middle, and pinky finger nails:
On the index, middle and pinky finger nails we will make small strawberries. Each nail has a different amount of strawberries on each nail, and some have just half the strawberry.
For the strawberry take a linear brush with red paint on it, make a circle, with a flat top on the top and a point at the other end.
For the leaves take a detail brush with green paint, make three thick lines on the strawberry and then make a thick line on top of the leaves for the steam.
Lastly take a thin detail brush with yellow paint on it, make small lines for the seeds.
Thumb Nail Strawberry-
On the thumb nail we will make a large strawberry that will cover the whole nail/ most of the nail.
Take a red polish and make a large oval near the tip of the nail, making sure to leave some of the pink polish showing. Let that dry.
Then just like the small strawberries, take a linear brush with green paint on it make three leaves on the strawberry and then a line on the top of the strawberry for the stem.
Lastly the yellow seeds, take a small dotting tool with yellow paint on it and make small dots all over your strawberry, with theses dots make sure to drag your dotting tool just a little for the dots to look like seeds.
Once your strawberry design looks good enough to eat, apply a top coat to seal in your design and to help your nails to last.
Hope all of you enjoyed this yummy strawberry nail design!
See you next time for more nail fun!


That looks amazing :-D
ReplyDeleteThanks😁
ReplyDelete