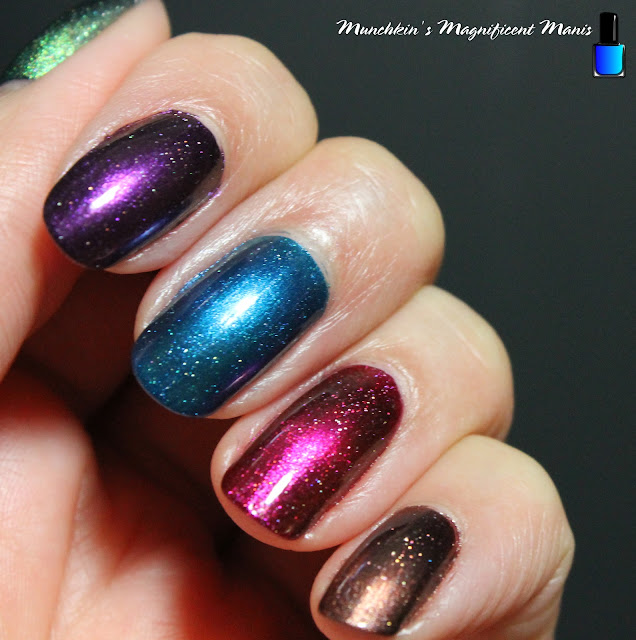
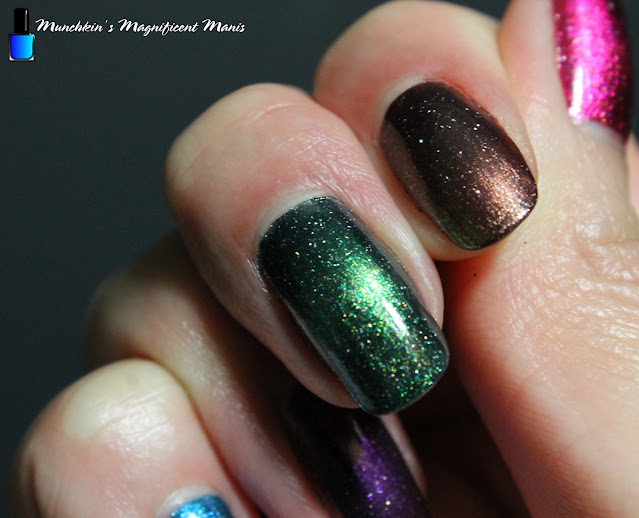
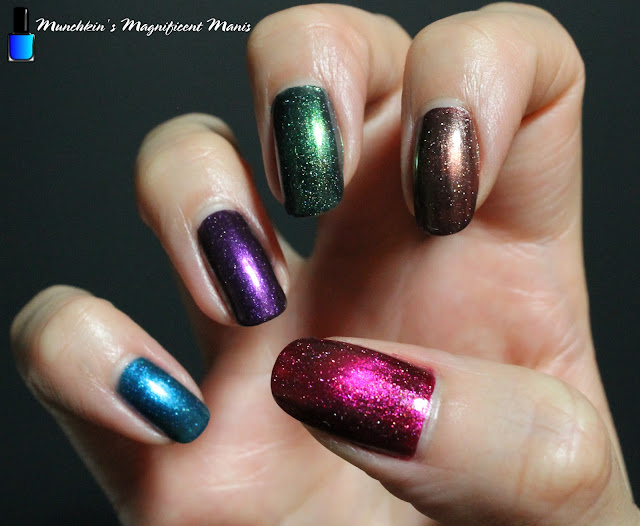
Hello everyone! Today on the blog we will be doing an update on the Holo Taco Magnetic polishes. Back in December we took a look at the newest collection from Holo Taco the Magnetic Magic collection. I had said that I did have a little bit of trouble with the blue polish Twice In A Blue Moon and the purple polish Queen's Curse. So I wanted to give all of the polishes another go, I polishes all five of the polishes on all my nails and I wanted to see if maybe I could get better results.
Pages
▼
Saturday, February 25, 2023
Holo Taco- Magnetic Magic Collection Update
The first time around I polish the blue and purple on the nails with two coats to give opacity, then on the third coat I applied the polish and hovered the magnet over the nail, and I felt like that did not work to well, so I tried what it said on the Holo Taco website/ YouTube channel.
On the Holo Taco Website/ YouTube channel, Cristine says the best way to get the magnetic effect to work is to place the magnetic under the nail for each nail and then polish, then hold for 60 seconds, and to do three coats. This is suppose to give the cat eye effect.
The green Wicked Potion and the pink Love Spell where the two polish that showed the magnetic effect the best. Along with the brown polish Fairy Tail. By far the pink and green polishes showed the magnetic effect the best.
In conclusion I still stand by original review, if you have not checked that out here is the link holo-taco-magnetic-magic-collection. I still really like these polishes, personal even the second time around had a little trouble getting the polish to show up the way Cristine did. I still did get a good magnetic effect for the green Wicked Potion and the pink Love Spell and a pretty good one with the brown Fairy Tail. Maybe the green, pink, and brown and a little more magnetic pigment in it so maybe that is why it did a little better, I am unsure.
Hope all of you enjoyed this update!
See you next time for more nail fun!
Monday, February 13, 2023
Chocolate Covered Strawberries- Valentines Day Nail Design
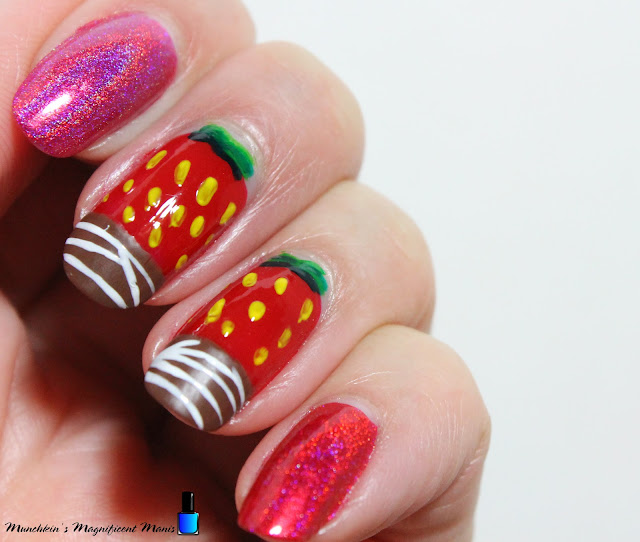
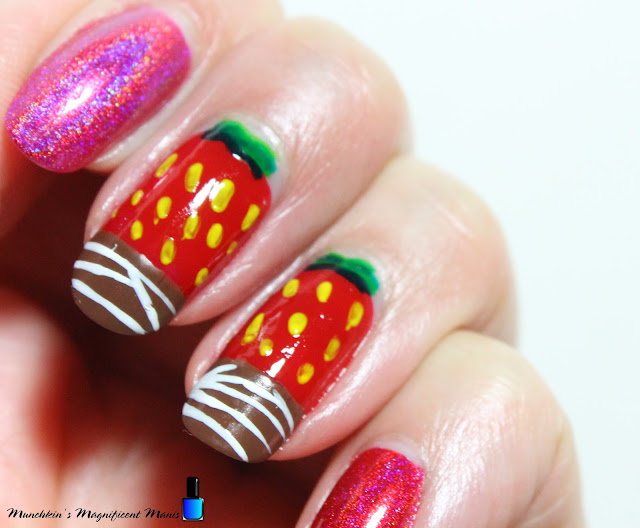
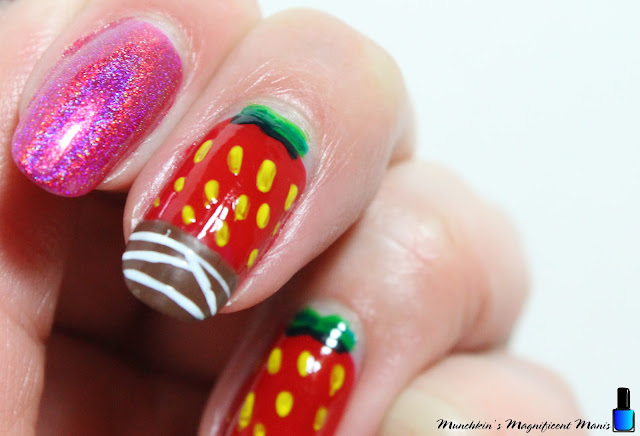
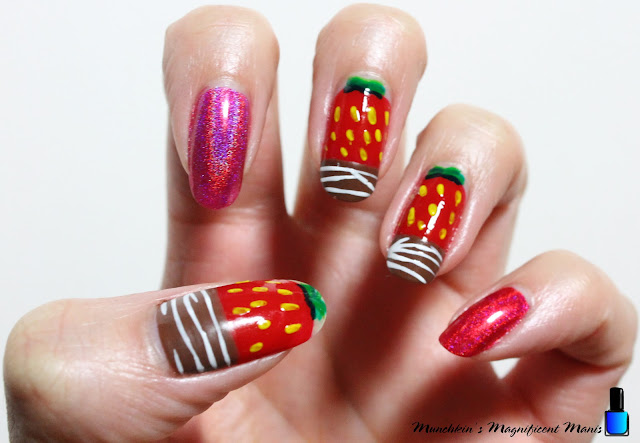
Hello everyone! Happy Valentine's Day! Today the day before Valentine's Day we will be creating a chocolate covered strawberries nail design. This nail design is a yummy way to show how much you love chocolate, and to have a different nail design other then just some hearts with pink and red nails.
Here are the polishes and nail art tools used to create this chocolate strawberries nail design:
Base and top coat- CND Stickey Base Coat, CND Super Shiney Top Coat, and OPI Matte Topcoat.
Polishes- Holo Taco- Red Licorice- Rainbow Collection, Holo Taco- Hot - Wire Pink- Electric Holo Collection, Zoya- Renee- Redbook trio, Nicole by OPI- That's Just Plain Nuts!, and Kiss Nail Art Polish- White.
Acrylic paint- Green and yellow.
Nail art brush- Thin detail brush.
Polish-
Index nail- Bright pink holographic polish (Holo Taco- Hot - Wire Pink)
Pinky nail- Red holographic polish (Holo Taco- Red Licorice)
Thumb, Middle and Ring finger nail- Leave this with no polish for now, until we do the nail art.
On the thumb, middle and index nail we will be polish the nails a little different, with a red cream polish on the middle and index we will start near the cuticle, on the thumb near the tip of the nail.
First polish in a curve shape near the cuticle making sure to leave some blank space or the tip of the nails, then polish down the nail making sure to leave some space for the brown/ chocolate.
Then kind of doing a French manicure, by polish the tip of the nails or on the thumb near the cuticle with brown polish, I go from one end of the nail to the other.
You will need to go over the red and brown a few time to be opaque.
Now on to the seeds and stems. Take your detail brush with yellow paint on it and make random lines on your strawberries for the seeds.
For the stems I used two greens a light green and dark green. With that same clean detail brush with dark green, make two curved line on top of your strawberries, then take a light green and in-between the dark green make a few light green curved lines.
Next go a head and apply a glossy top coat over all of the nails.
Let that dry.
Then lastly for a final touch we will take a white nail art polish and make a few lines for a white chocolate drizzle look.
Hope all of you enjoyed this yummy chocolate cover strawberries nail design!
Happy Valentines Day! Rather you have someone or not, this day is all about love!
See you next time for more nail fun!

